

 English
Slogic16U3 User Guide
👷♂️ This guide is under active development — thank you for your patience!
Revision History
| Date | Version | Author | Description |
|---|---|---|---|
| 2024-09-23 | v0.1 | Sipeed Team | Initial draft |
Table of Contents
- Overview
- Specifications
- Hardware Connection
- Software Installation
- Software Usage
- Build Software from Source
- Firmware Update
- FAQ
Overview
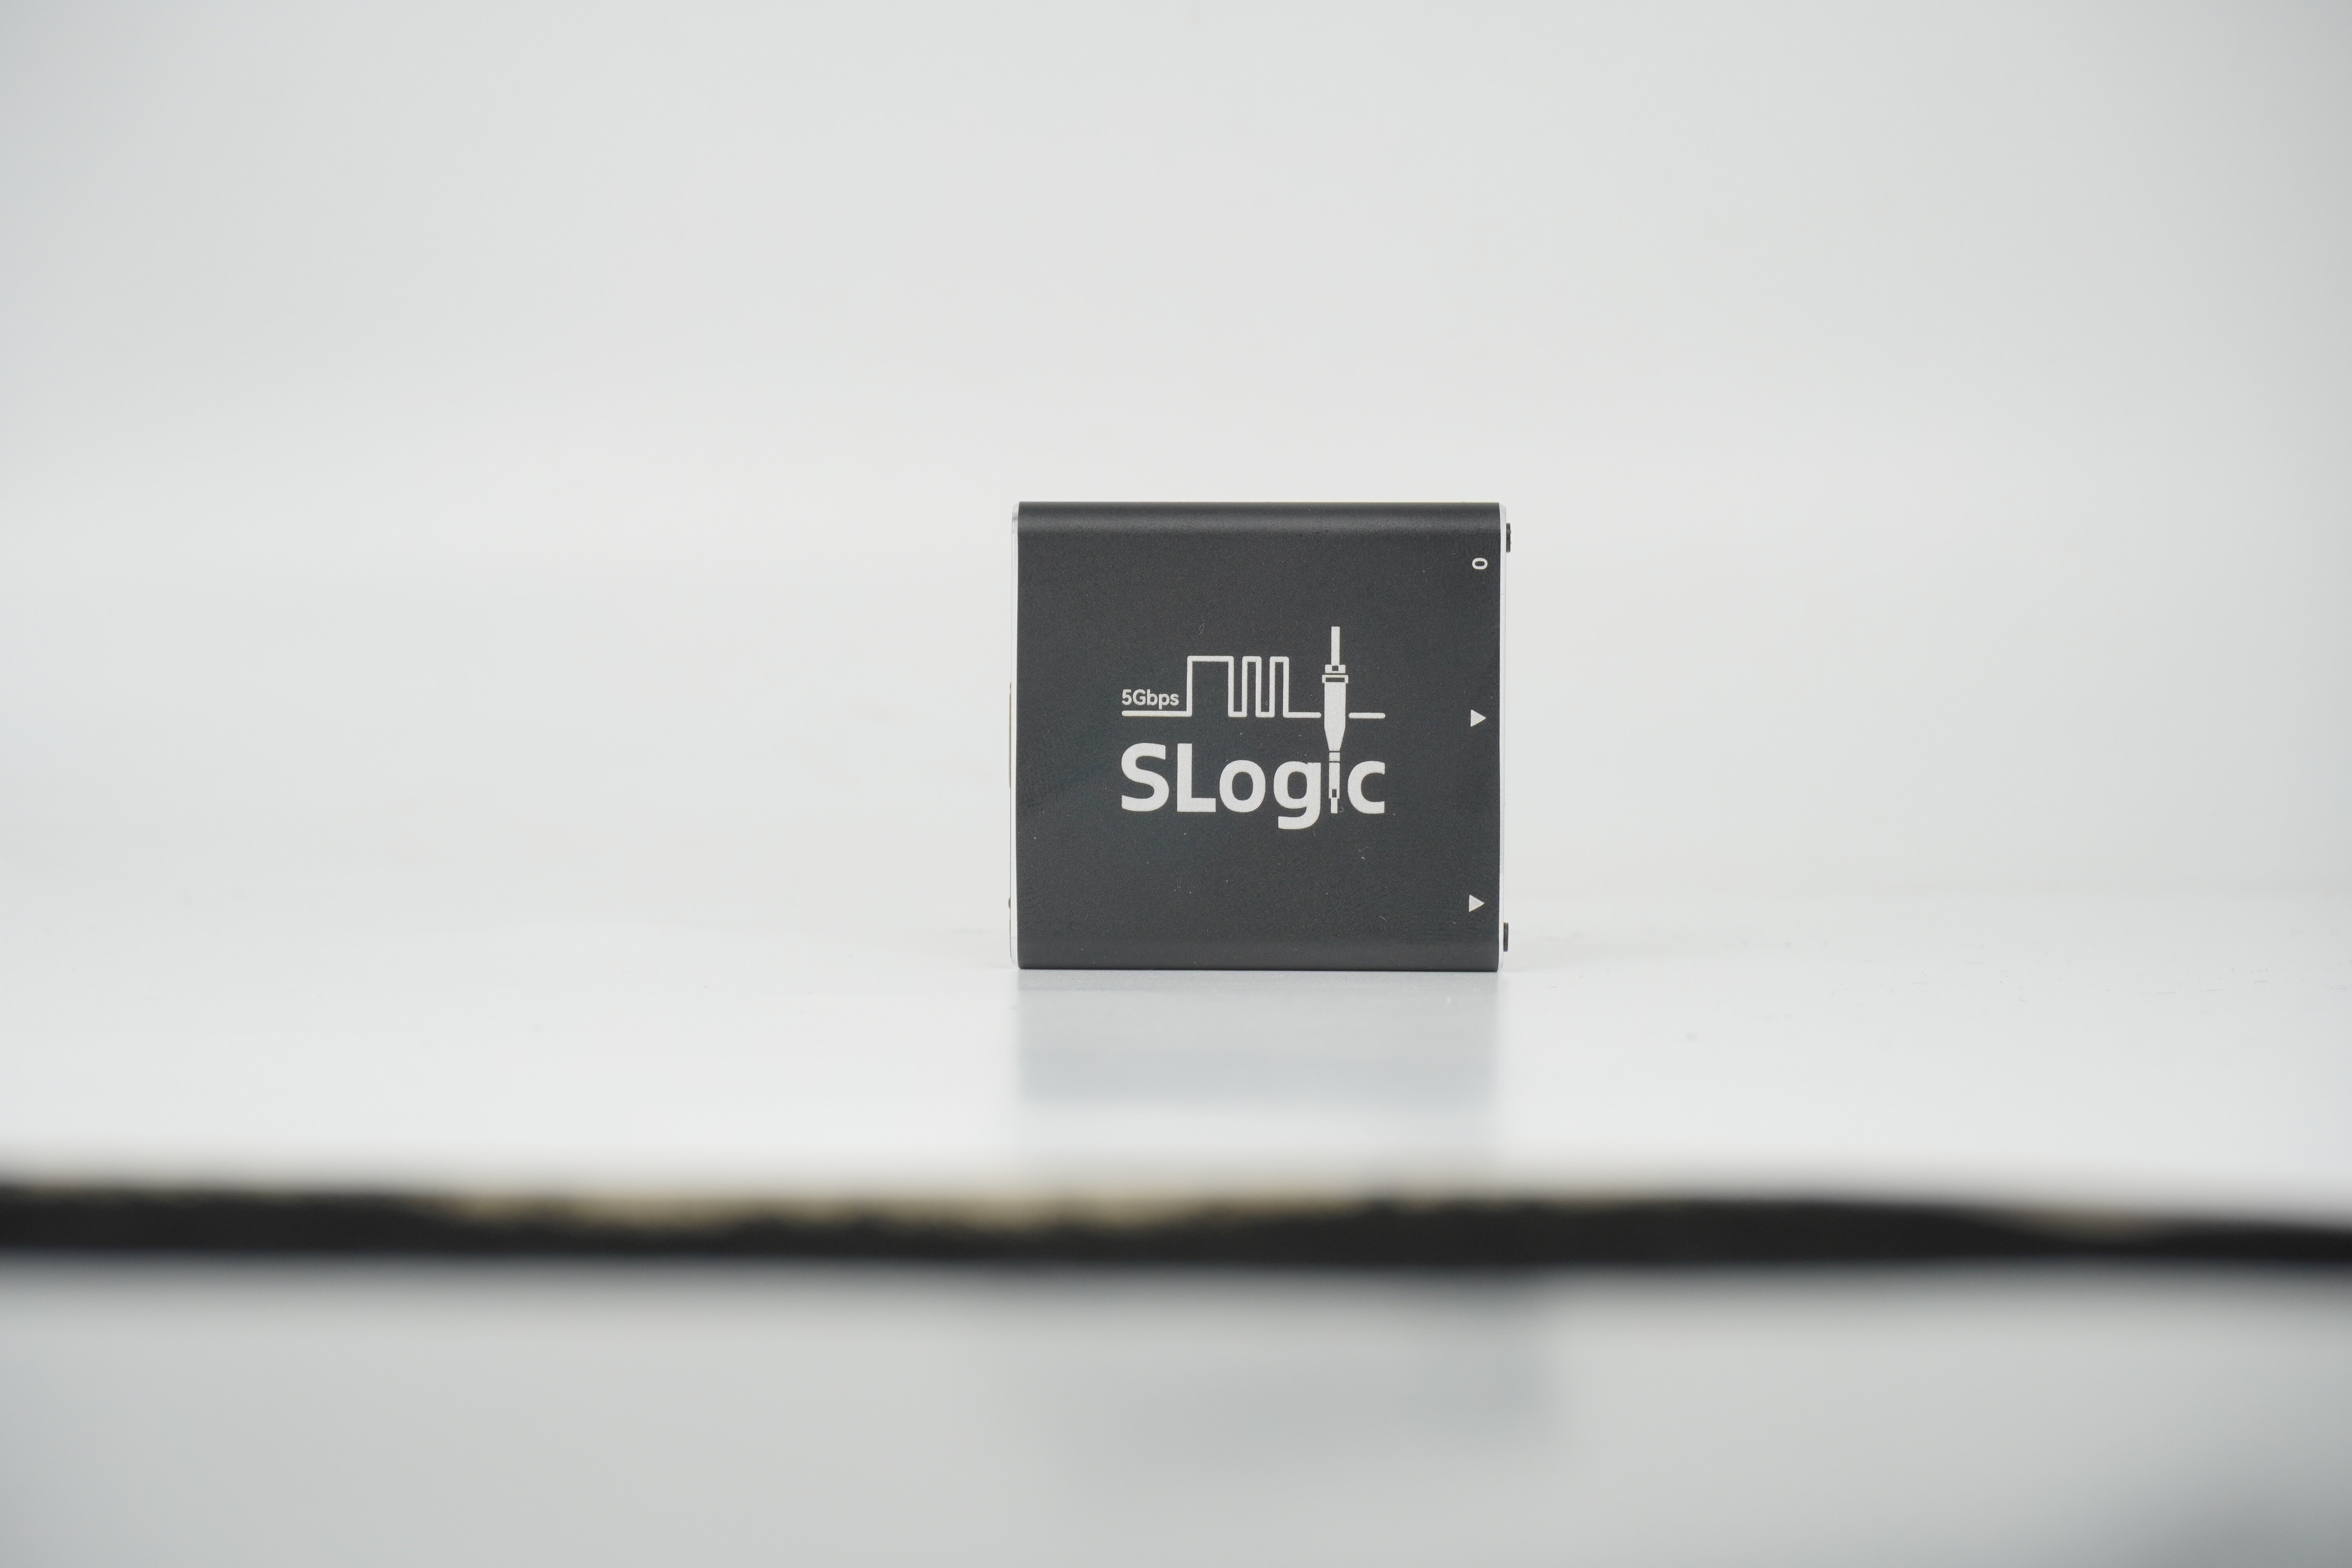
Slogic16U3 is a high-performance logic analyzer for digital signal debugging and analysis.
Specifications
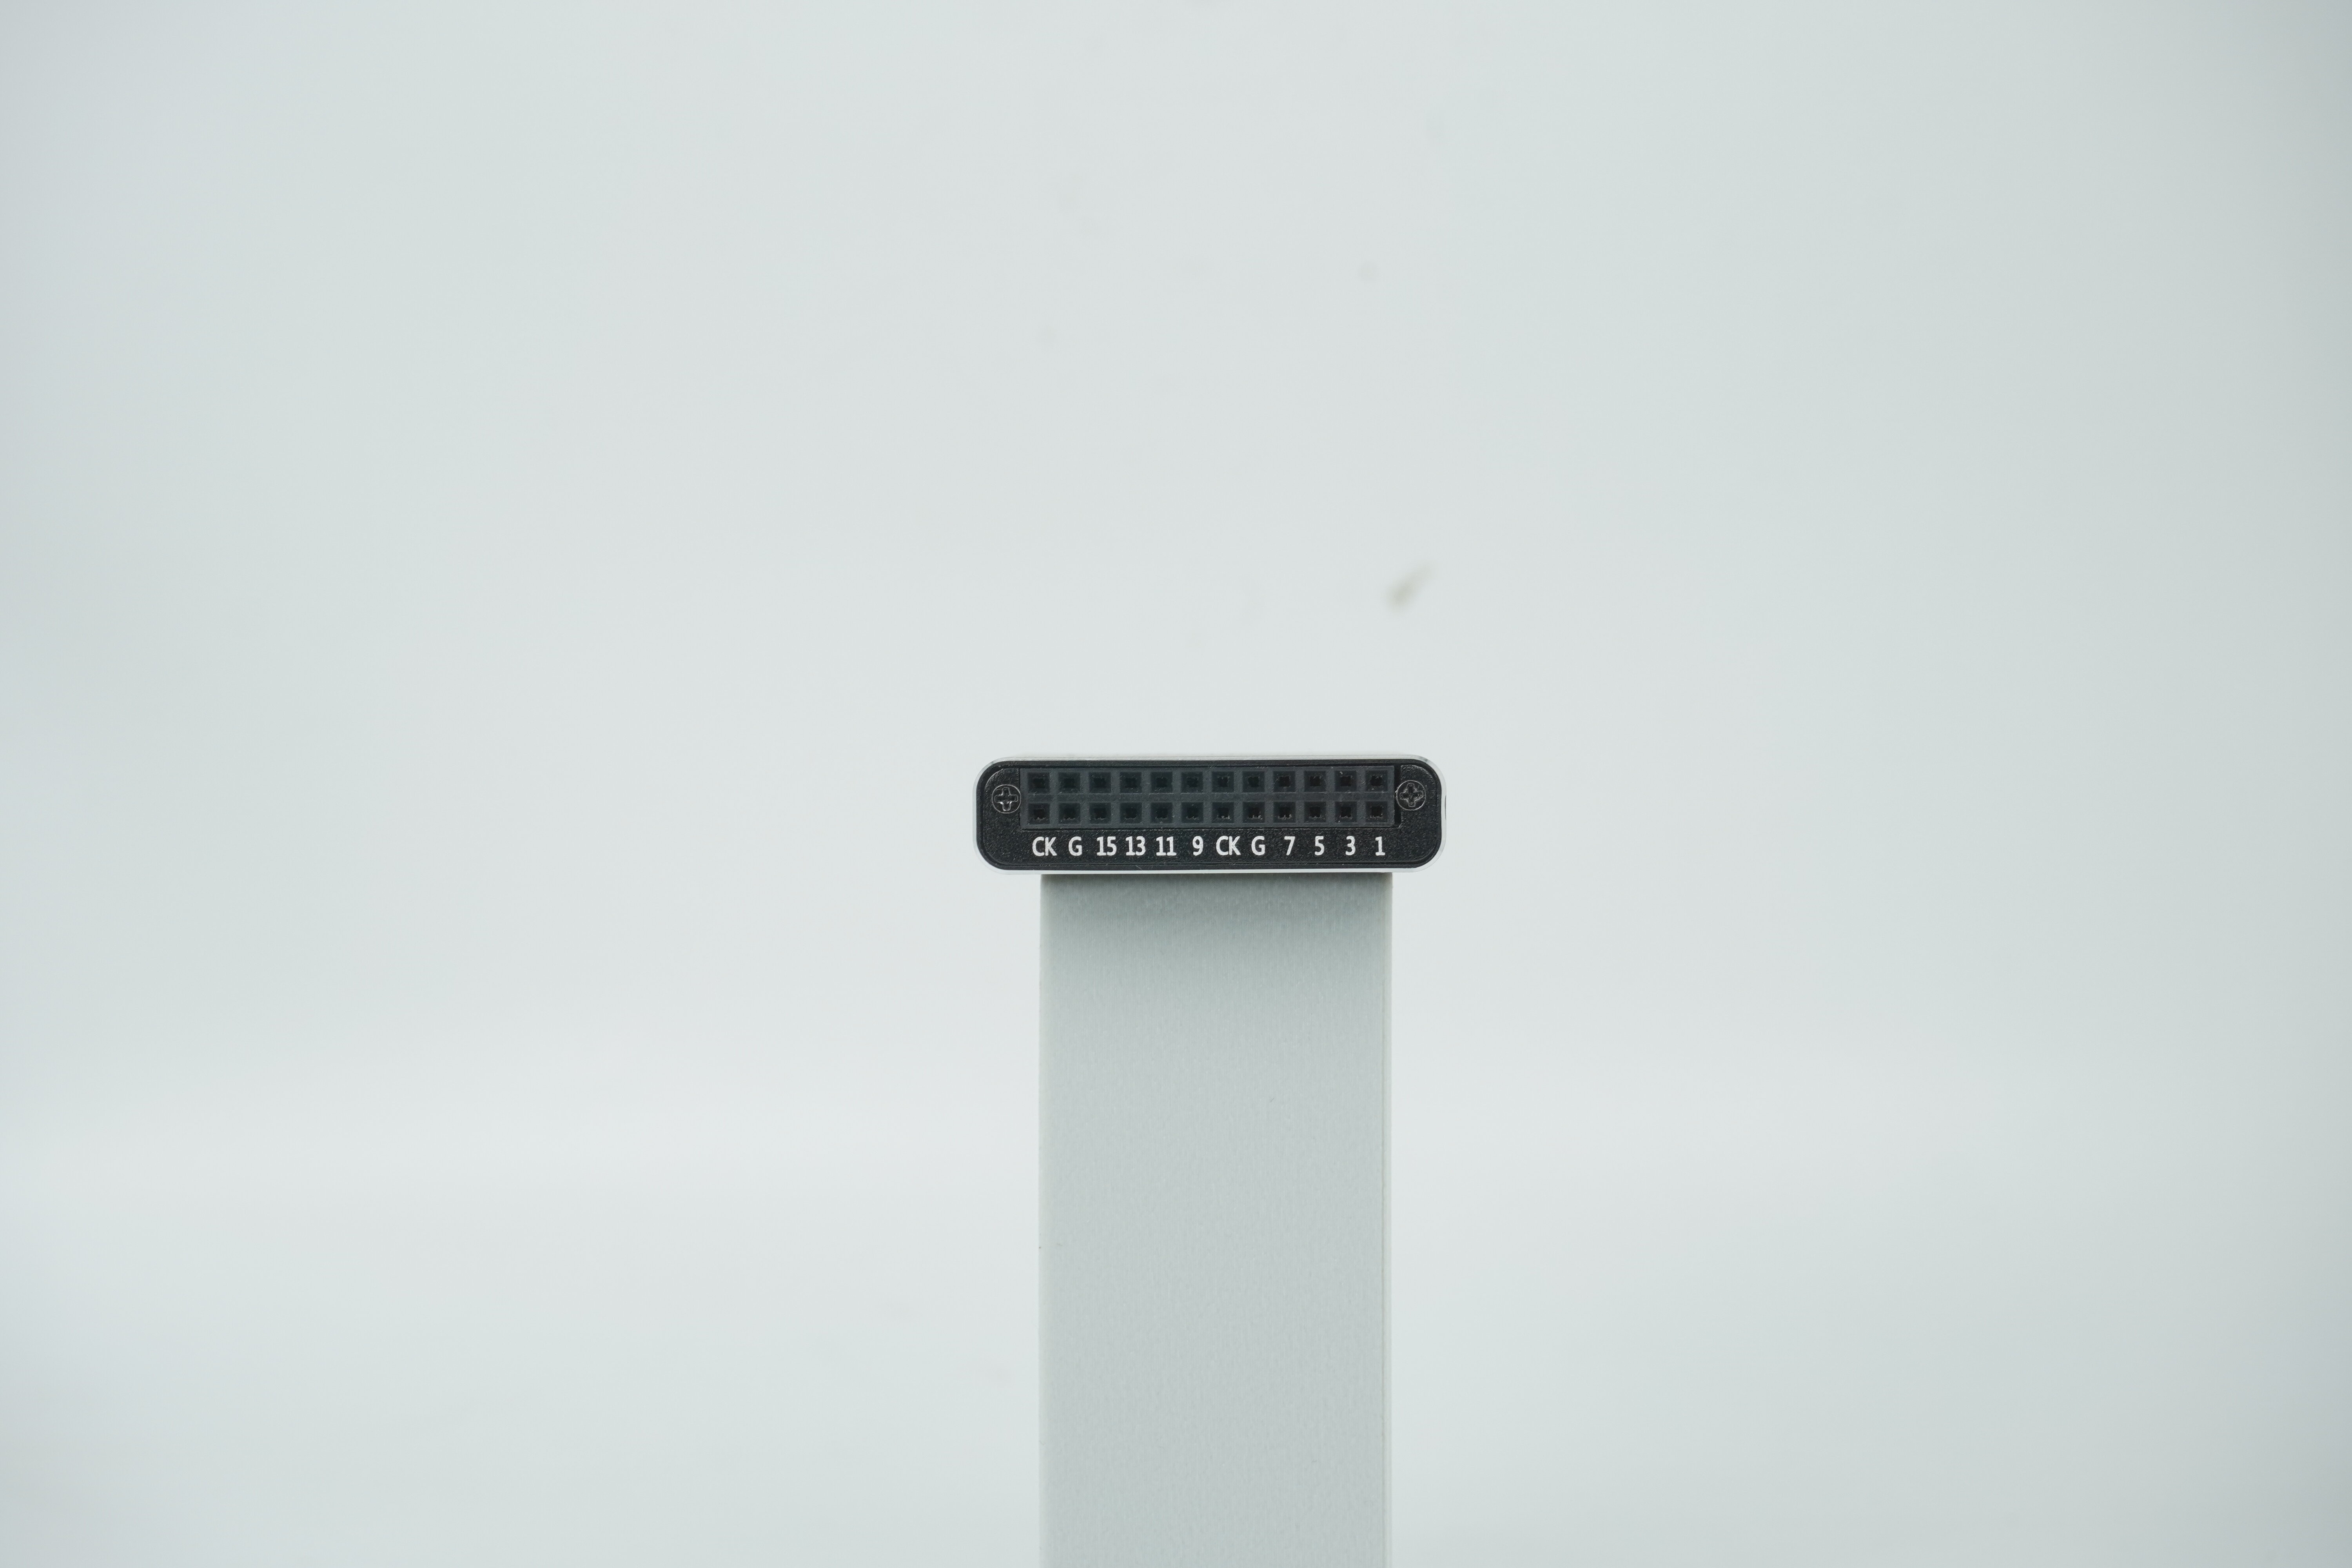
- Channels: 16
- Max Sampling Rate: 800 MHz
- Memory Depth: Unlimited
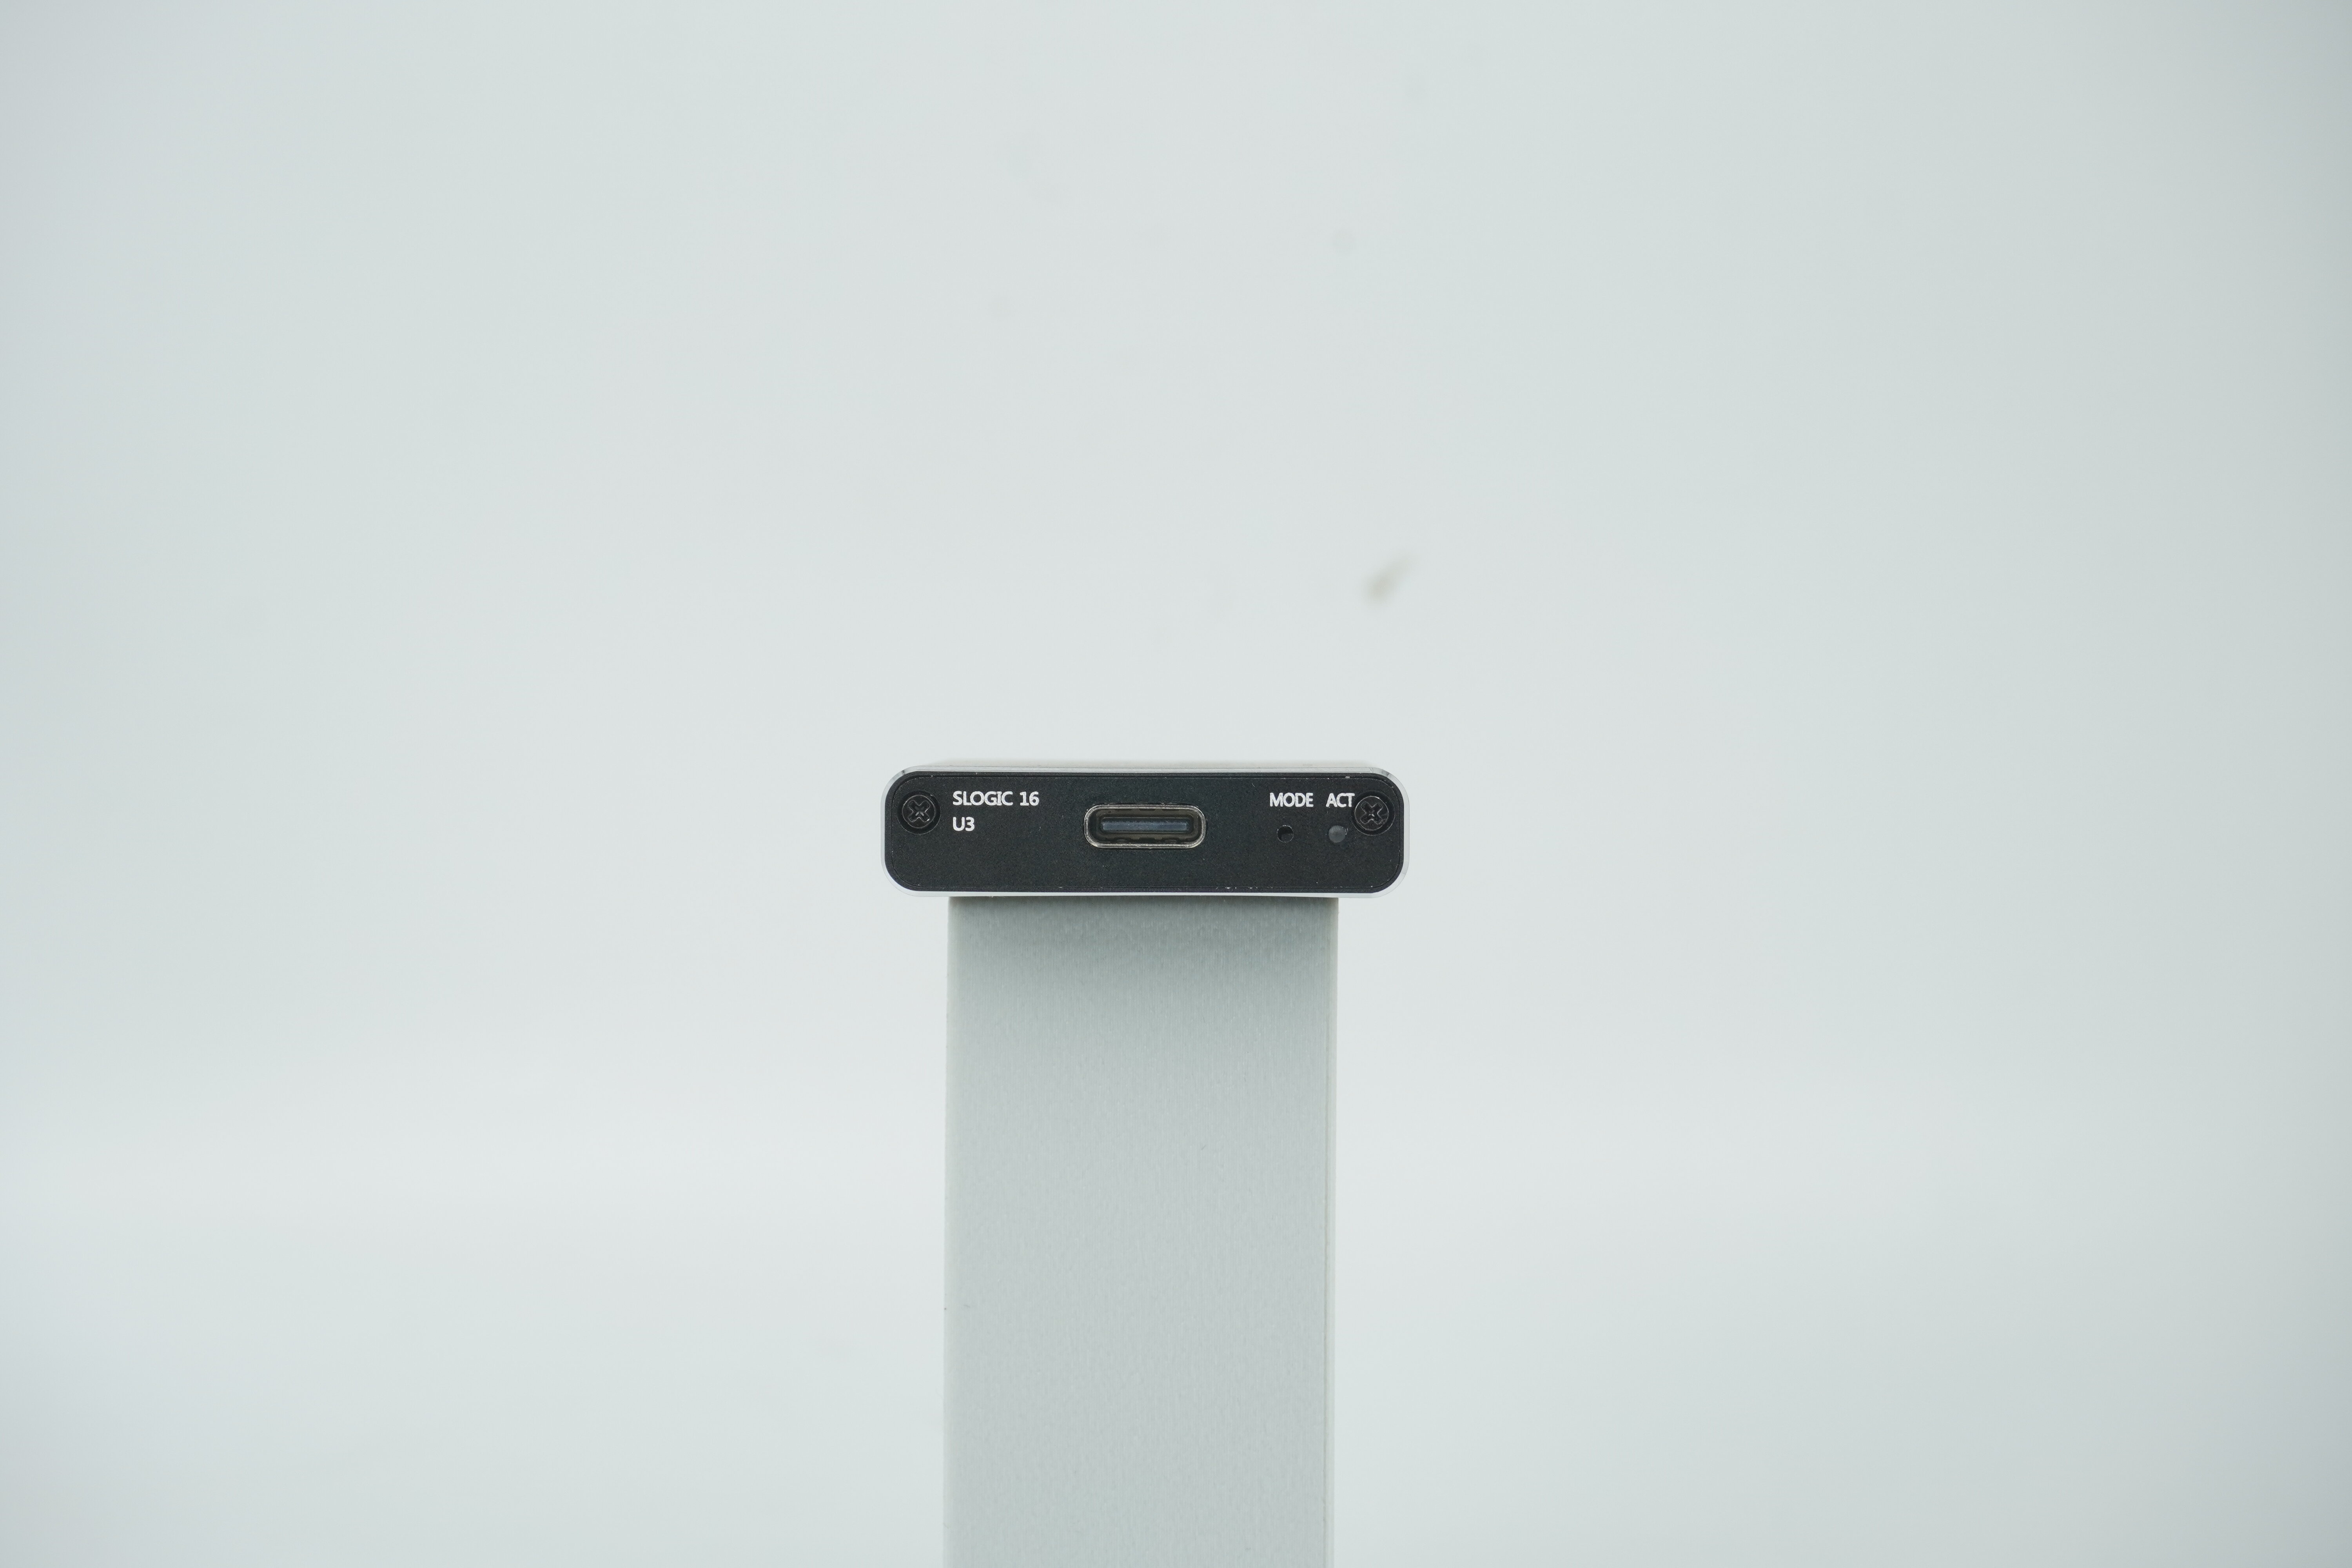
- Interface: USB 3.0 (5 Gbps)
- Power Supply: USB powered (5V 900mA)
- Dimensions: 150 × 100 × 30 mm
Hardware Connection
- USB-C to C or USB-A to C cable:
- PC USB-A → USB-A/C to USB-C → SLogic
- PC USB-C → USB-C to USB-C → SLogic
- Indicators: Multi-color (see FAQ)
- Accessories: Standard Dupont wires, high-speed shielded wires
Software
Supported OS and Tested Platforms
| OS / Platform | Supported | Example Platform |
|---|---|---|
| Windows (x86_64) | Yes | Ultra 5 125H |
| Linux (x86_64) | Yes | 8th Gen Core i5+ |
| Linux (aarch64) | Yes | RPI5 |
| macOS (aarch64) | Yes | Apple Silicon M4 |
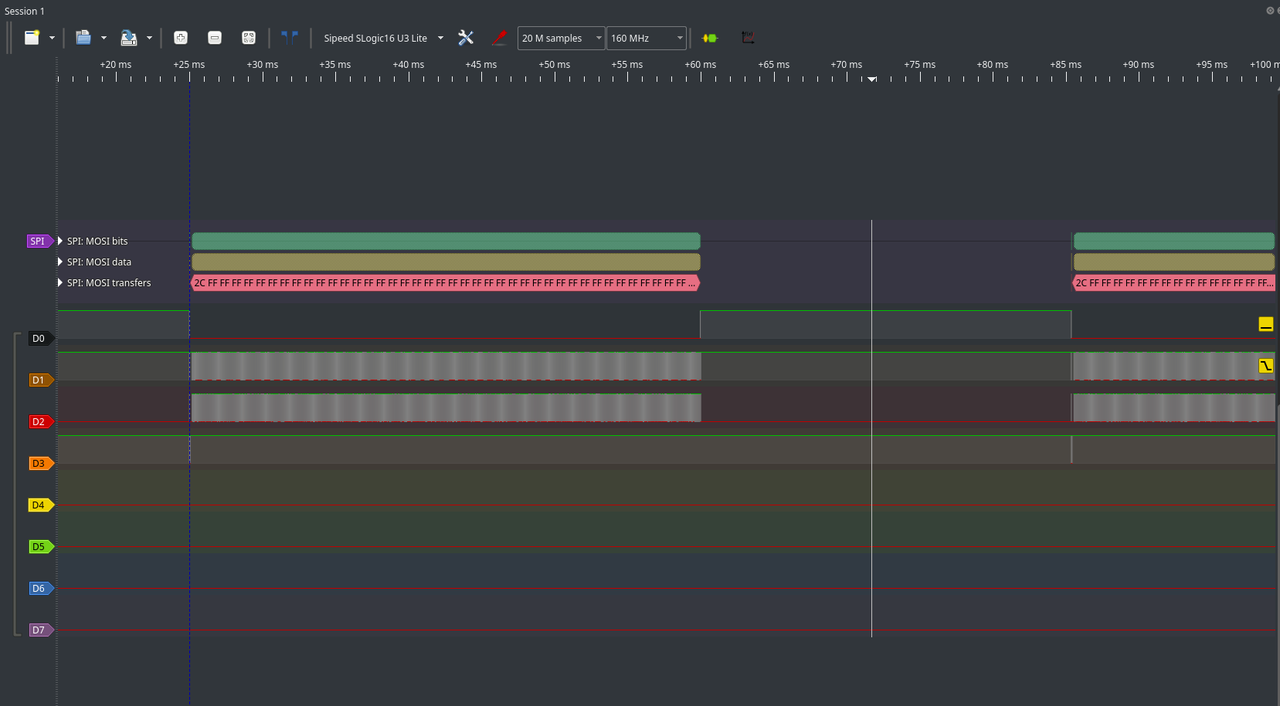
Supported Protocols
A wide range of protocols are supported, including:
AC '97, I²C, SPI, UART, CAN, JTAG, 1-Wire, PWM, USB, and many more.
For the latest list, refer to the software's decoder selection panel.
Installation
Windows
- Extract the portable archive and double-click
pulseview.exeto launch.
- To enable debug mode, run in terminal:
pulseview-debug.exe -l5
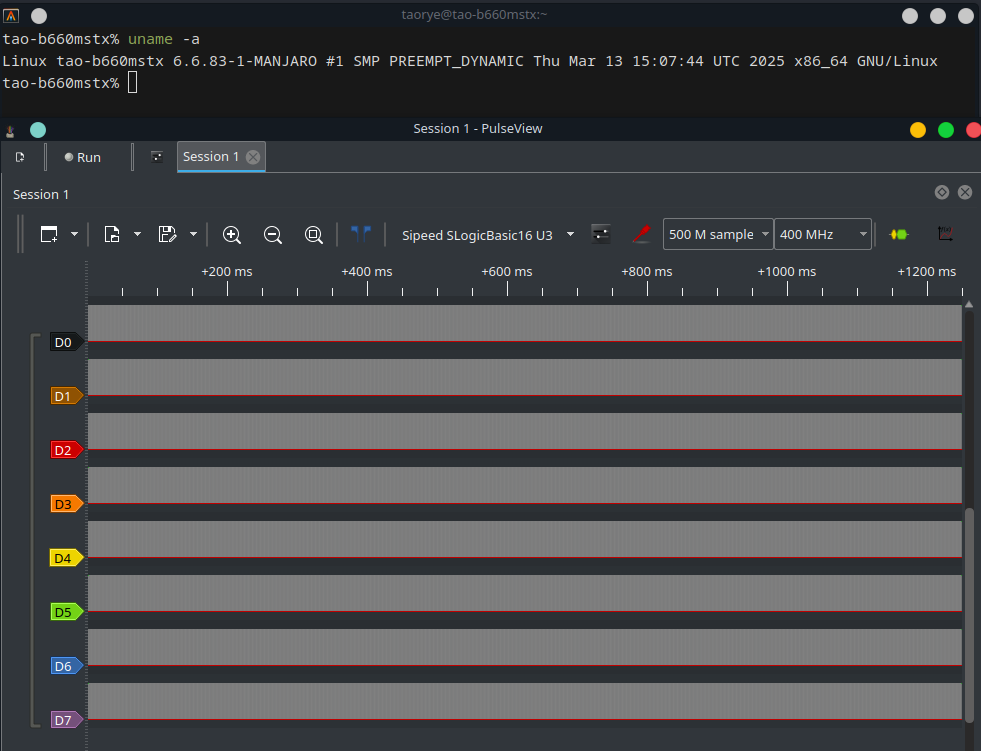
Linux
chmod +x Pulseview.appimage
./Pulseview.appimage
# ./Pulseview.appimage -l5   # enable debug mode
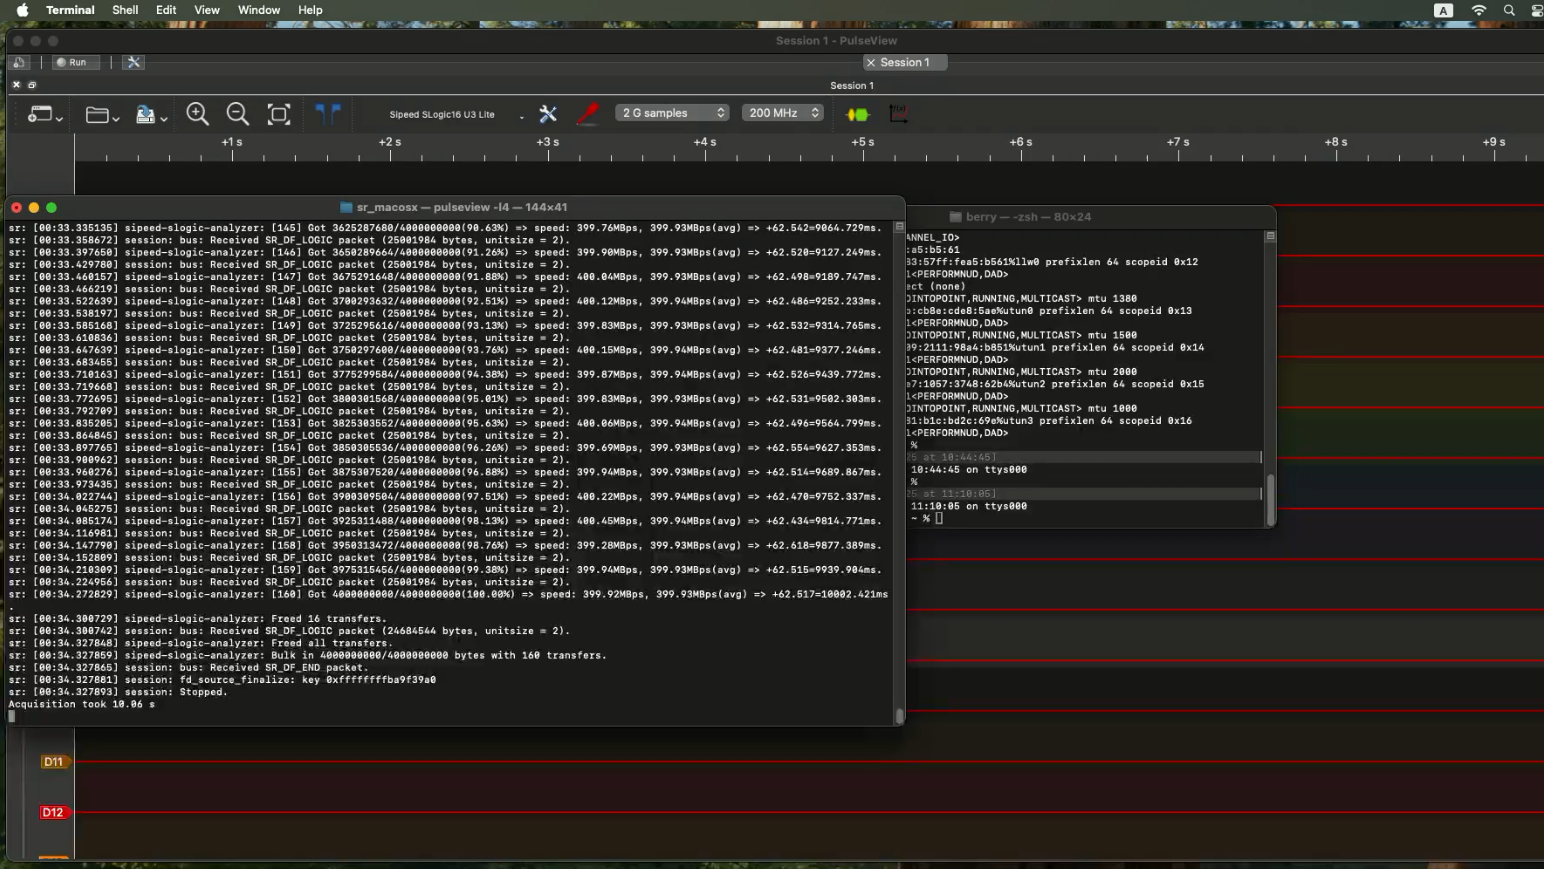
macOS
- Download and open
Pulseview.dmgto install.
Related Links:
Taobao, AliExpress, MaixHub
Email: support@sipeed.com
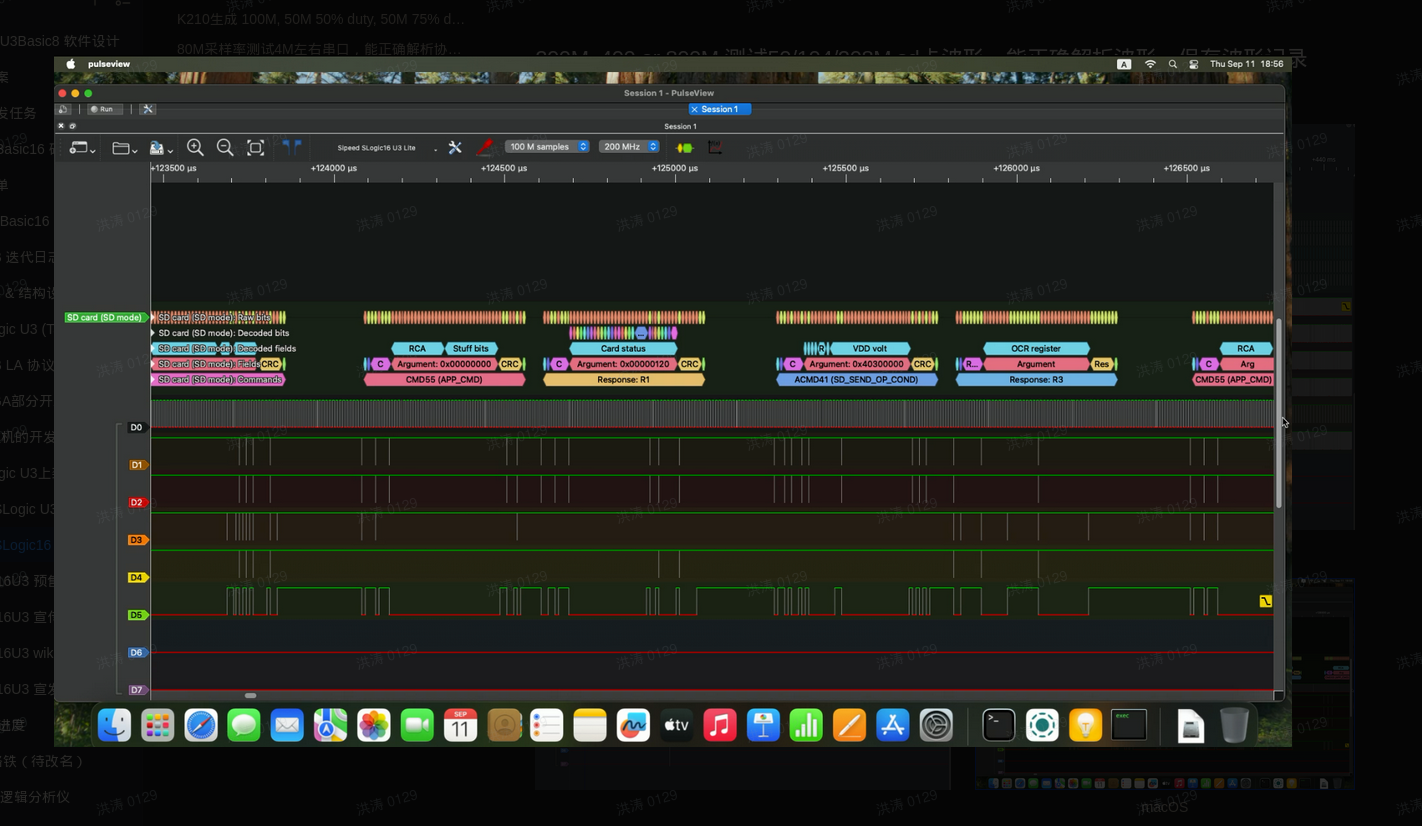
Software Usage
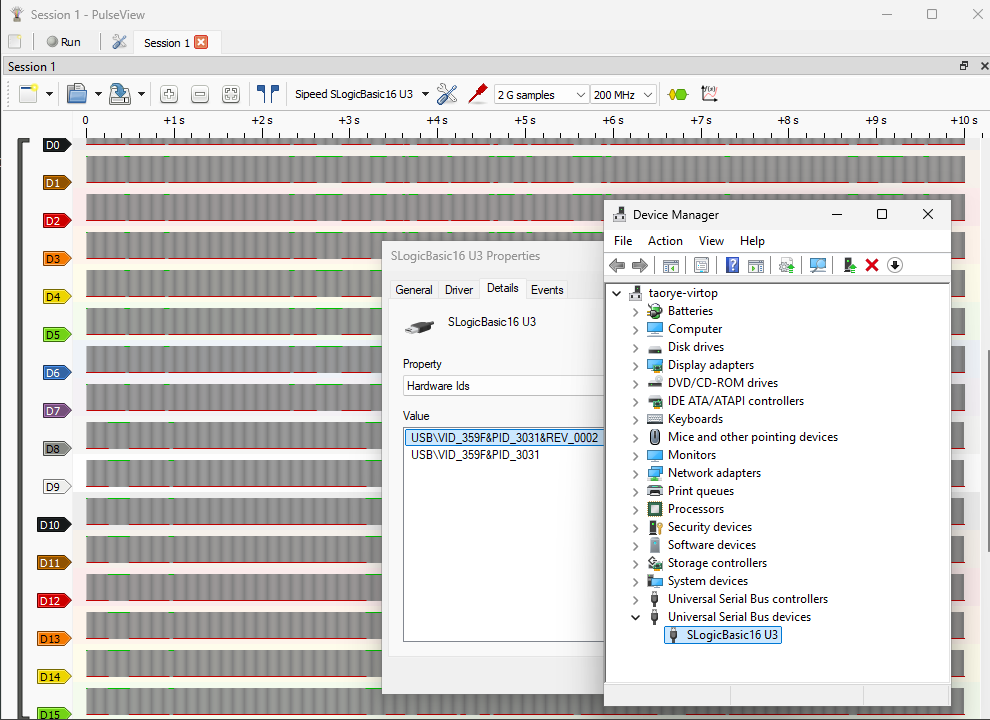
- The interface and workflow are similar to DSView.
- Configure channels, sample rate, sample points/time, and other parameters as needed.
- Use the software to trigger, acquire, browse, measure, decode protocols, and manage files.
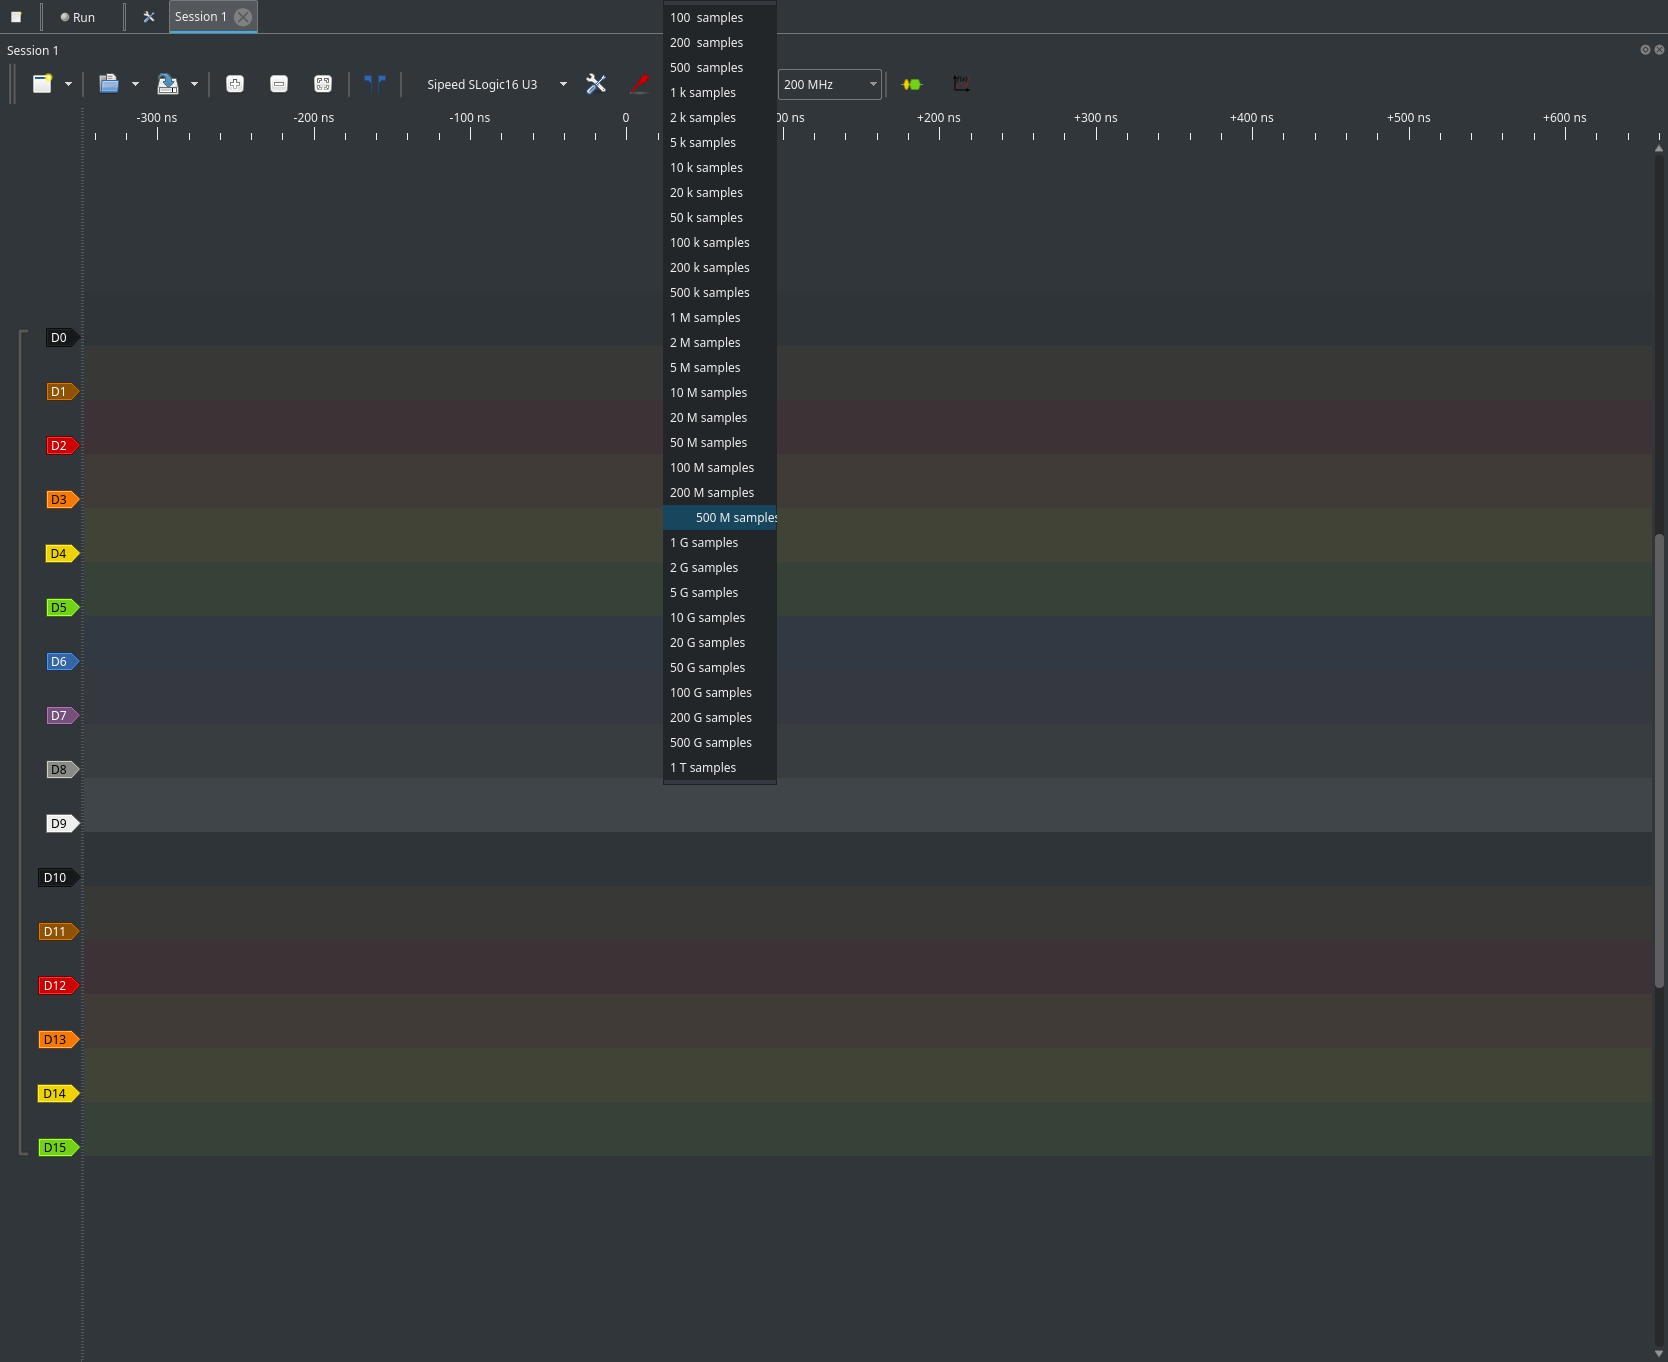
Changing the Sample Depth
- The sample depth determines how many data points are captured per acquisition.
- You can set the sample depth in the main control panel, typically as either a number of points.
- Higher sample depth allows capturing longer or more detailed signal traces, but requires more memory and may take longer to transfer.
- If you only need to capture short events, reduce the sample depth for faster operation.
- Adjust the sample depth before starting acquisition to fit your analysis needs.
- Sample depth is unlimited if you have a large enough disk; data can be streamed directly to storage.
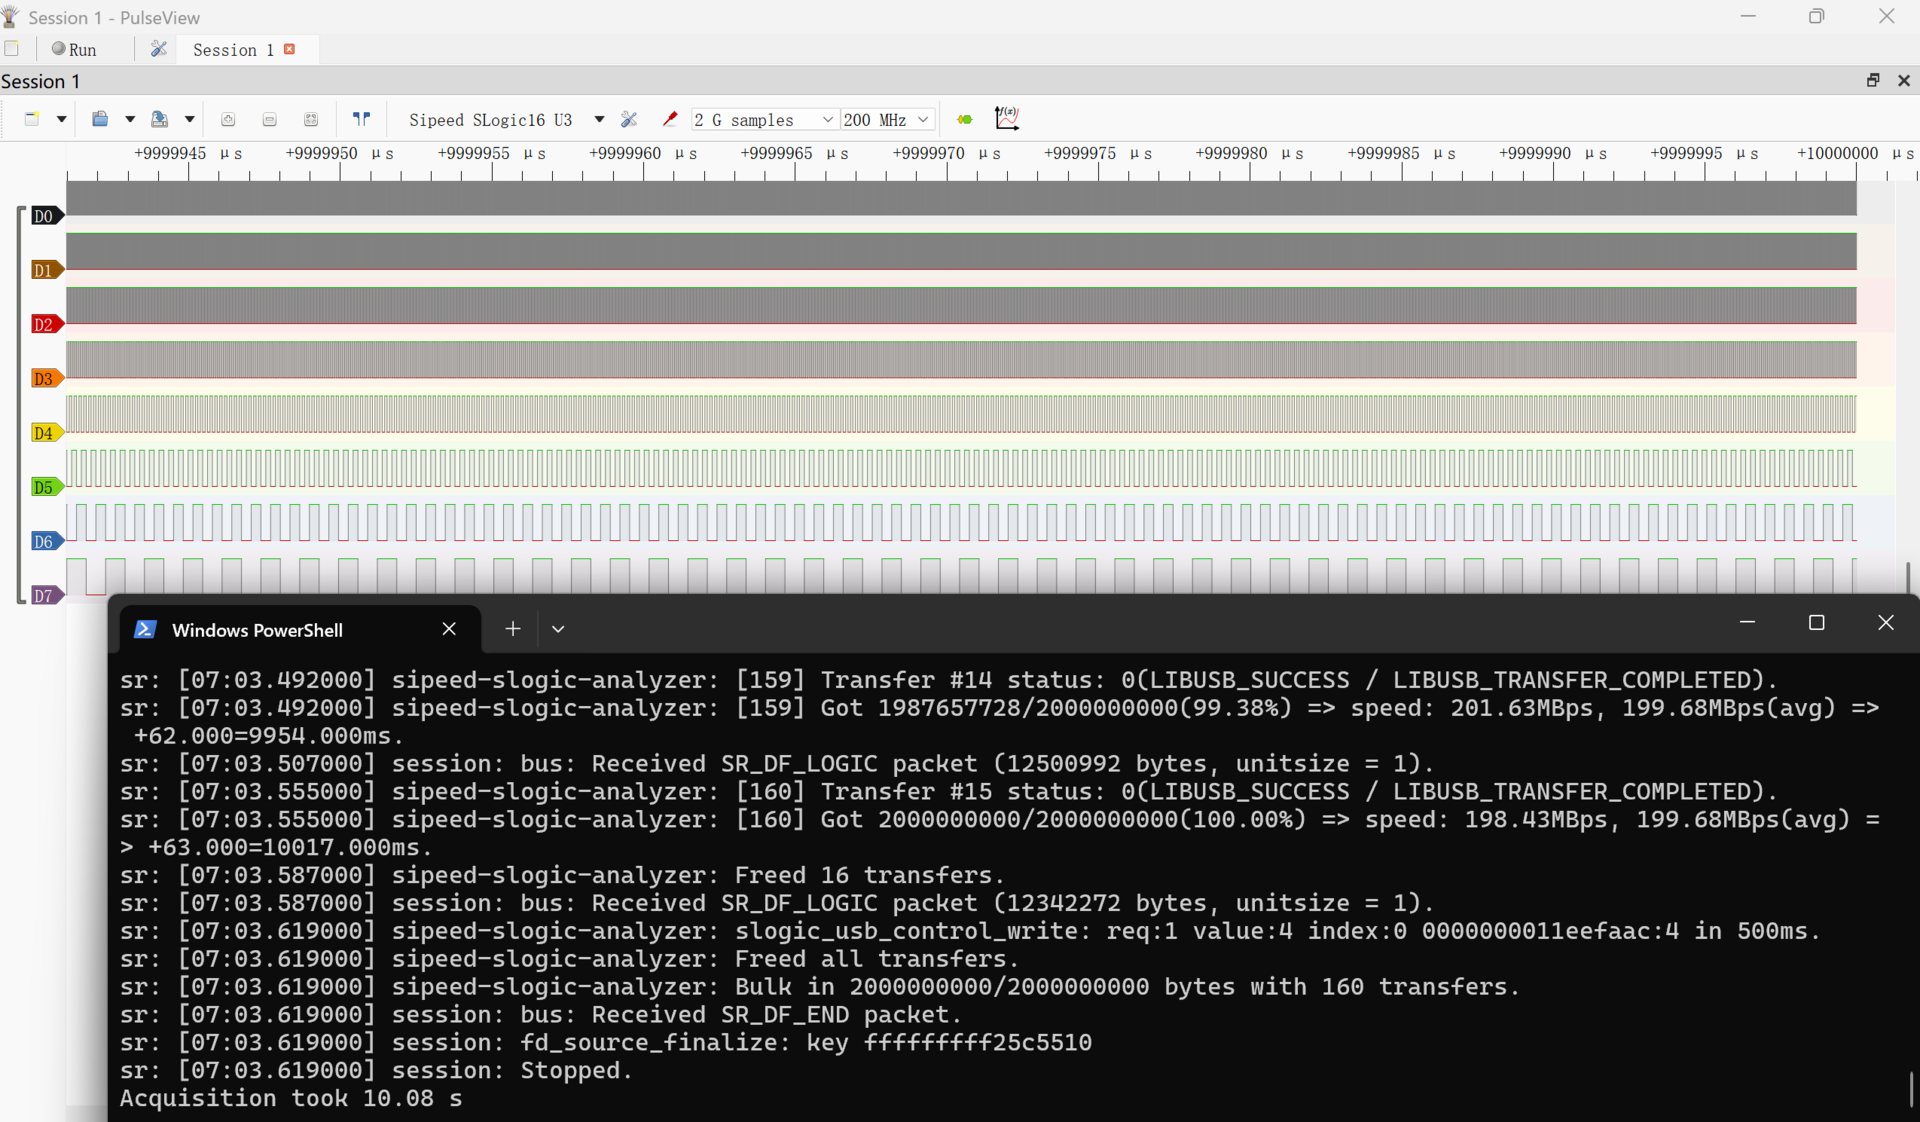
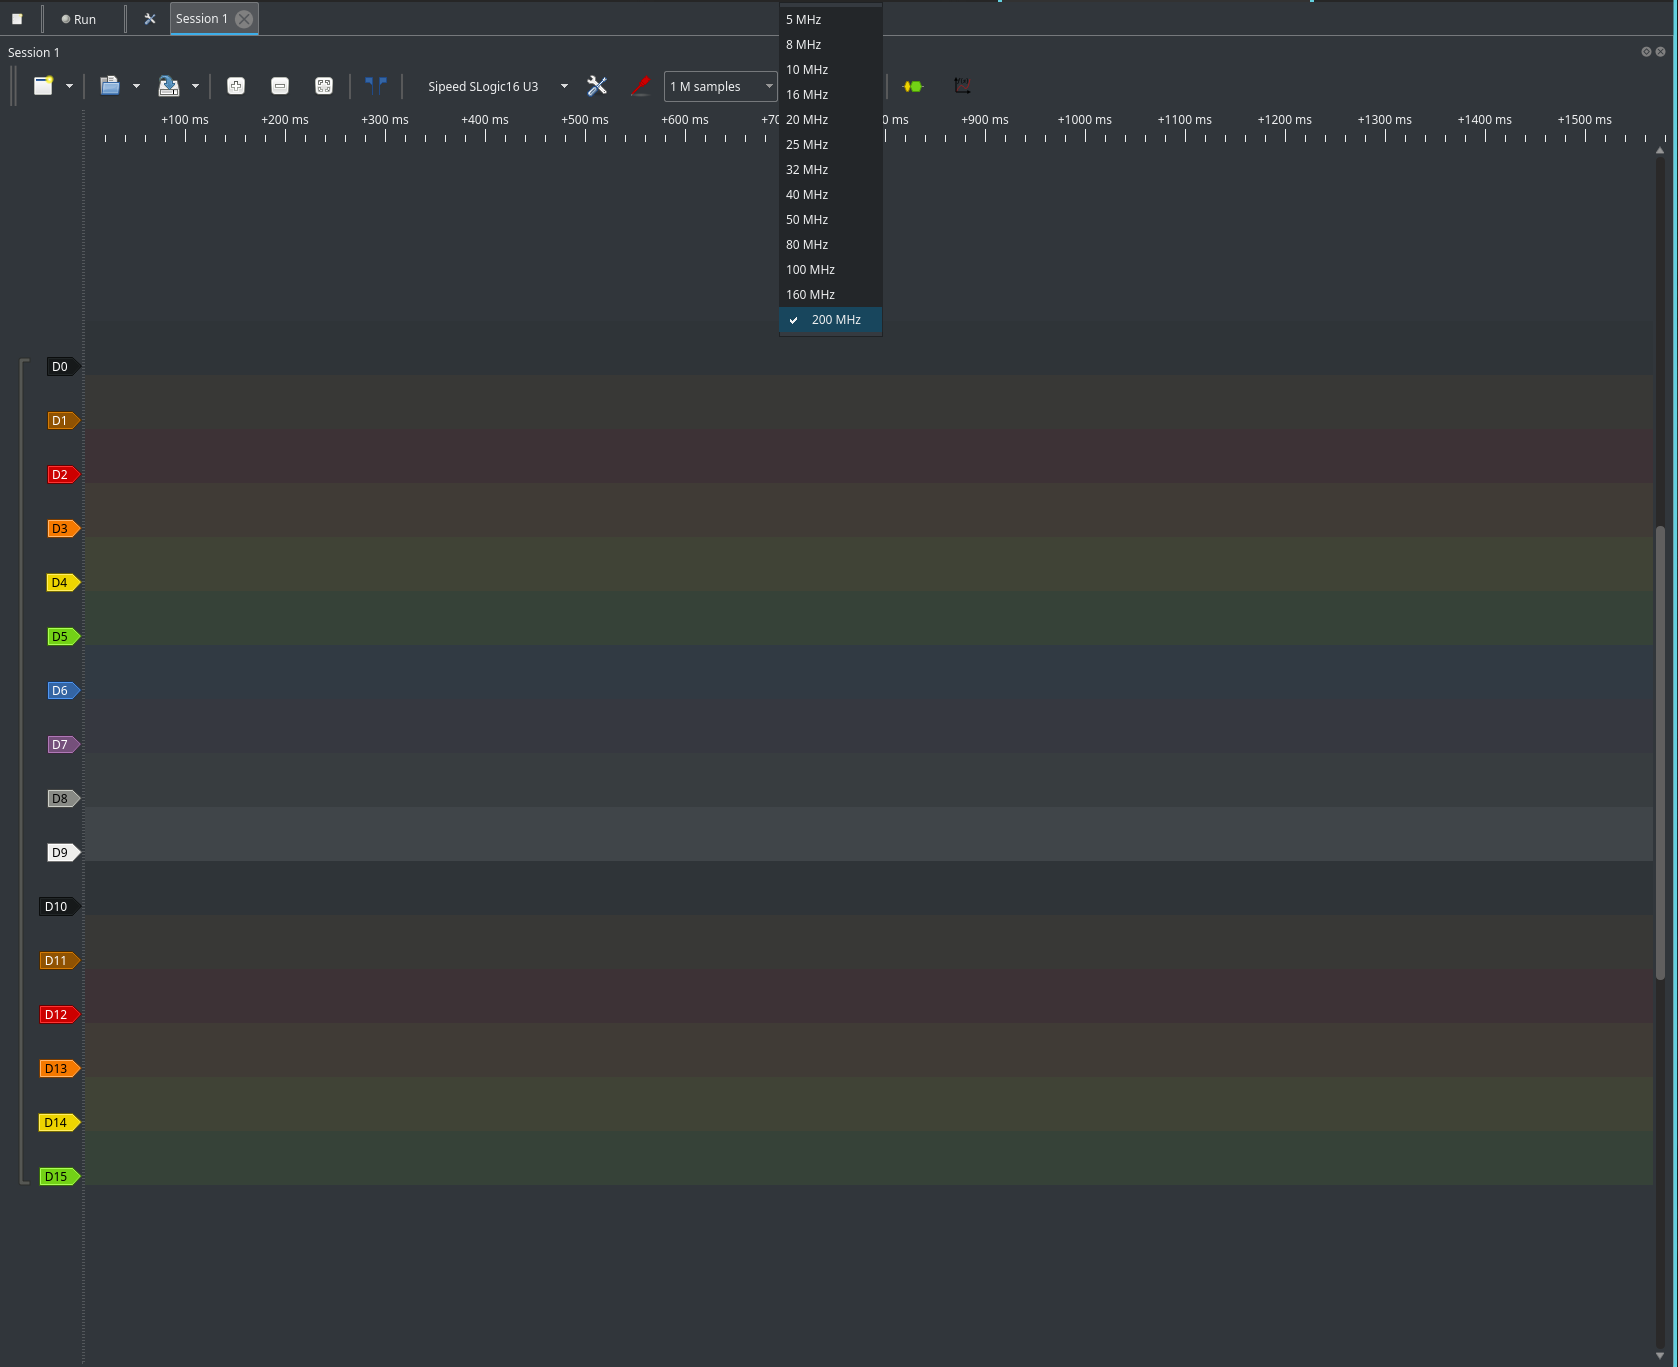
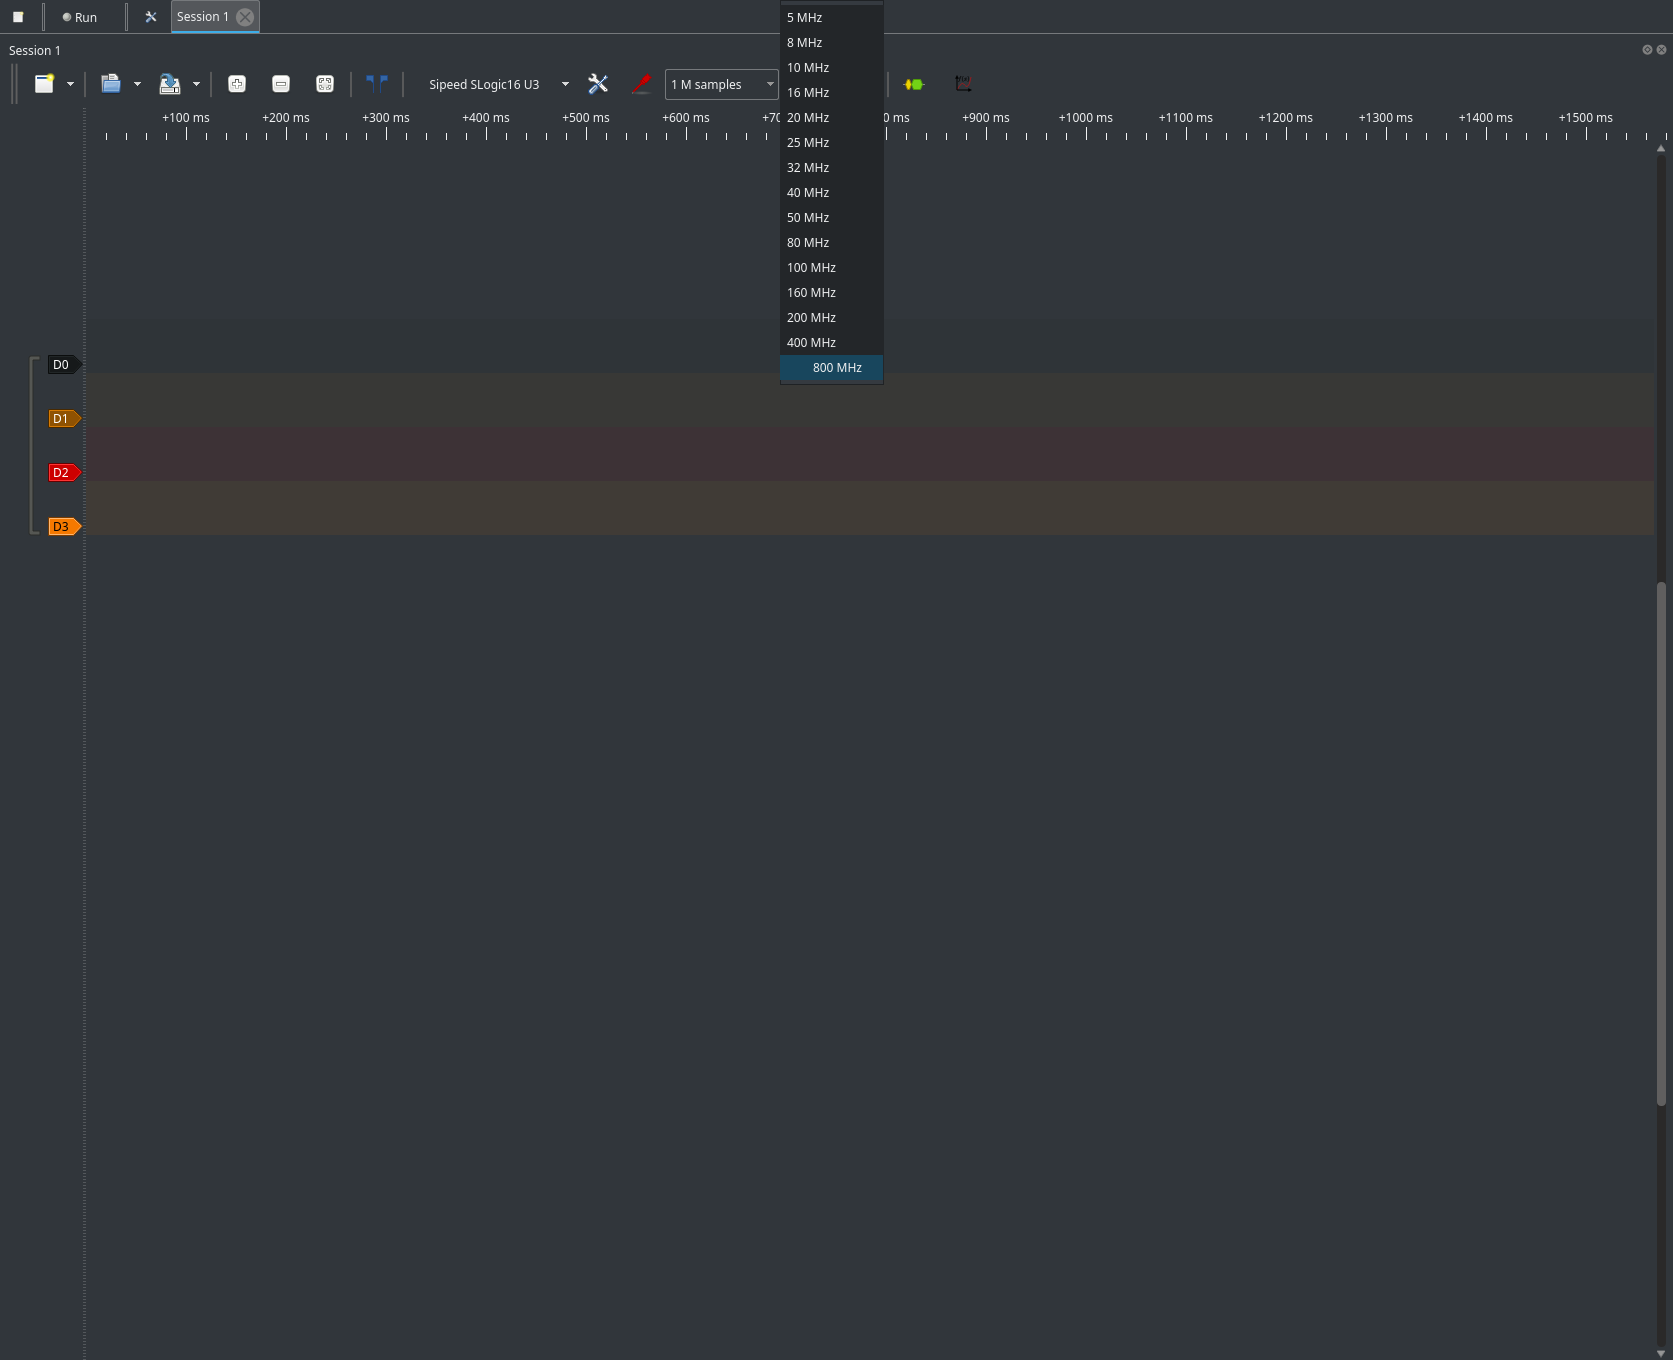
Changing the Sample Rate
- Max sample rate: 800 MHz (depends on active channels)
- 16 channels: up to 200 MHz
- 8 channels: up to 400 MHz
- 4 channels: up to 800 MHz
- Set the sample rate in the main control panel.
- If higher rates are unavailable, disable unused channels.
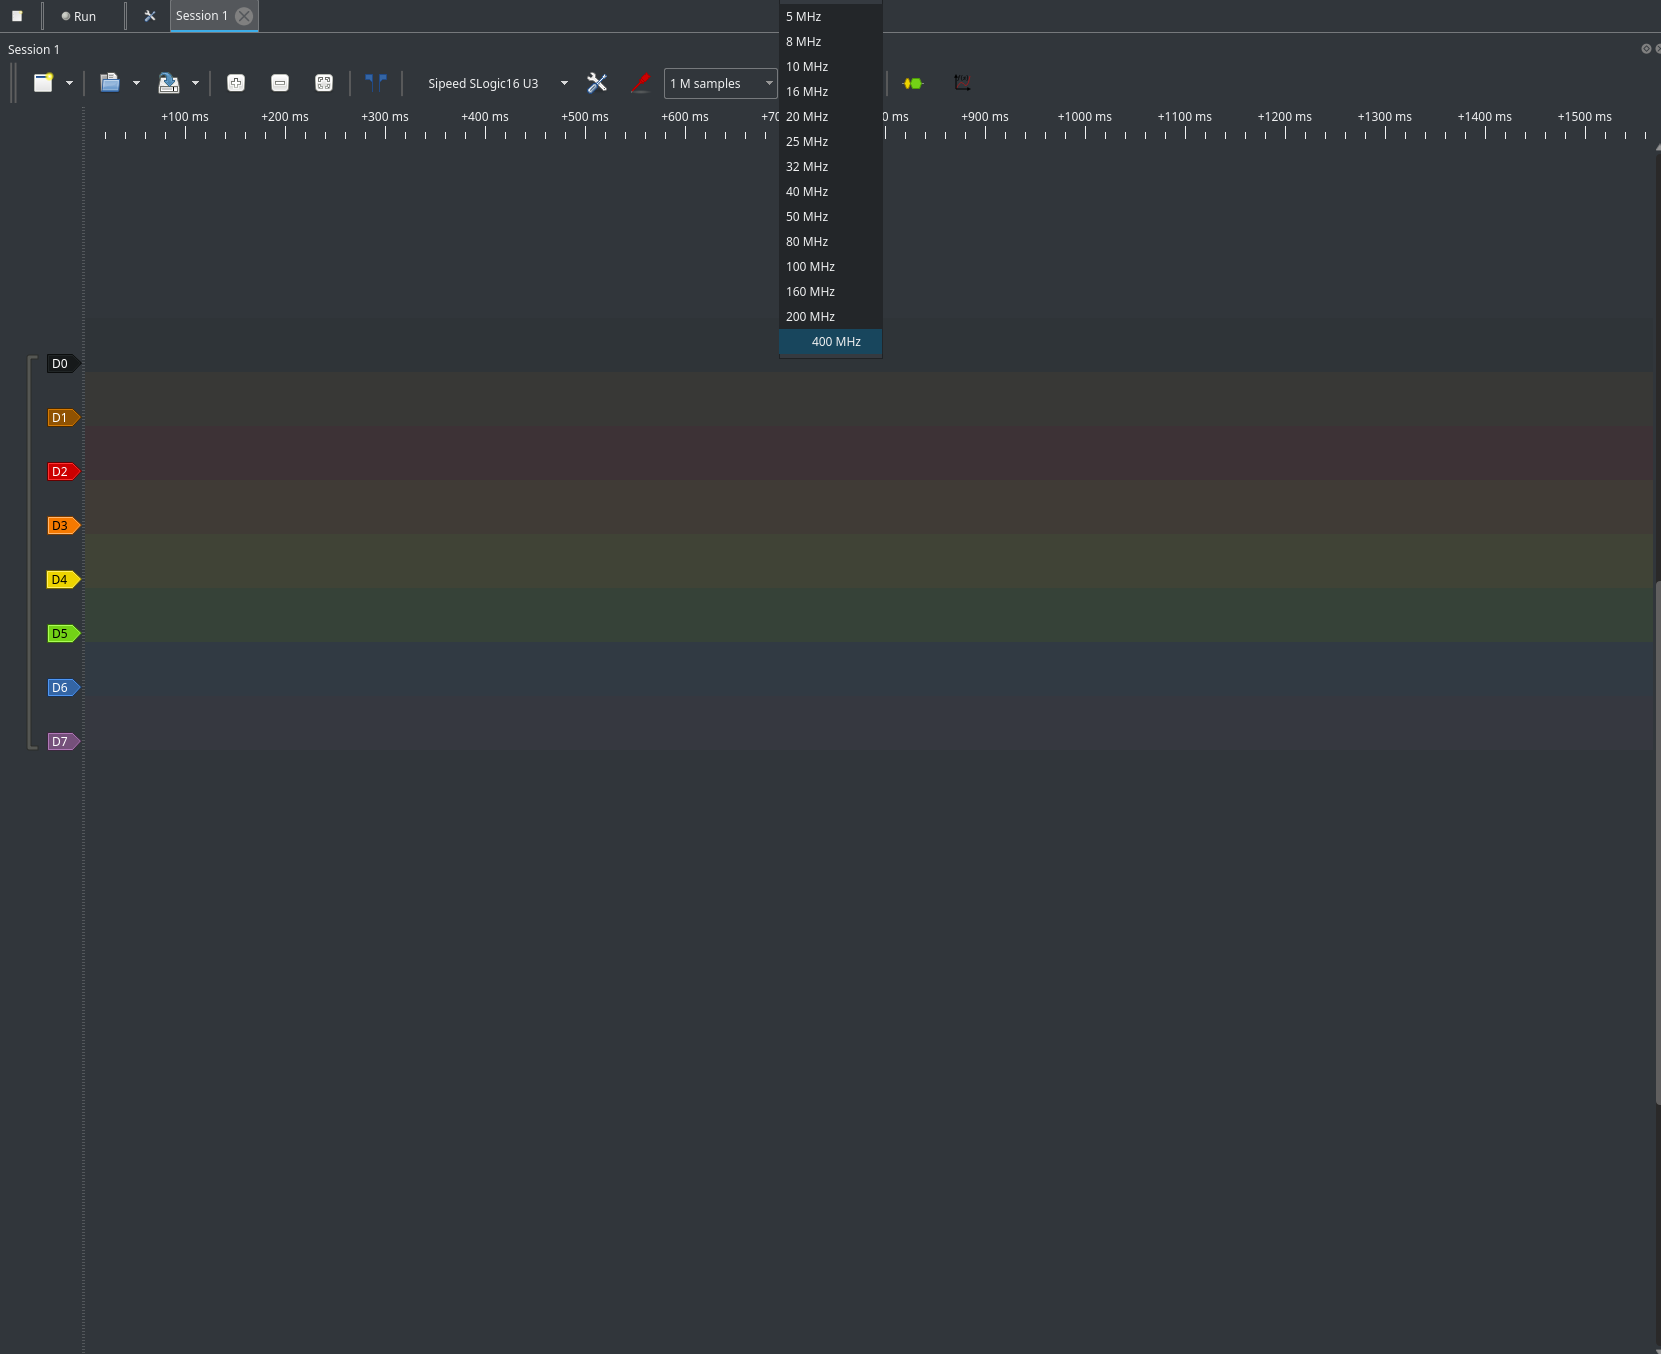
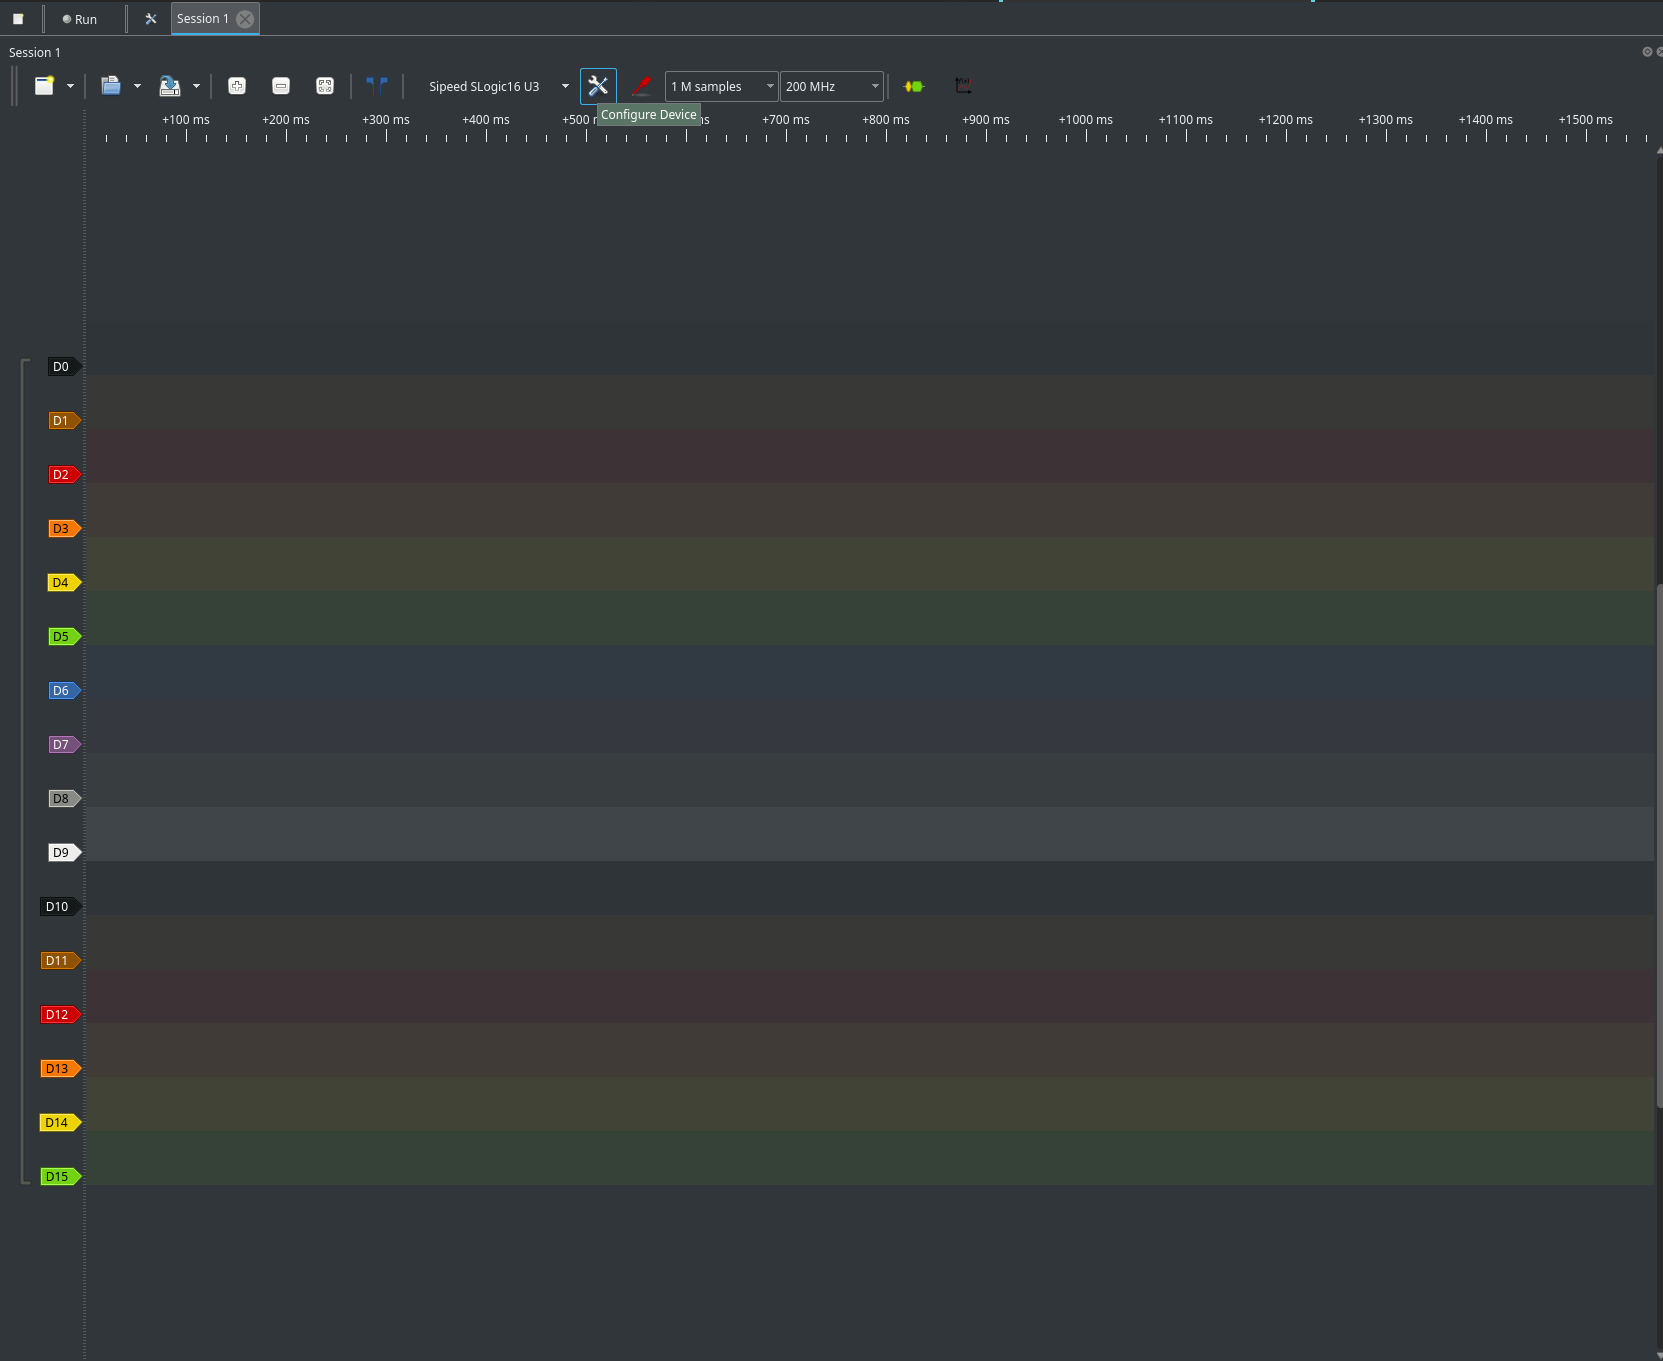
Selecting Active Channels
- Choose between 16, 8, or 4 channel configurations.
- Enable/disable channels in the configuration area.
- Fewer active channels allow higher sample rates.
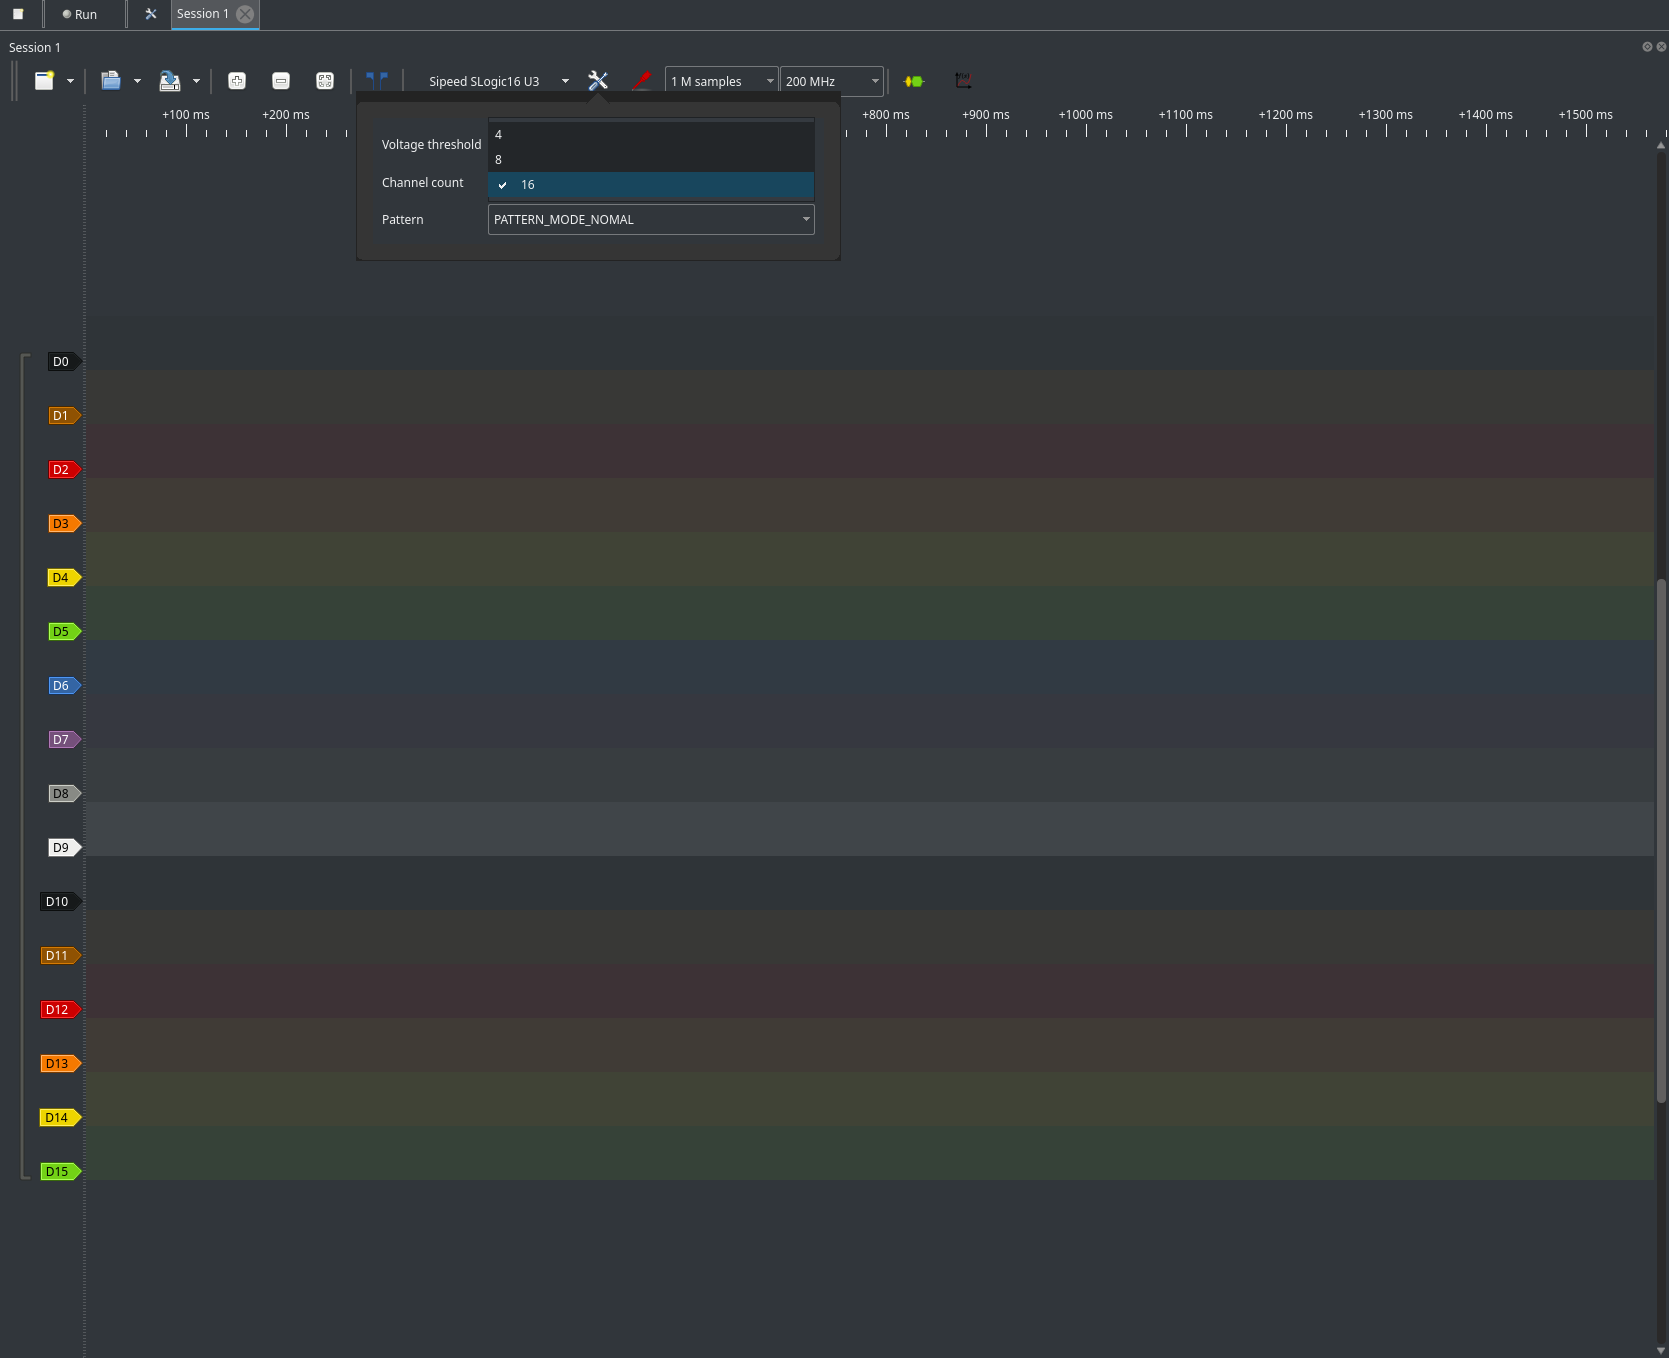
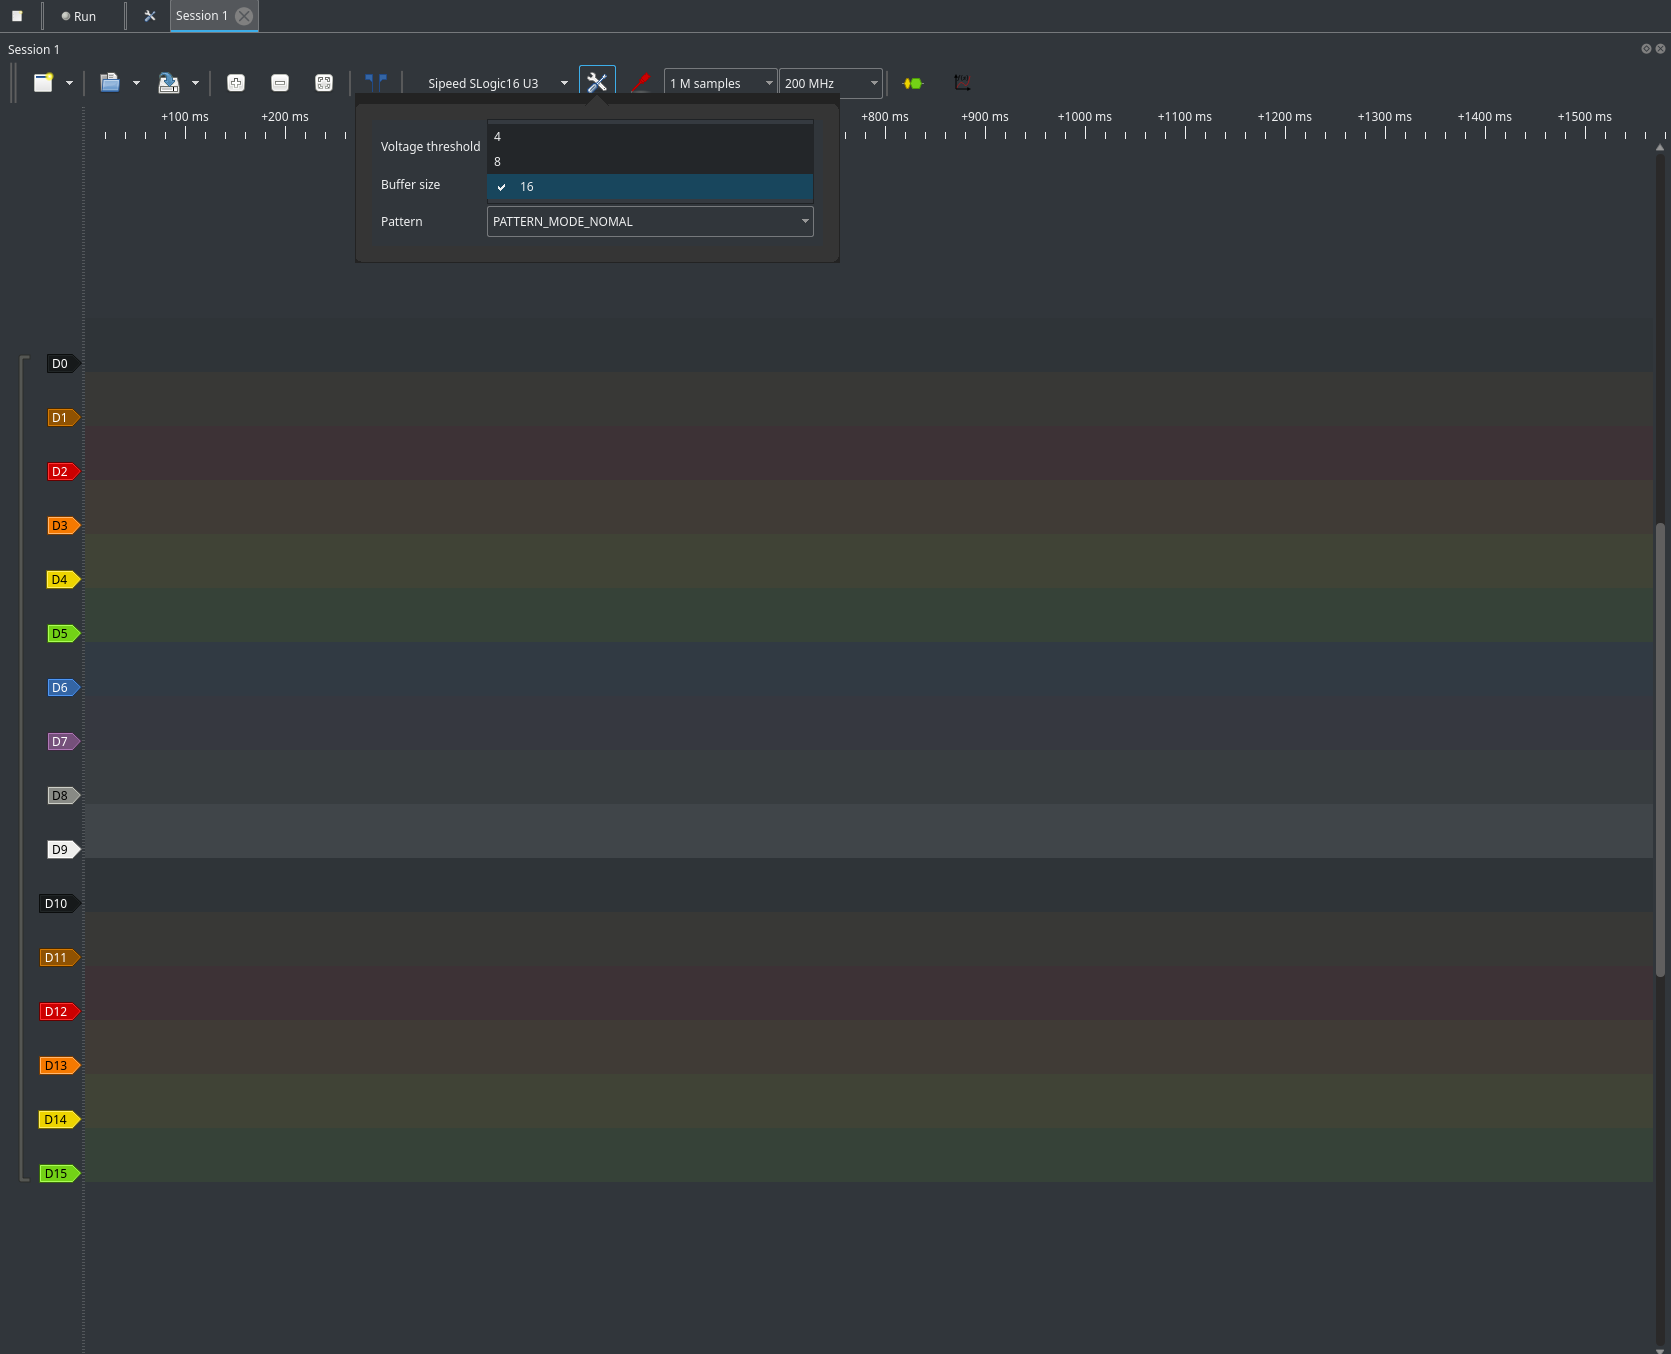
Adjusting Voltage Threshold
- Set threshold from 0.1V to 6.0V in 0.1V steps.
- Adjust in the channel/device configuration panel.
- Match threshold to your logic level (e.g., 1.0V for 3.3V CMOS).
- Apply changes before acquisition.
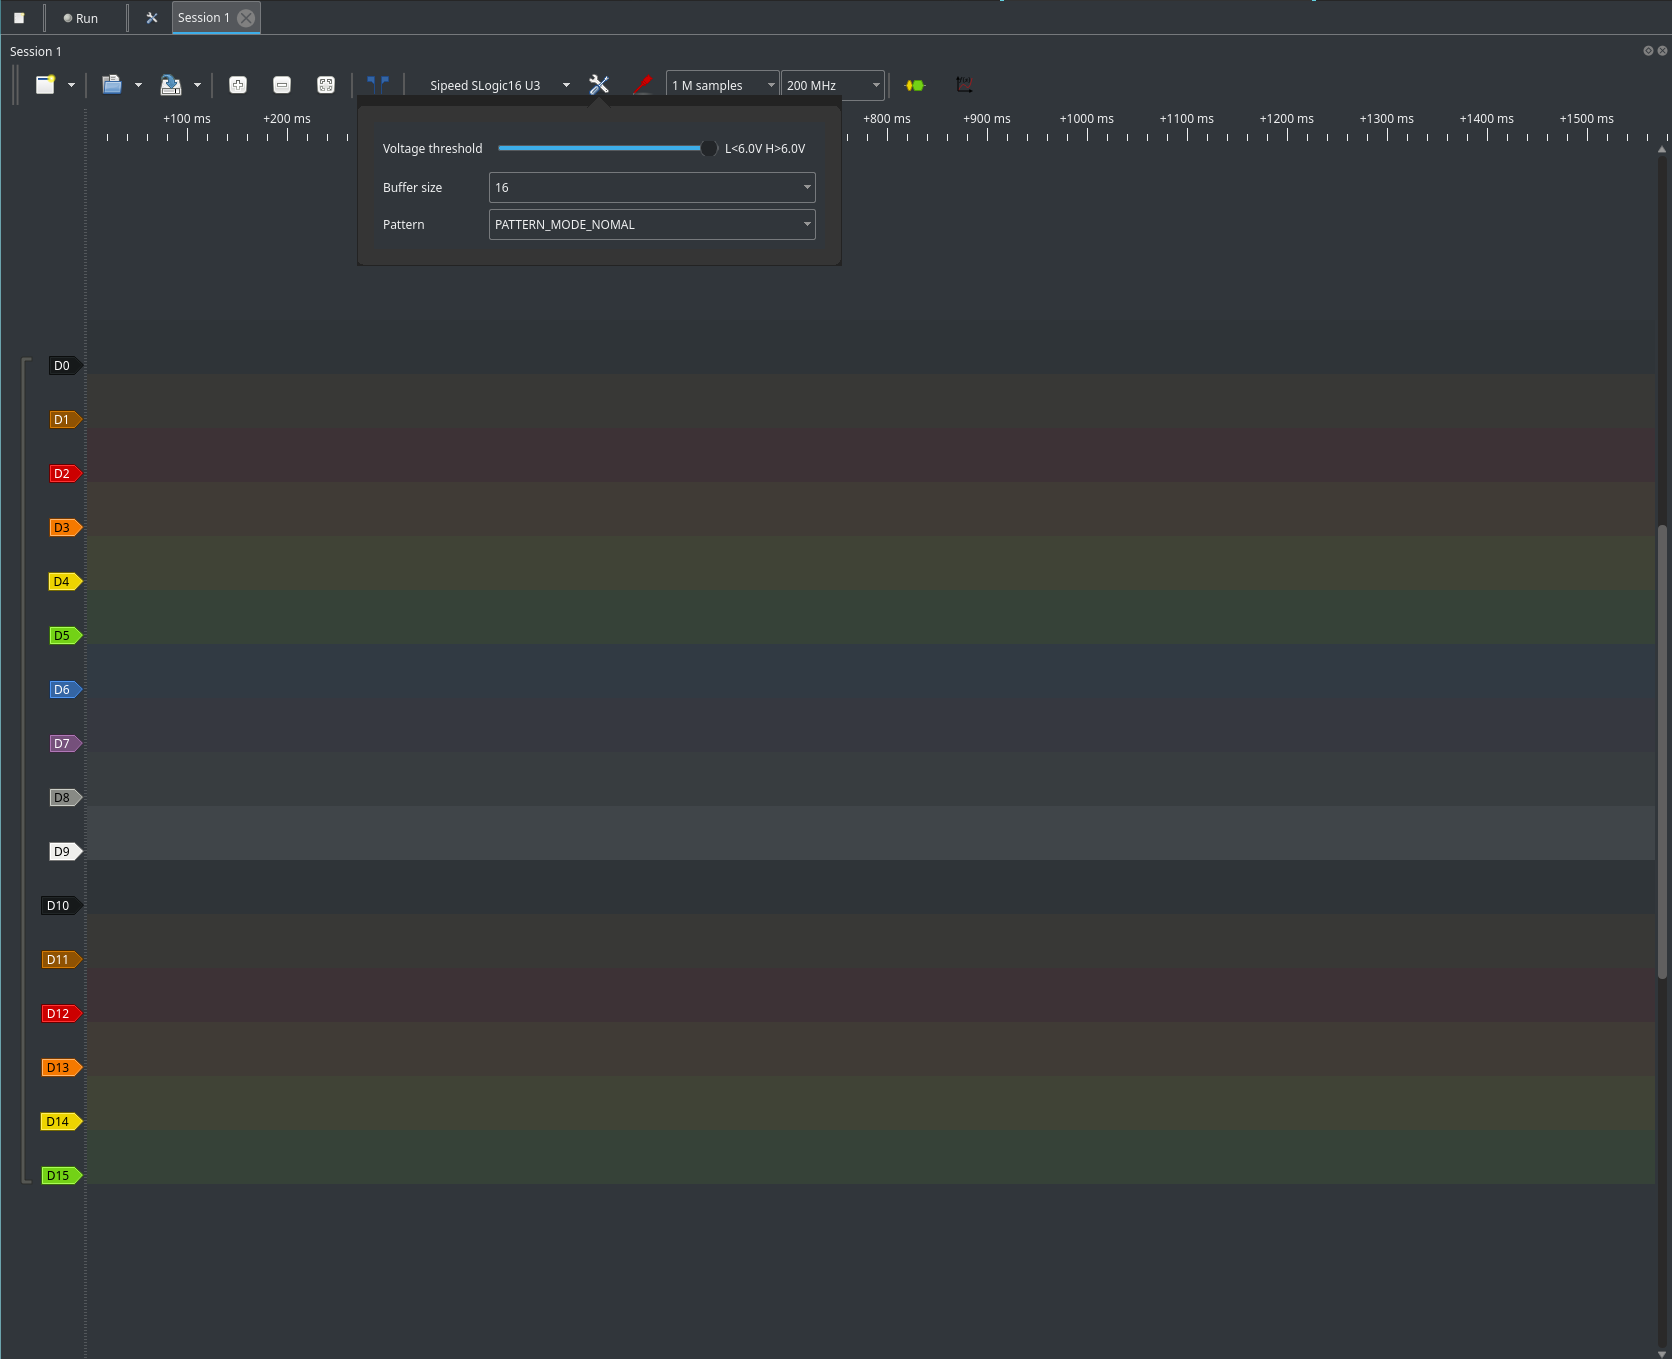
Tip: For 3.3V CMOS/TTL, set threshold to ~1.0V (30% of 3.3V).
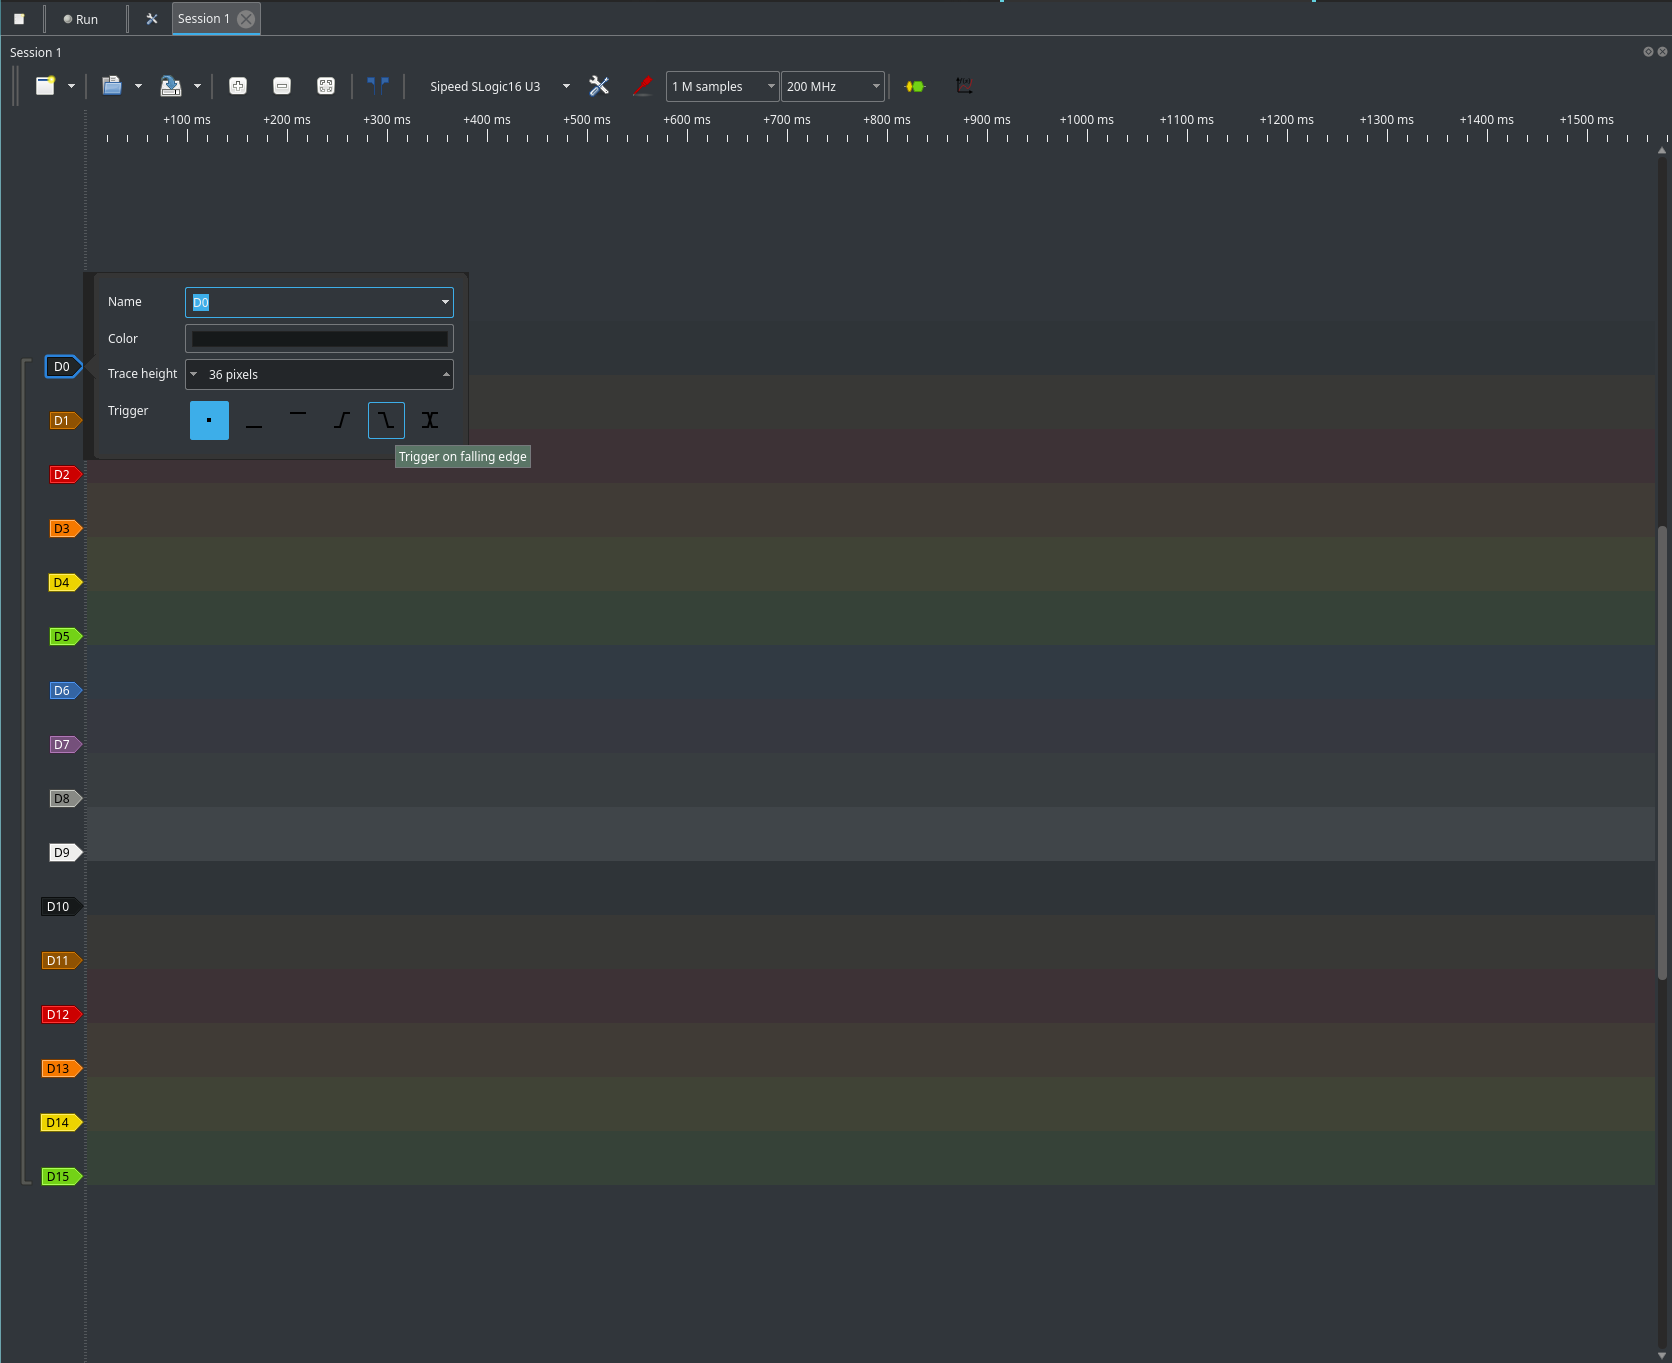
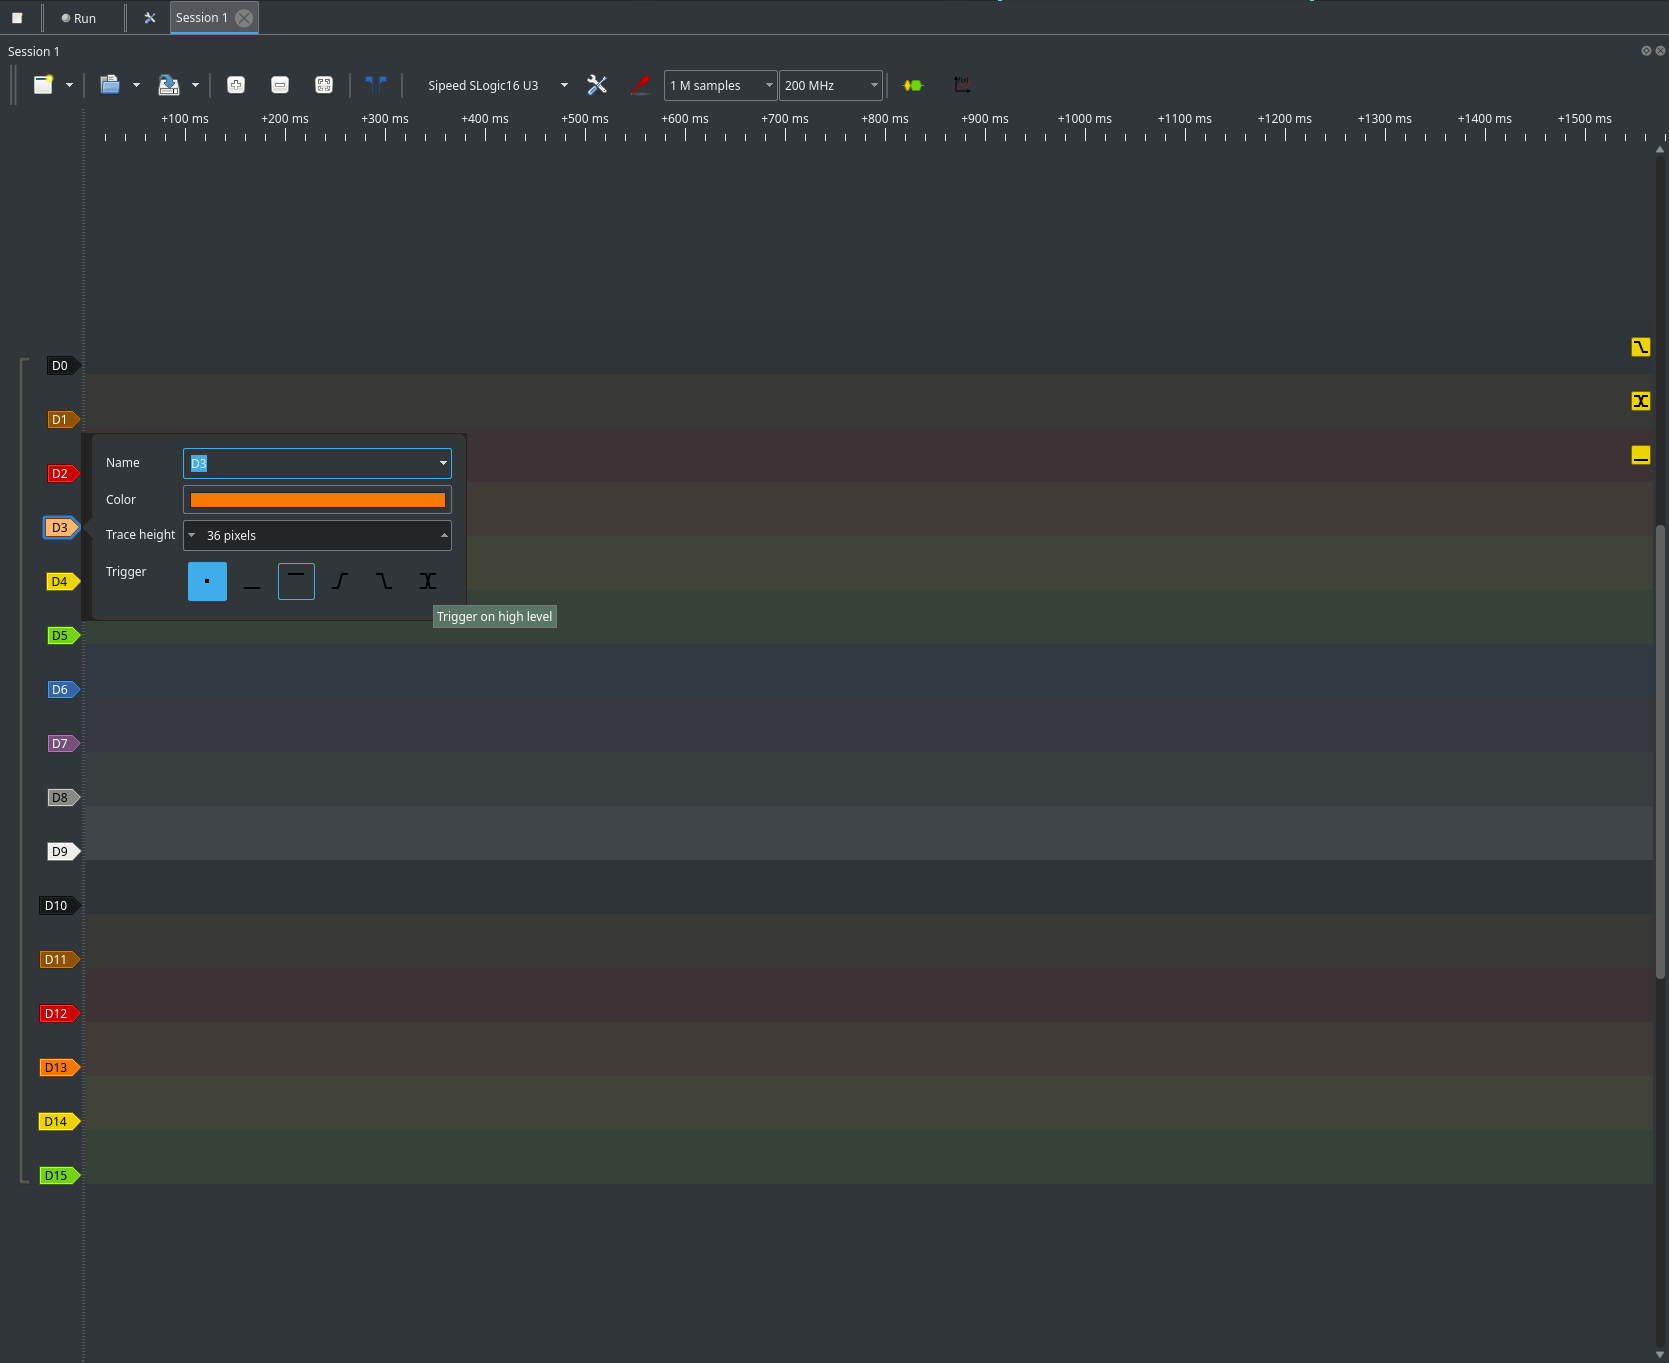
Edge Trigger
- Configure edge trigger to start capture on a specific signal transition.
- In the trigger panel, select channel and trigger type (rising, falling, or both).
Build Software from Source
The software is open source.
Recommended: Use sigrok-util build scripts for a simple, cross-platform experience.
Steps:
- Clone sigrok-util and follow its README for dependencies.
- Edit the build script to use Sipeed's libsigrok fork:
$GIT_CLONE https://github.com/sipeed/libsigrok -b slogic-dev - (Optional) Add options to speed up build and reduce size:
--disable-all-drivers --enable-sipeed-slogic-analyzer --disable-bindings --enable-cxx - Run the build script for your target (e.g.,
./sigrok-cross-linux,./sigrok-cross-mingw,./sigrok-cross-macosx).
For advanced/manual builds, refer to upstream sigrok and PulseView documentation.
Firmware Update
Firmware updates are provided via a Python/PyQt GUI tool.
Update steps:
- Clone/download the repository:
git clone https://github.com/sipeed/slogic16u3-tools.git - Install dependencies and set up the environment:
source .venv/bin/activate - Navigate to the
ptdirectory:cd pt - Run the GUI tool:
python src/gui.py - Press the mode button on the device. The GUI should display "SLogic16U3 OTA".
- Select the firmware file in the GUI.
- Click OTA to start the update.
- Wait for completion and follow on-screen instructions.
Note: A binary version of the update tool will be released soon.

FAQ
Why can't I find the SLogic16U3 device in Linux?
Normal users can't access USB devices by default.
Run Pulseview with sudo:
sudo ./Pulseview.appimage
Or set up udev rules (see below).
How do I set up udev rules for Linux?
Create a new udev rules file:
sudo tee /etc/udev/rules.d/60-sipeed.rules <<EOF
SUBSYSTEM!="usb|usb_device", GOTO="sipeed_rules_end"
ACTION!="add", GOTO="sipeed_rules_end"
ATTRS{idVendor}=="359f", MODE="0666", GROUP="plug_dev", TAG+="uaccess"
ENV{ID_MM_DEVICE_IGNORE}="1"
LABEL="sipeed_rules_end"
EOF
Reload udev rules and trigger:
sudo udevadm control --reload
sudo udevadm trigger
Unplug and reconnect the device.
You can now run Pulseview as a normal user.
Why can't I use higher sample rates? Only 200M shows.
The maximum sample rate depends on the number of active channels and USB bandwidth.
Slogic16U3's USB 3.0 provides up to ~400MB/s.
To use higher rates (400M/800M), disable unused channels.
