

 English
Peripheral
Update history
| Date | Version | Author | Update content |
|---|---|---|---|
| 2023-12-08 | v1.0 | ztd |
|
SoC
CPU frequency
sudo cat /sys/devices/system/cpu/cpu*/cpufreq/cpuinfo_cur_freq
Unit: KHz
Note that the system has a temperature control strategy, which will reduce the frequency when the system is too idle or the temperature is too high.
PWM
TODO
GPIO
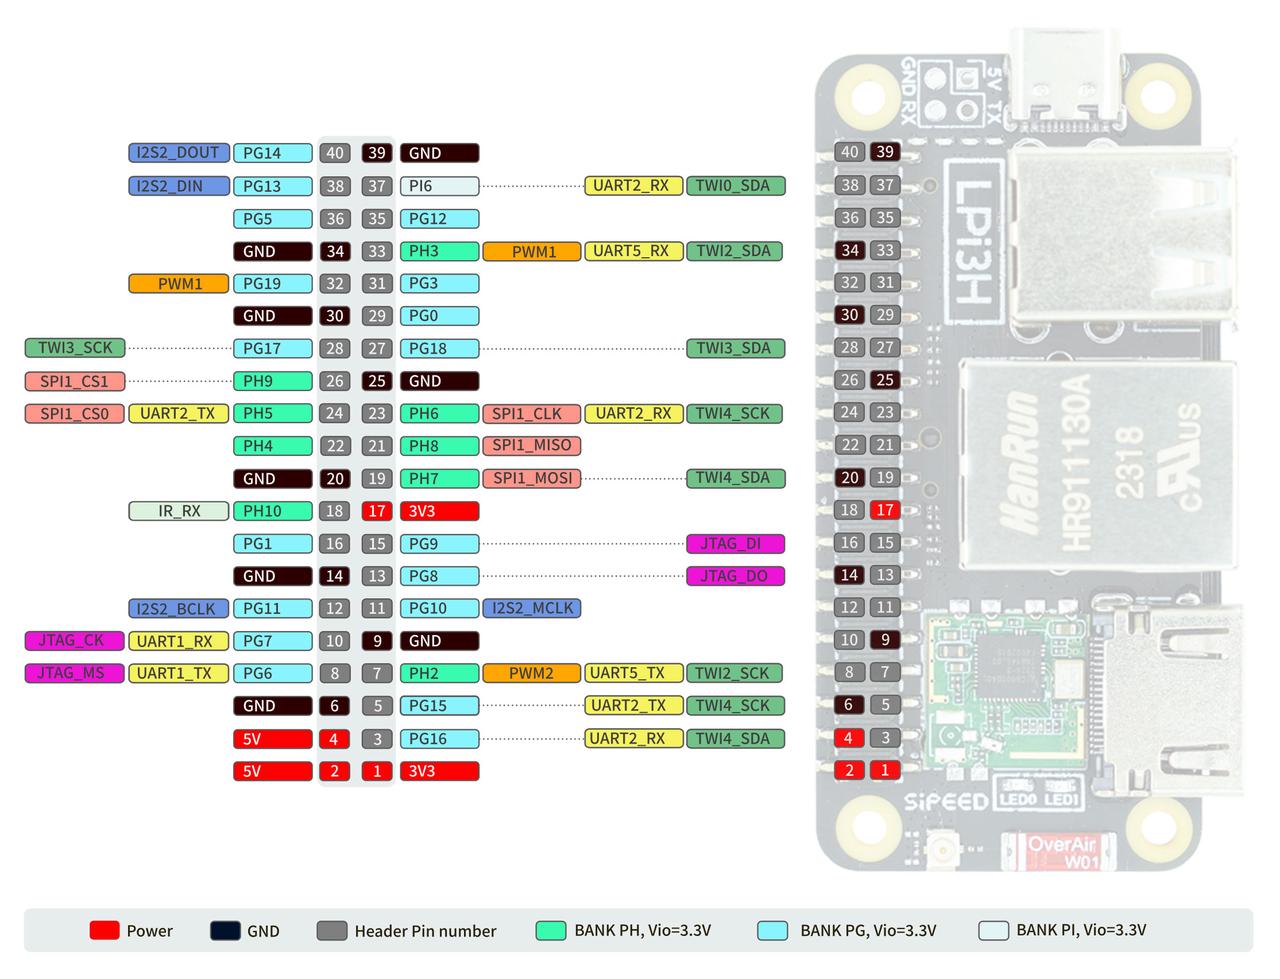

Referring to the two tables above, you can find the position and number of the GPIO to be used. Taking the example of lighting up the two LEDs on the board, you can use the following command to manipulate the corresponding GPIO in the user space:
num=194
echo ${num} > /sys/class/gpio/export
echo out > /sys/class/gpio/gpio${num}/direction
echo 0 > /sys/class/gpio/gpio${num}/value
num=196
echo ${num} > /sys/class/gpio/export
echo out > /sys/class/gpio/gpio${num}/direction
echo 0 > /sys/class/gpio/gpio${num}/value
In addition to the above methods, GPIO can also be controlled using the libgpiod library in the C language. The following example still uses the LED lights on the board:
#include <gpiod.h>
#include <stdio.h>
#include <unistd.h>
#include <stdlib.h>

int main(int argc, char **argv)
{
    int i;
    int ret;

    struct gpiod_chip * chip;
    struct gpiod_line * line;

    chip = gpiod_chip_open("/dev/gpiochip0");
    if(chip == NULL)
    {
        printf("gpiod_chip_open error\n");
        return -1;
    }

    line = gpiod_chip_get_line(chip, 194);
    if(line == NULL)
    {
        printf("gpiod_chip_get_line error\n");
        gpiod_line_release(line);
    }

    ret = gpiod_line_request_output(line,"gpio",0);
    if(ret < 0)
    {
        printf("gpiod_line_request_output error\n");
        gpiod_chip_close(chip);
    }

    for(i = 0; i < 10; i++)
    {
        gpiod_line_set_value(line,1);
        sleep(1);
        gpiod_line_set_value(line,0);
        sleep(1);
    }

    gpiod_line_release(line);
    gpiod_chip_close(chip);

    return 0;
}
To install the required dependencies:
sudo apt update
sudo apt install build-essential libgpiod-dev gpiod
After compiling, you need to execute the program with root privileges:
gcc gpio.c -I /usr/include/ -L /usr/lib/aarch64-linux-gnu/ -lgpiod -o gpio
sudo ./gpio
The libgpiod library also provides some commands to manipulate GPIO. Here are some commonly used commands:
gpiodetect: List all GPIO controllers
sudo gpiodetect
gpioinfo: Display the pin information of a GPIO controller, showing which pins are already in use.
sudo gpioinfo gpiochip0
gpioset: Set the state of a GPIO pin.
sudo gpioset gpiochip0 196=0
gpioget: Get the state of a GPIO pin.
sudo gpioget gpiochip0 196
UART
System serial port
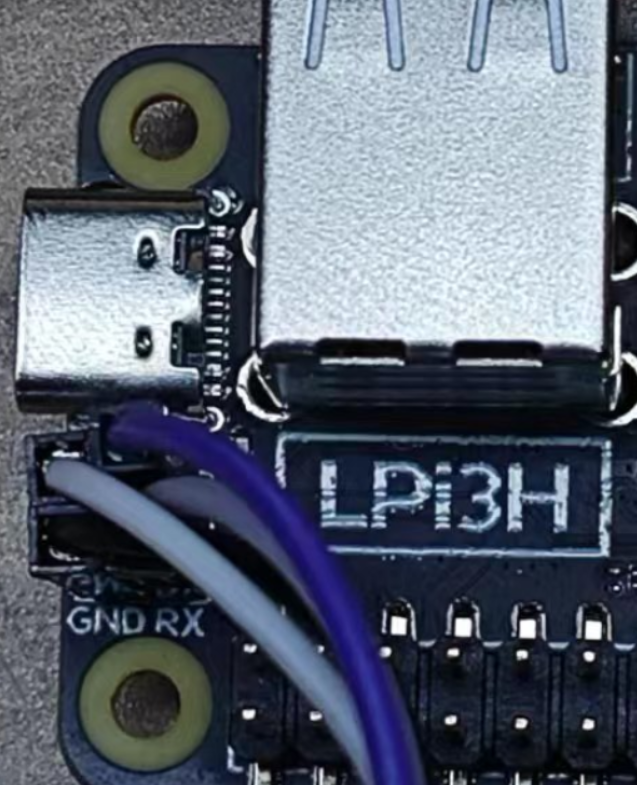
The system serial port of the LonganPi 3H is UART0, which is provided in the side pins.
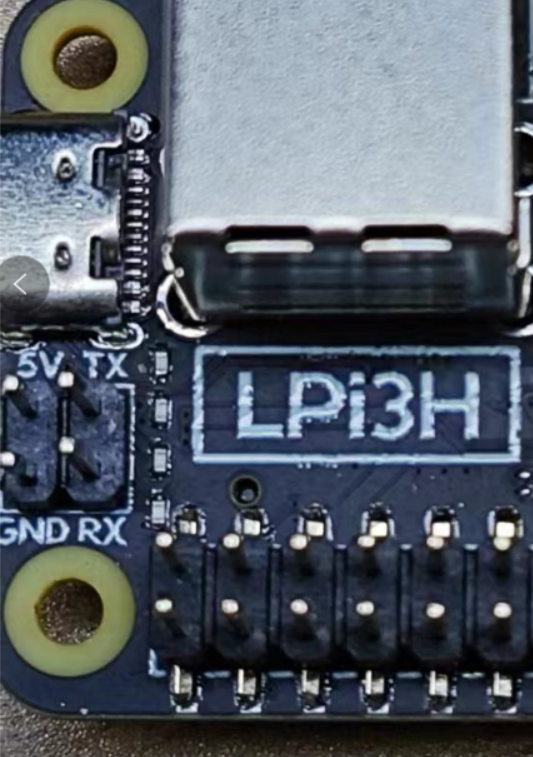
You can use USB to serial module to connect the serial port, namely U0-RX and U0-TX, pay attention to cross connection, as well as GND connection (there is also an extra power line in the following picture, if you use typeC port to power, you can not connect this power line).
After the connection is completed, you can use the serial port tool for communication, recommended XShell and mobaterm under Windows, and minicom under Linux.
Set the serial port baud rate to 115200, and you can log in and operate the commands under the serial terminal:
Note: After the connection, you can knock several enters to see if there is a response, if there is no response, check the wiring or serial port configuration.
General serial port
In addition to the system serial port UART0, the device tree also enabled UART1, UART2, UART3, UART4 serial ports by default, which can be used as needed.
List serial devices
ls /dev/ttyS*
Viewing serial port information such as baud rate
stty -F /dev/ttyS1 -a
Set serial port baud rate and data mode
stty -F /dev/ttyS1 ispeed 115200 ospeed 115200 cs8
Check serial data
cat /dev/ttyS1
Sending serial data
echo "LonganPi3H" > /dev/ttyS1
Other tools
You can also use minicom or pyserial library for serial operation, please find relevant information for yourself.If you want to use unusual baud rate, you can use picocom.
I2C
TODO
SPI
TODO
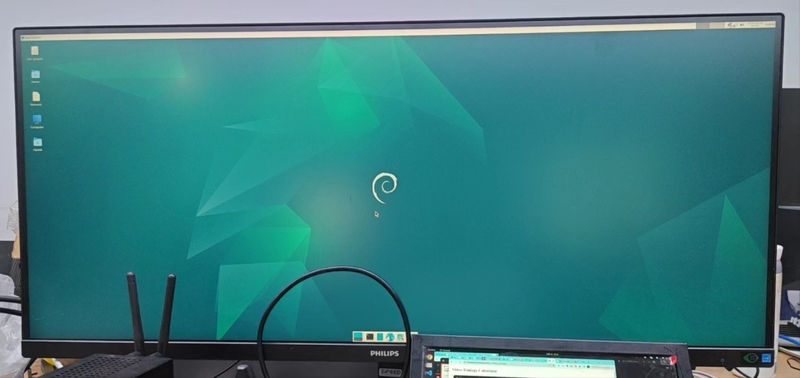
HDMI display
LonganPi 3H supports a display with a maximum resolution of 4k, as shown in the following image:
If you don't see anything when you plug in an HDMI display, try changing the display configuration parameters using xrandr from the command line.
First export the DISPLAY variable:
export DISPLAY=:0.0
Then use xrandr to see the available arguments:
sipeed@lpi3h-ce8e:~$ xrandr
Screen 0: minimum 320 x 200, current 1920 x 1080, maximum 8192 x 8192
HDMI-1 connected 1920x1080+0+0 (normal left inverted right x axis y axis) 255mm
x 220mm
   1920x1080     60.00*+  60.00    59.94
   1400x1050     59.95
   1280x1024     75.02    60.02
   1440x900      59.90
   1280x960      60.00
   1152x864      75.00
   1280x720      60.00    59.94
   1024x768      75.03    70.07    60.00
   832x624       74.55
   800x600       72.19    75.00    60.32    56.25
   640x480       75.00    72.81    66.67    60.00    59.94
   720x400       70.08
Based on the output of the above command, we can try to change the resolution, frame rate and other configurations, such as changing to 1440x900 resolution:
xrandr xrandr --output HDMI-1 --mode 1440x900
Some parameters may cause the screen to not light up. When you have no display when you plug in an HDMI display, you can use this command to adjust the display parameters to light up, or you can adjust them in the display graphical menu in the system settings.
If you find that you have flickering problems with higher resolutions, try lowering the refresh rate in the graphical settings display menu.
HDMI audio
TODO
GPU
TODO
Others
Welcome to submit! You can get ¥5~150 ($1~20) coupons after your submission is accepted!
