English
LicheeRV ubuntu
Update history
| Date | Version | Author | Update content |
|---|---|---|---|
| 2022-12-01 | v0.1 | wonder |
|
Ubuntu released the image file which can run on LicheeRV. But we can't flash this image file with PhoenixCard application, so here are steps.
After booting this system on LicheeRV, we can use mouse and keyboard to operate this system if connecting this board with HDMI screen, otherwise we can only operate this system by serial communication.
Ubuntu Introduction
Ubuntu is based on another linux distribution Debian, and we can find many answers from internet when meet trouble, which is friendly to beginners and helps them find solutions quickly when they have trouble.
Because of the limited performance, it's suggested running this system by command edition. If you need graphical interface, you need to do it by yourself.
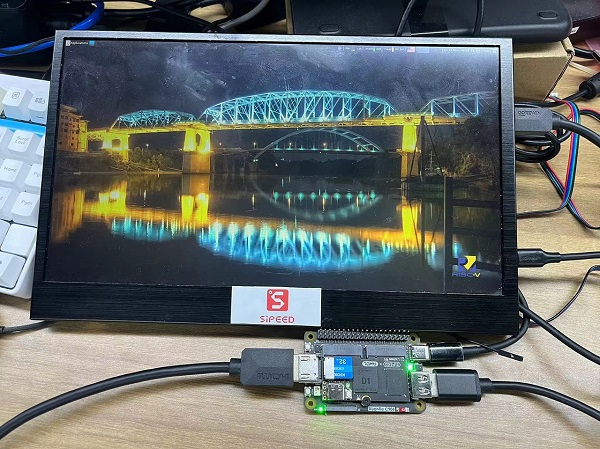
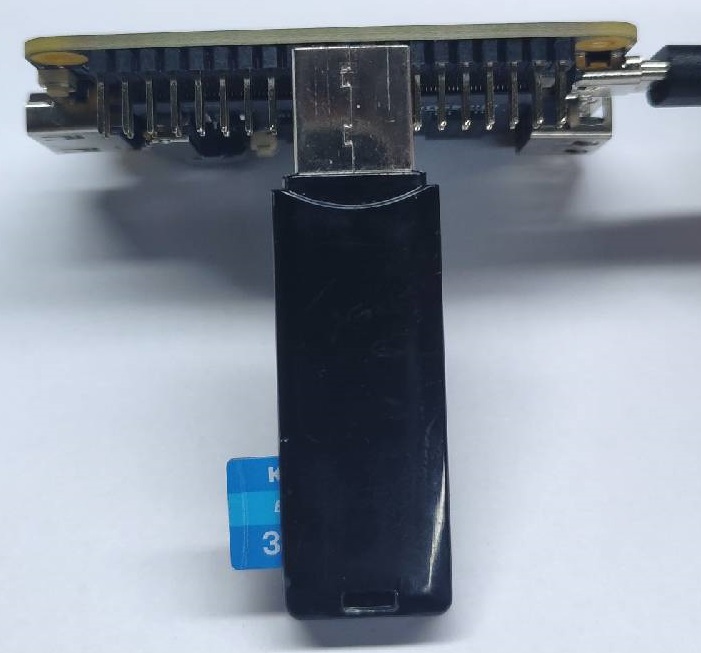
The photo above is D1 Dock Pro,and it's different with Dock board, Dock Pro board incorporates USB uart port, by which we can communicate the board card with the computer with only one USB TypeC cable. The relevant peripherals can be seen in the following figure.

This board can be bought from aliexpress.
Steps
Get image
We upload this image file on mega.
Software
Visit balenaEtcher to download application. We have uploaded Windows edition software in our Download station, other edition can be downloaded from balenaEtcher official site.
Flash System
Prepare a SD card over 8G, the card with better performance can have better experience.
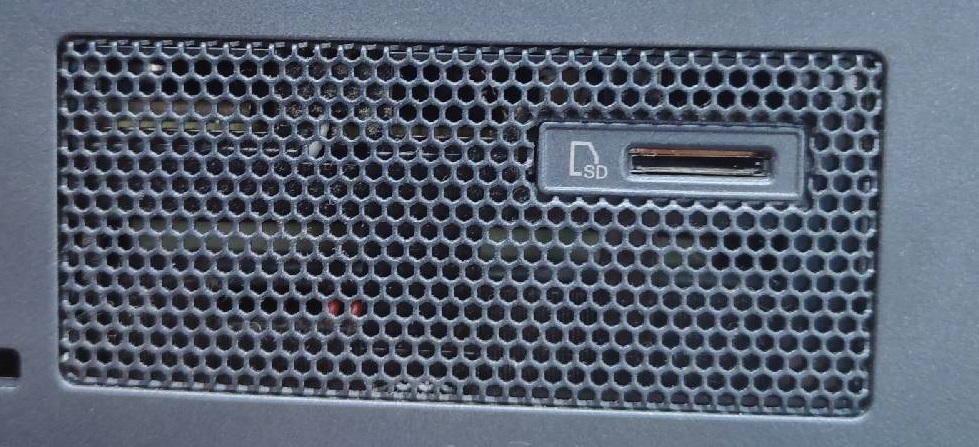
Connect the TF card with computer by SD card reader or SD card slot in the computer. Here is an example about SD card slot in computer, if your computer does not have SD card slot, you need the SD card reader.
| Connect TF card with computer | |
|---|---|
| Connect by SD card reader | Connect by SD card slot |
 |
 |
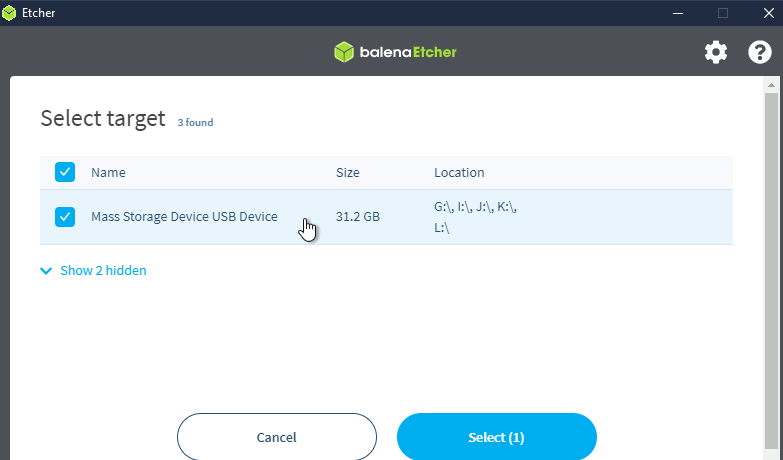
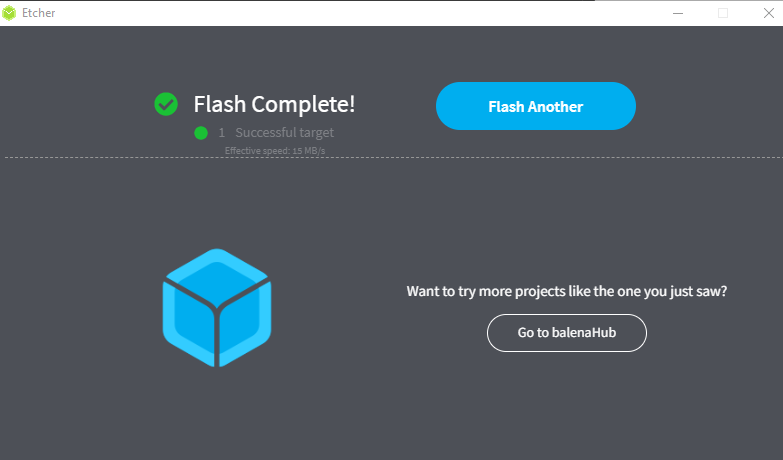
Run balenaEtcher, choose the downloaded image file, choose your TF card, click Flash:
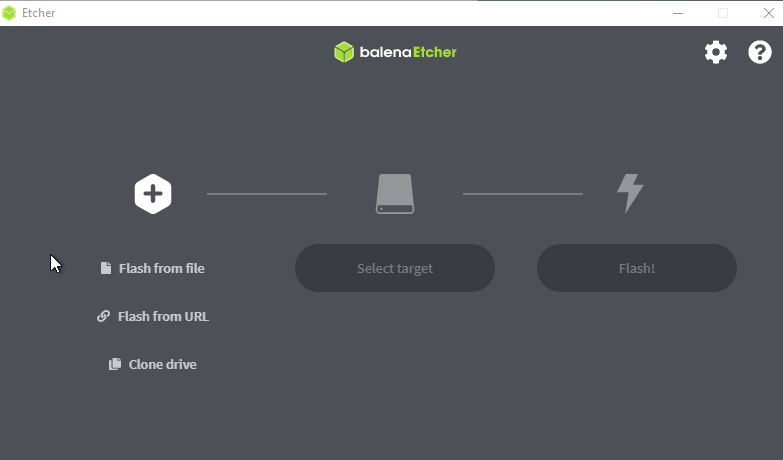
Make sure you choose the correct SD card.
This will take a bit time, and after finishing this work it will be like as following figure. If there is no Successful shown after finishing this work, try to reburn this image.
Run System
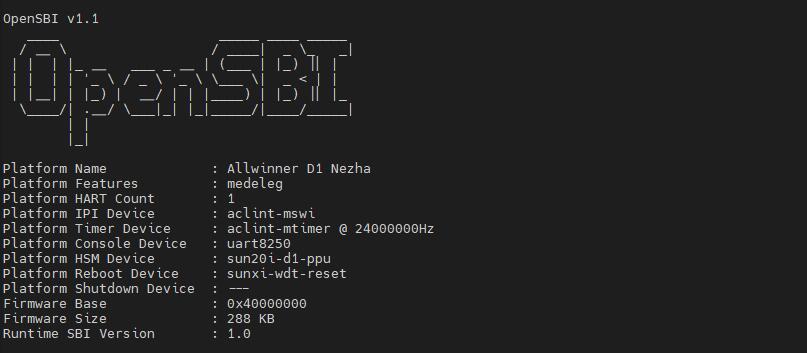
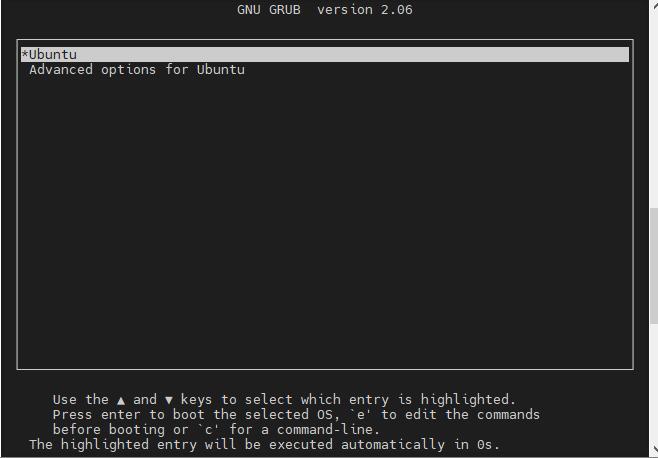
Finishing flashing system and seeing successful shown in the end, we can connect SD card with this board to start ubuntu.

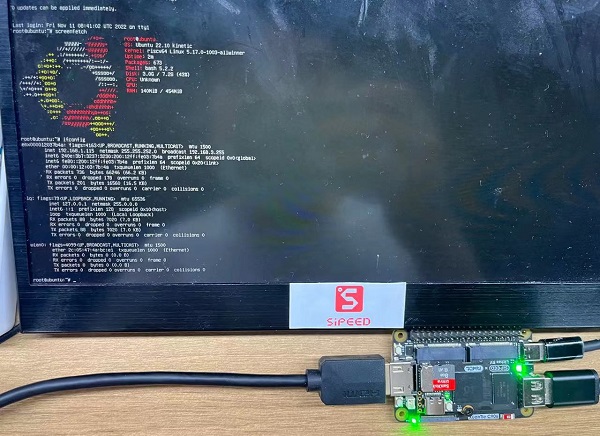
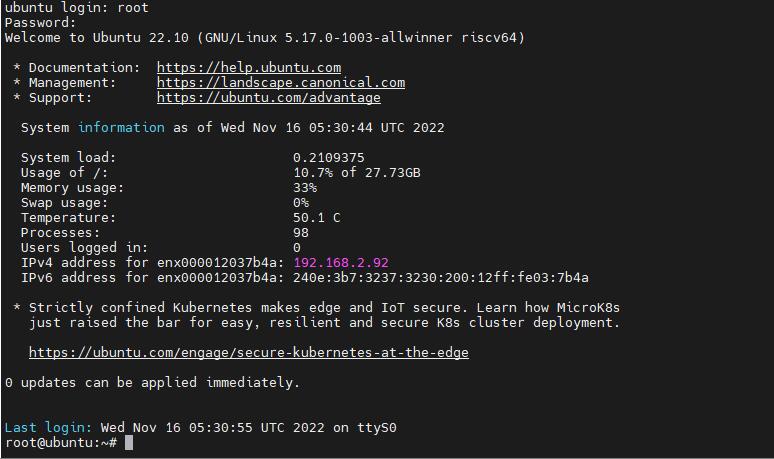
View messages from UART, and we can operate this board by UART.
Wait a while, then the username and password are both root.
Connect wifi
Use command nmcli to connect 2.4G wireless.
- Scan wifi
nmcli dev wifi
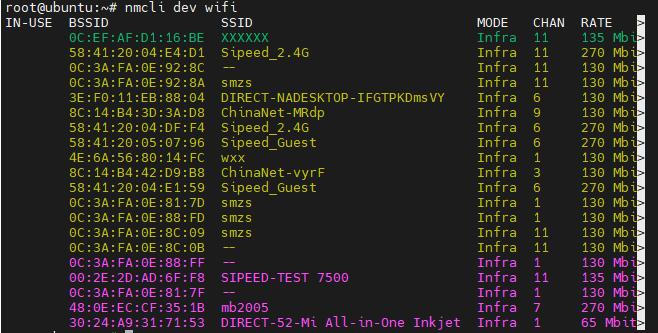
- Connect wifi,by command
nmcli dev wifi connect wifi_name password wifi_password
nmcli dev wifi connect Sipeed_Guest password 12345678

See successfully, then we have already connected to the wifi, and commands like apt and others work fine.
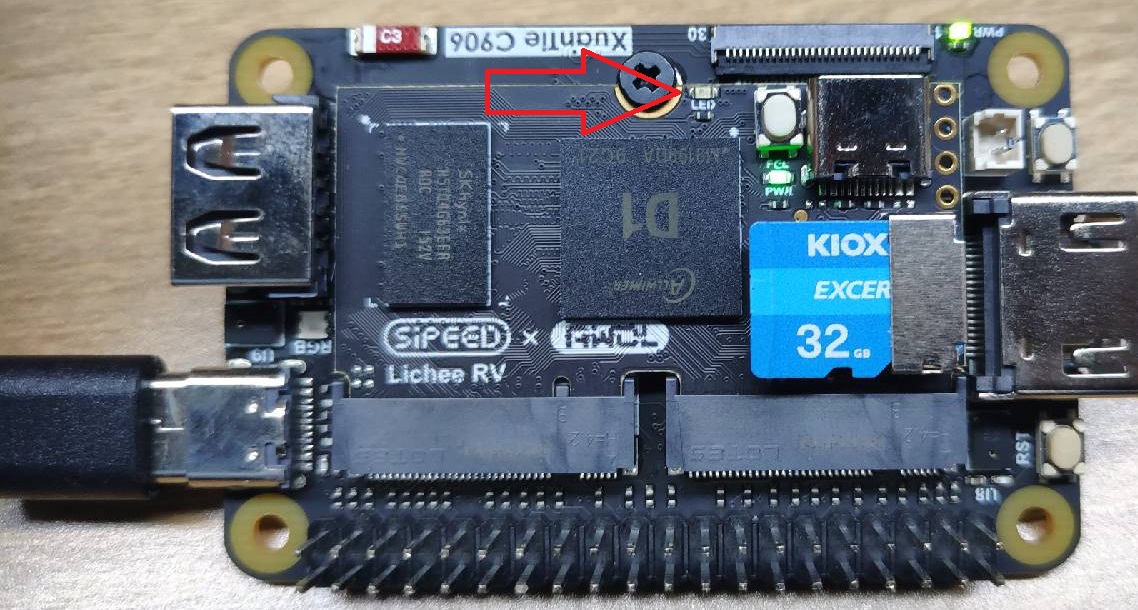
Blink led
We can blink led on our board by this Ubuntu system like what we have done on Tina, here are the codes:
Turn on LED :
echo 1 > /sys/class/leds/\:status/brightness
Note the \ in this command, without which you can't run this command successfully.
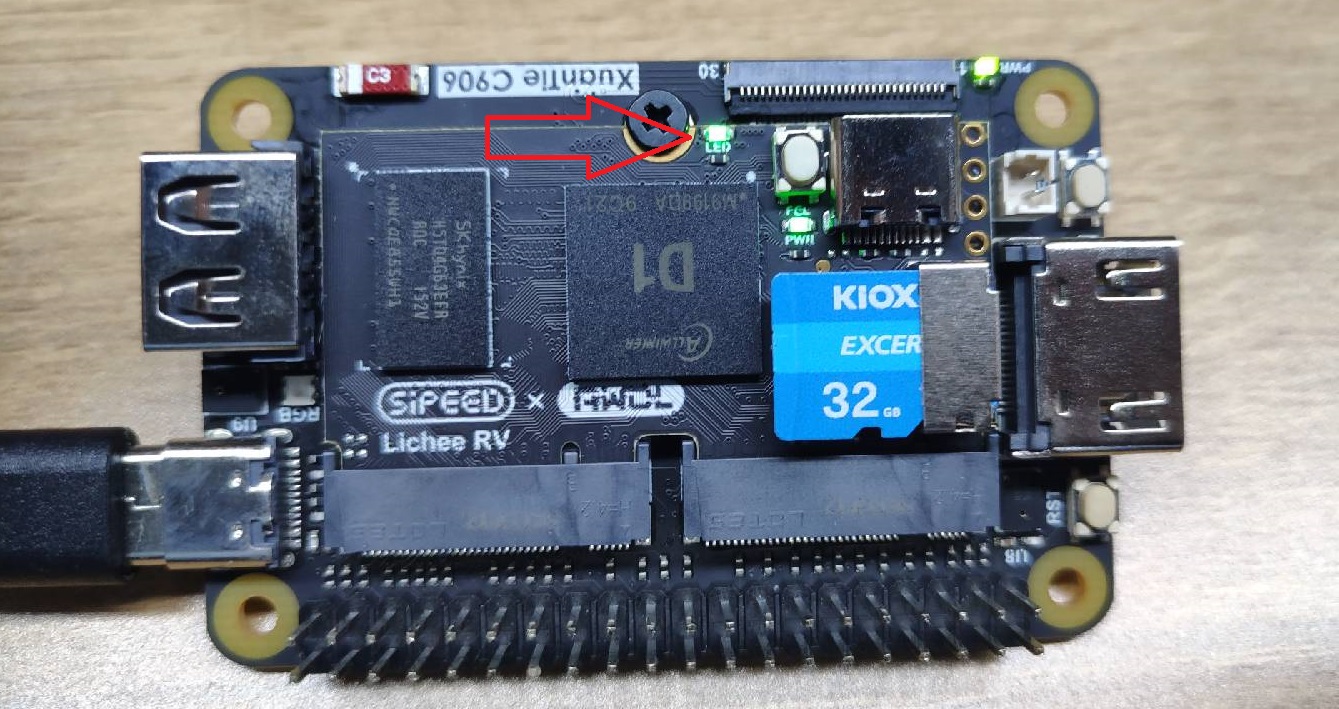
Turn off LED :
echo 0 > /sys/class/leds/\:status/brightness
In the end
Based on Ubuntu LicheeRV image, we packed the wireless driver inside, which makes it more convenient for users to experience this system.
Questions
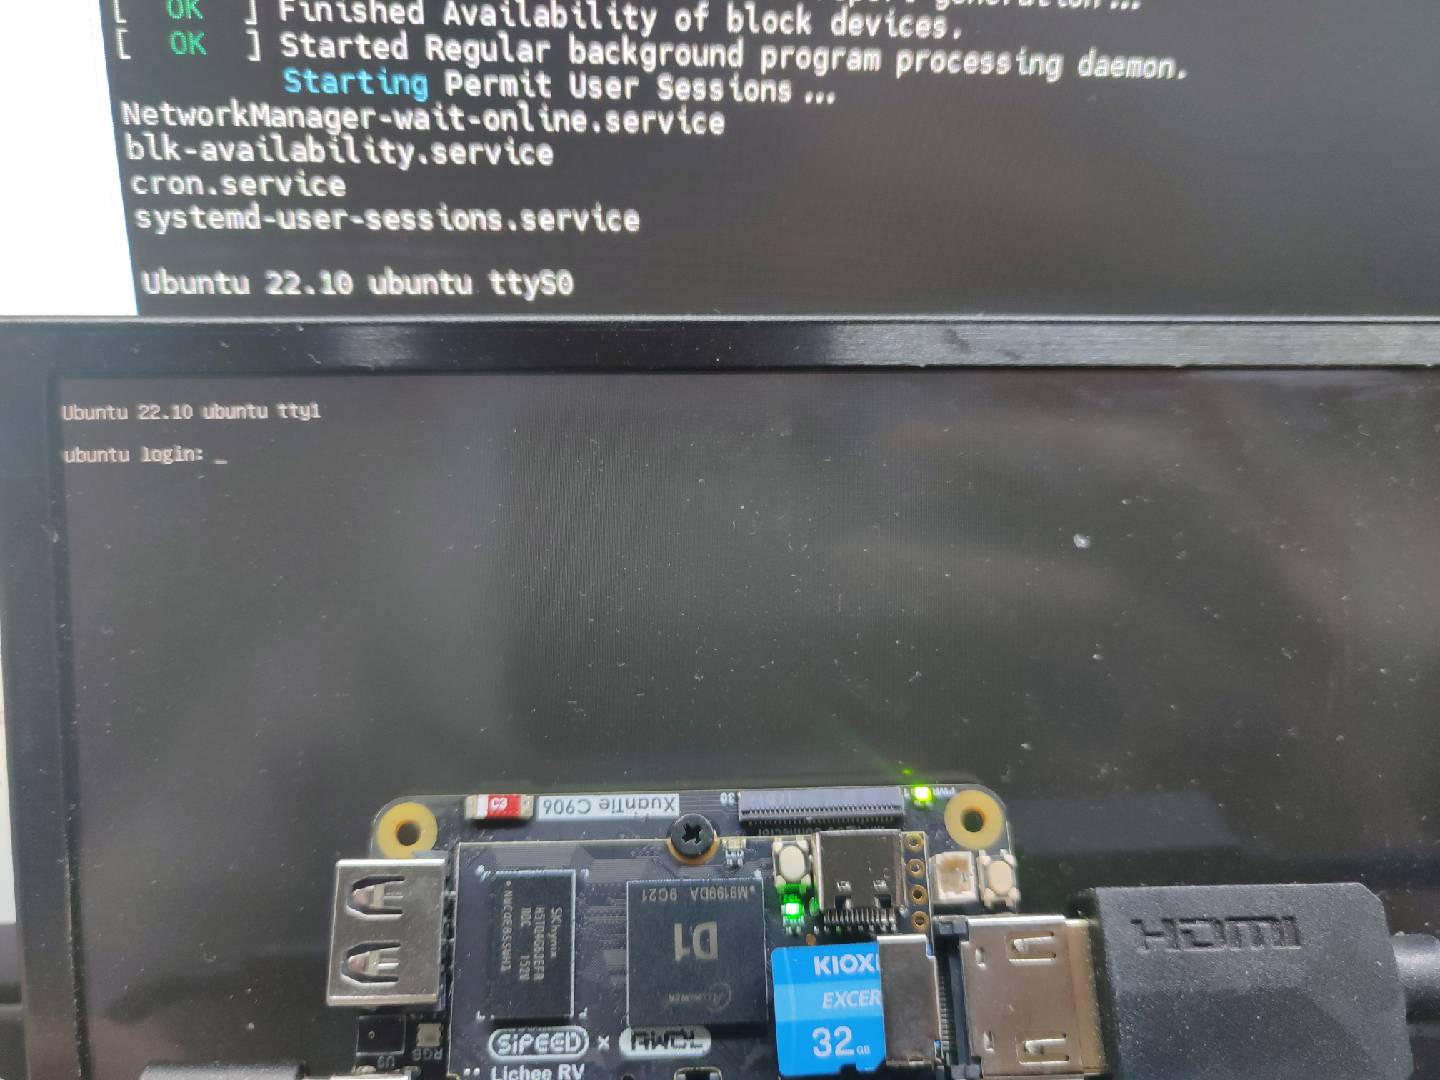
No HDMI output
The board will not display HDMI command line when booting, and after the HDMI related service starts LicheeRV displays the command line console on HDMI screen, and some screen is not fit LicheeRV ubuntu image output and will not display the command line console.
Here is the login photo of UART (ttyS0) and HDMI command line console (tty1) of LicheeRV ubuntu image.