

 English
System Update
For details, refer to the Flashing OS Image,The TFCard&eMMC image (Debian 12) is recommended.
The following instructions are based on this image. If using a custom-built image, pay attention to operational details.
System Boot
Pre-Boot Preparation
5V USB power supply
mini HDMI cable and display
USB serial tool (e.g., SLogic Combo8 (optional, for debugging/login))
Normal Boot
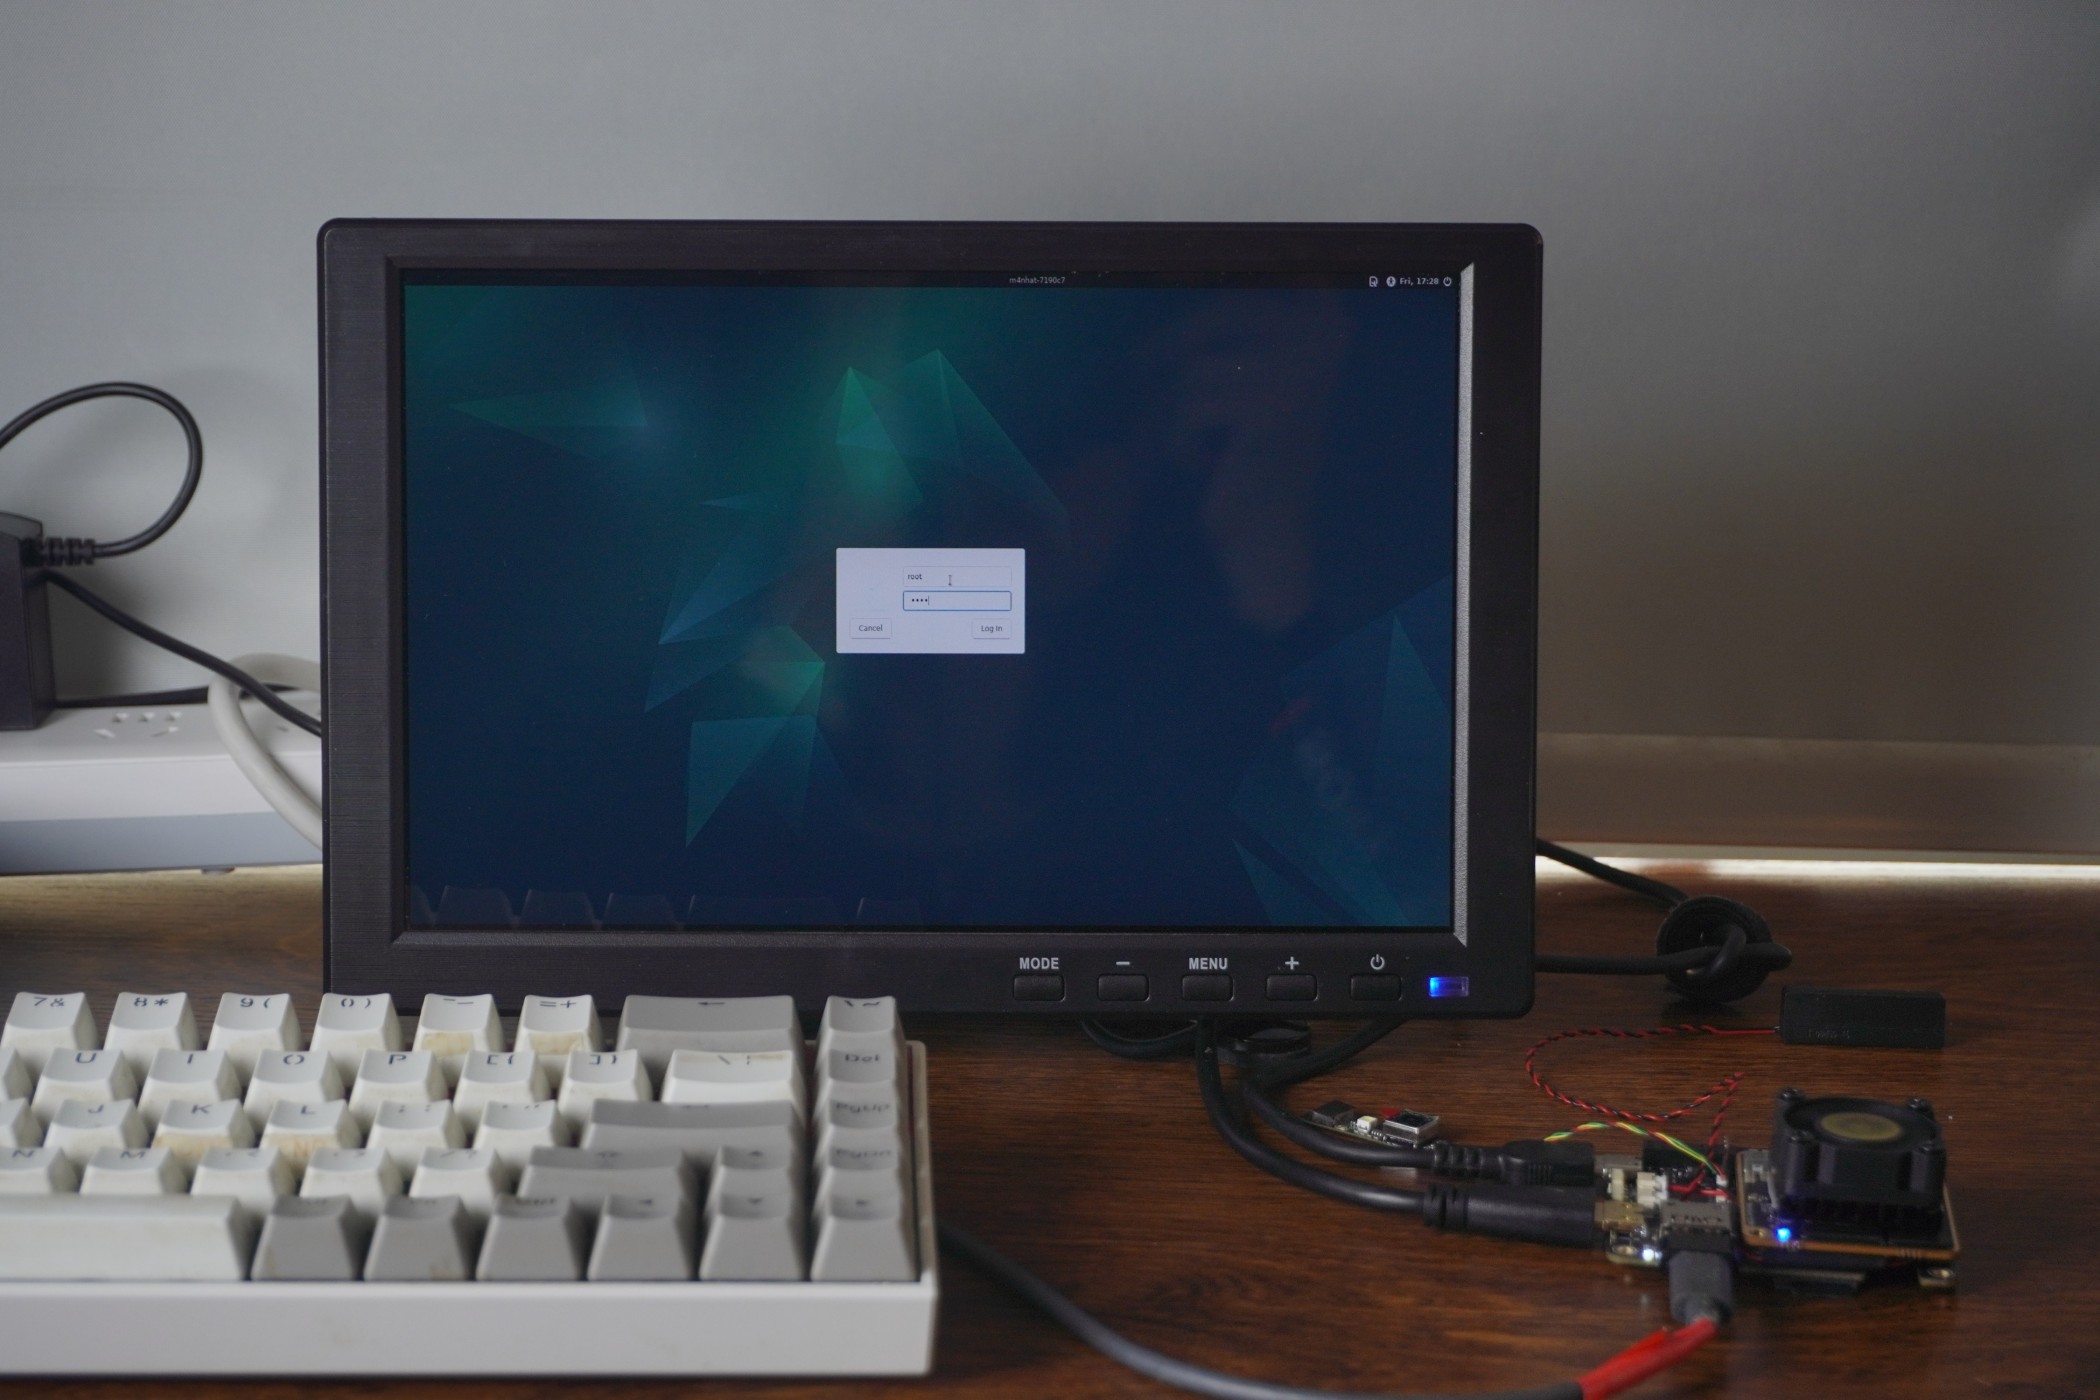
Login Interface
Connect a display via mini HDMI and power on. The core board’s blue LED and Hat baseboard’s white LED should light up, indicating normal power supply.
If the eMMC contains the default Raspberry Pi slave image, flash a new standalone image to the TF card and insert it into the M4N-Hat.
Press and hold the
BOOT0button, then pressRST. After ~20 seconds, the LightDM login screen will appear, indicating a successful boot.
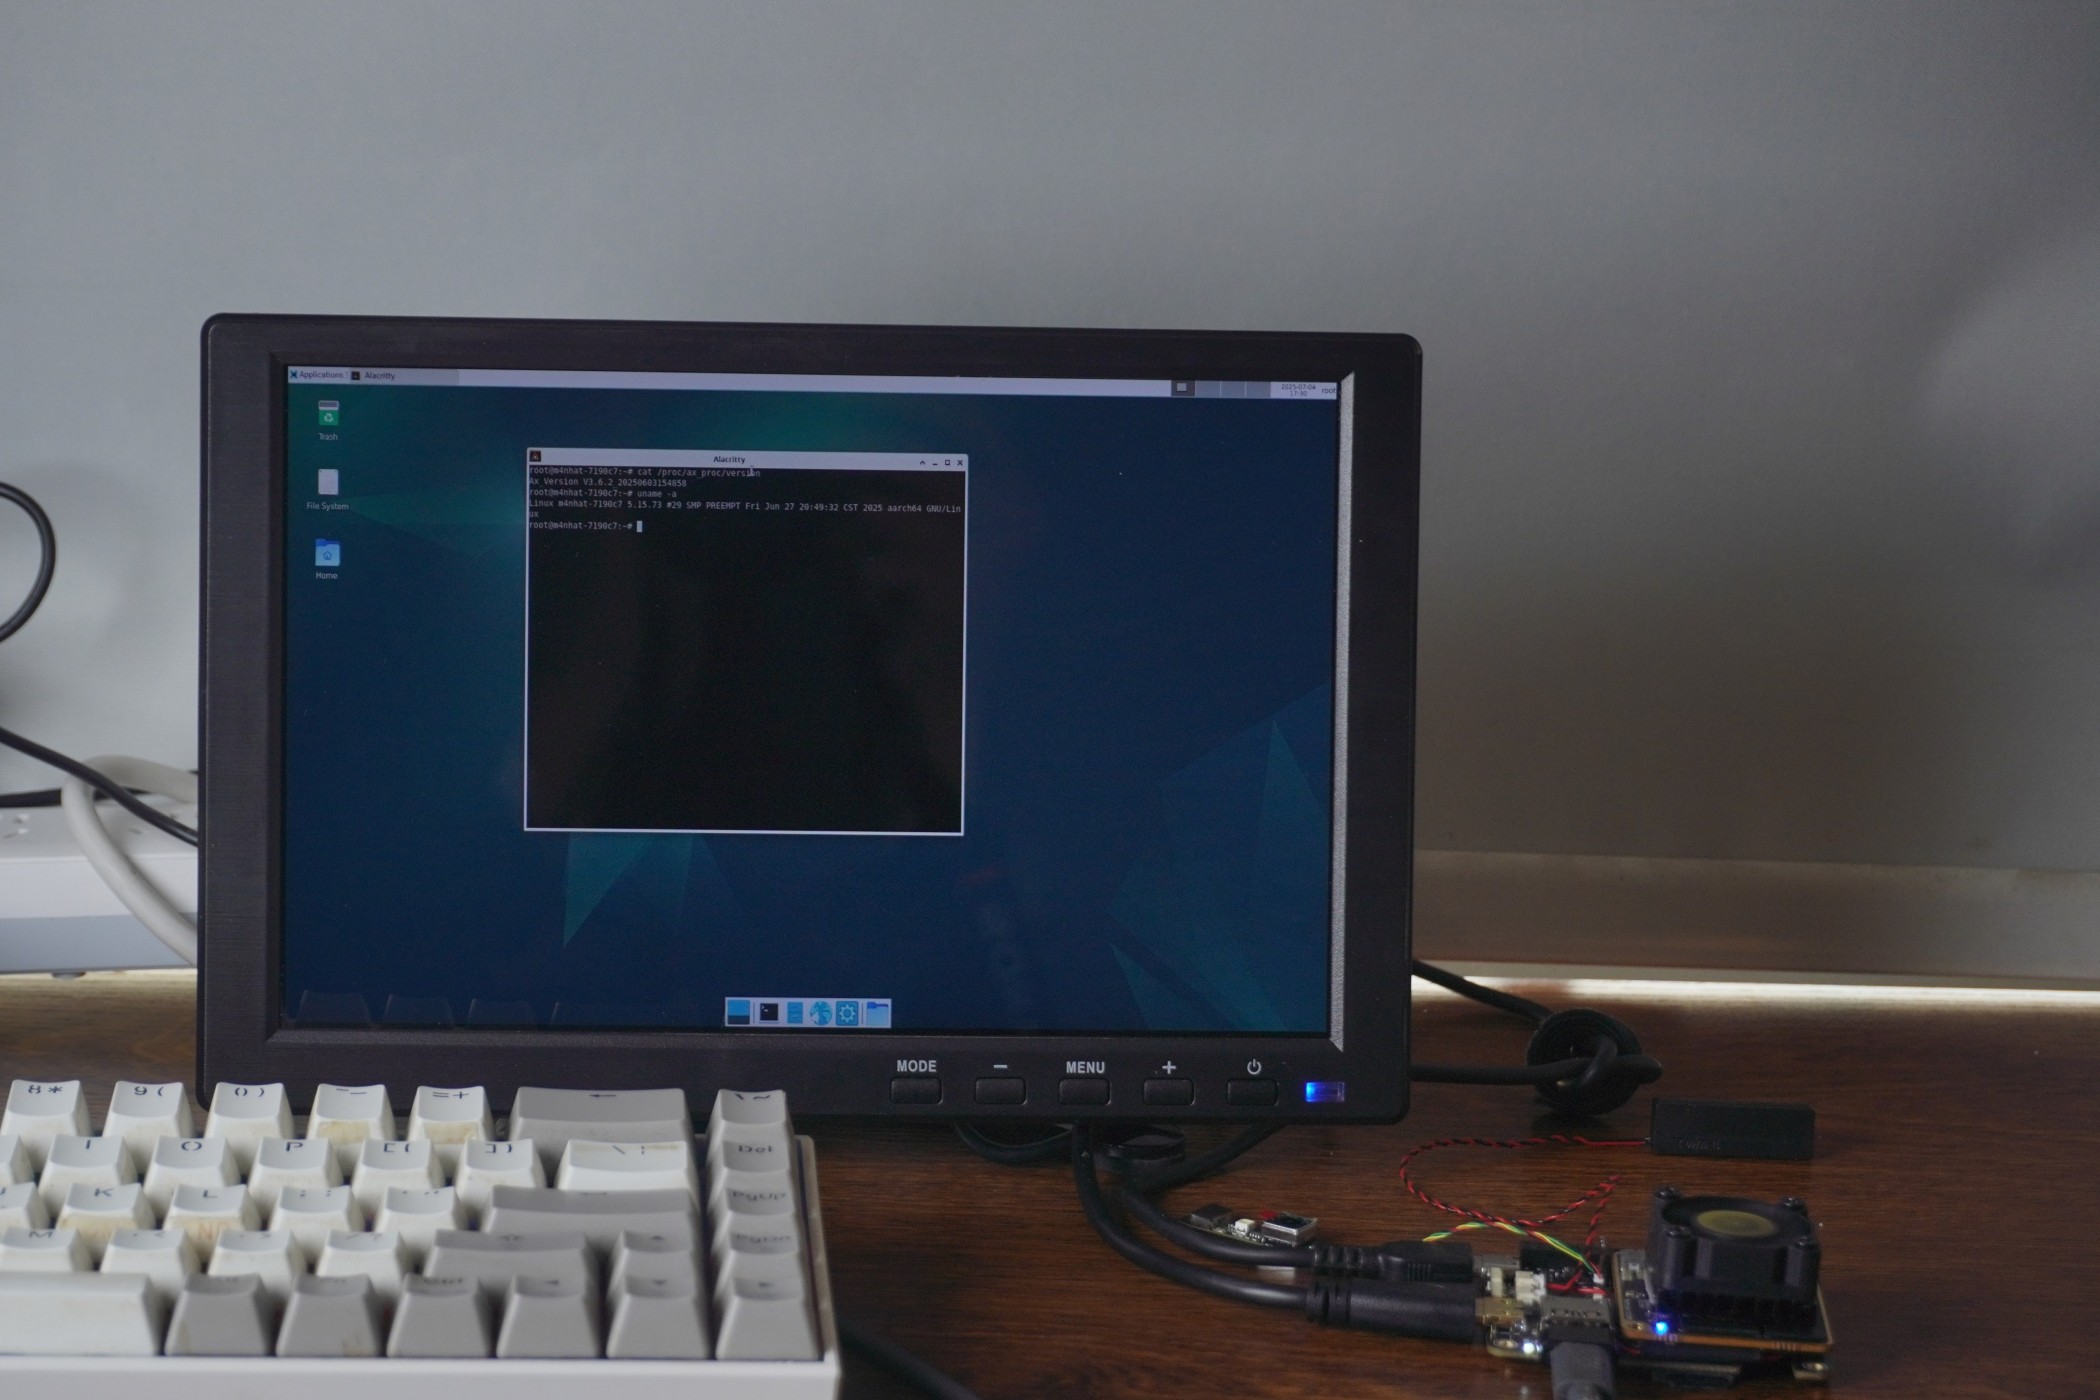
Xfce4 Desktop
Connect a mouse/keyboard to the onboard USB-A port for input.
Default credentials: Username:
root, Password:root.
Advanced: Serial & SSH Login
The onboard Type-C USB port serves as the default debug UART (115200 8n1).
Use a serial tool to view kernel logs or log in directly via terminal.
For SSH access, expand network connectivity via USB Ethernet/WiFi dongles.
Note: The system only has the root superuser, and SSH password login is disabled by default for security. For temporary access, refer to here。
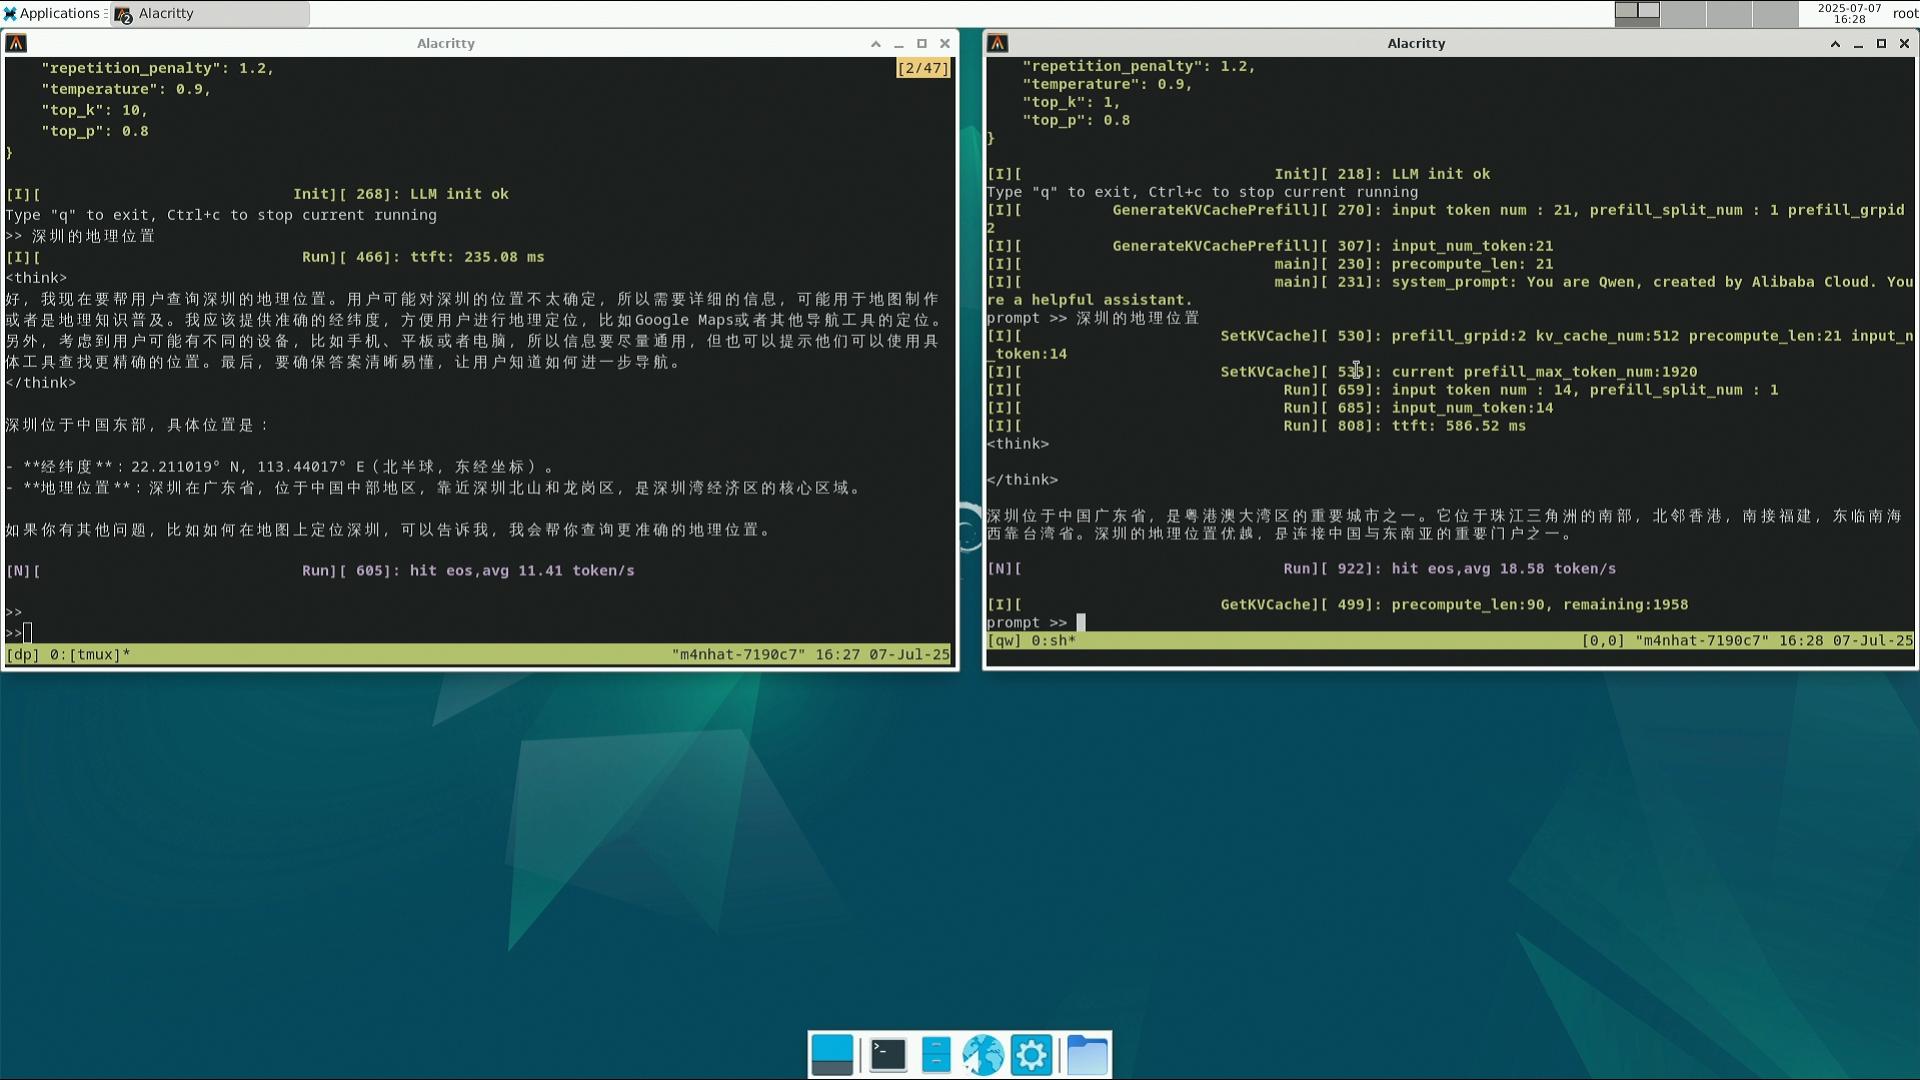
LLM
DeepSeek-R1 & QWen3
Left: DeepSeek-R1 1.5B
Right: QWen3 0.6B
Deployment guide: here
VLM
internVL3
Demo video:
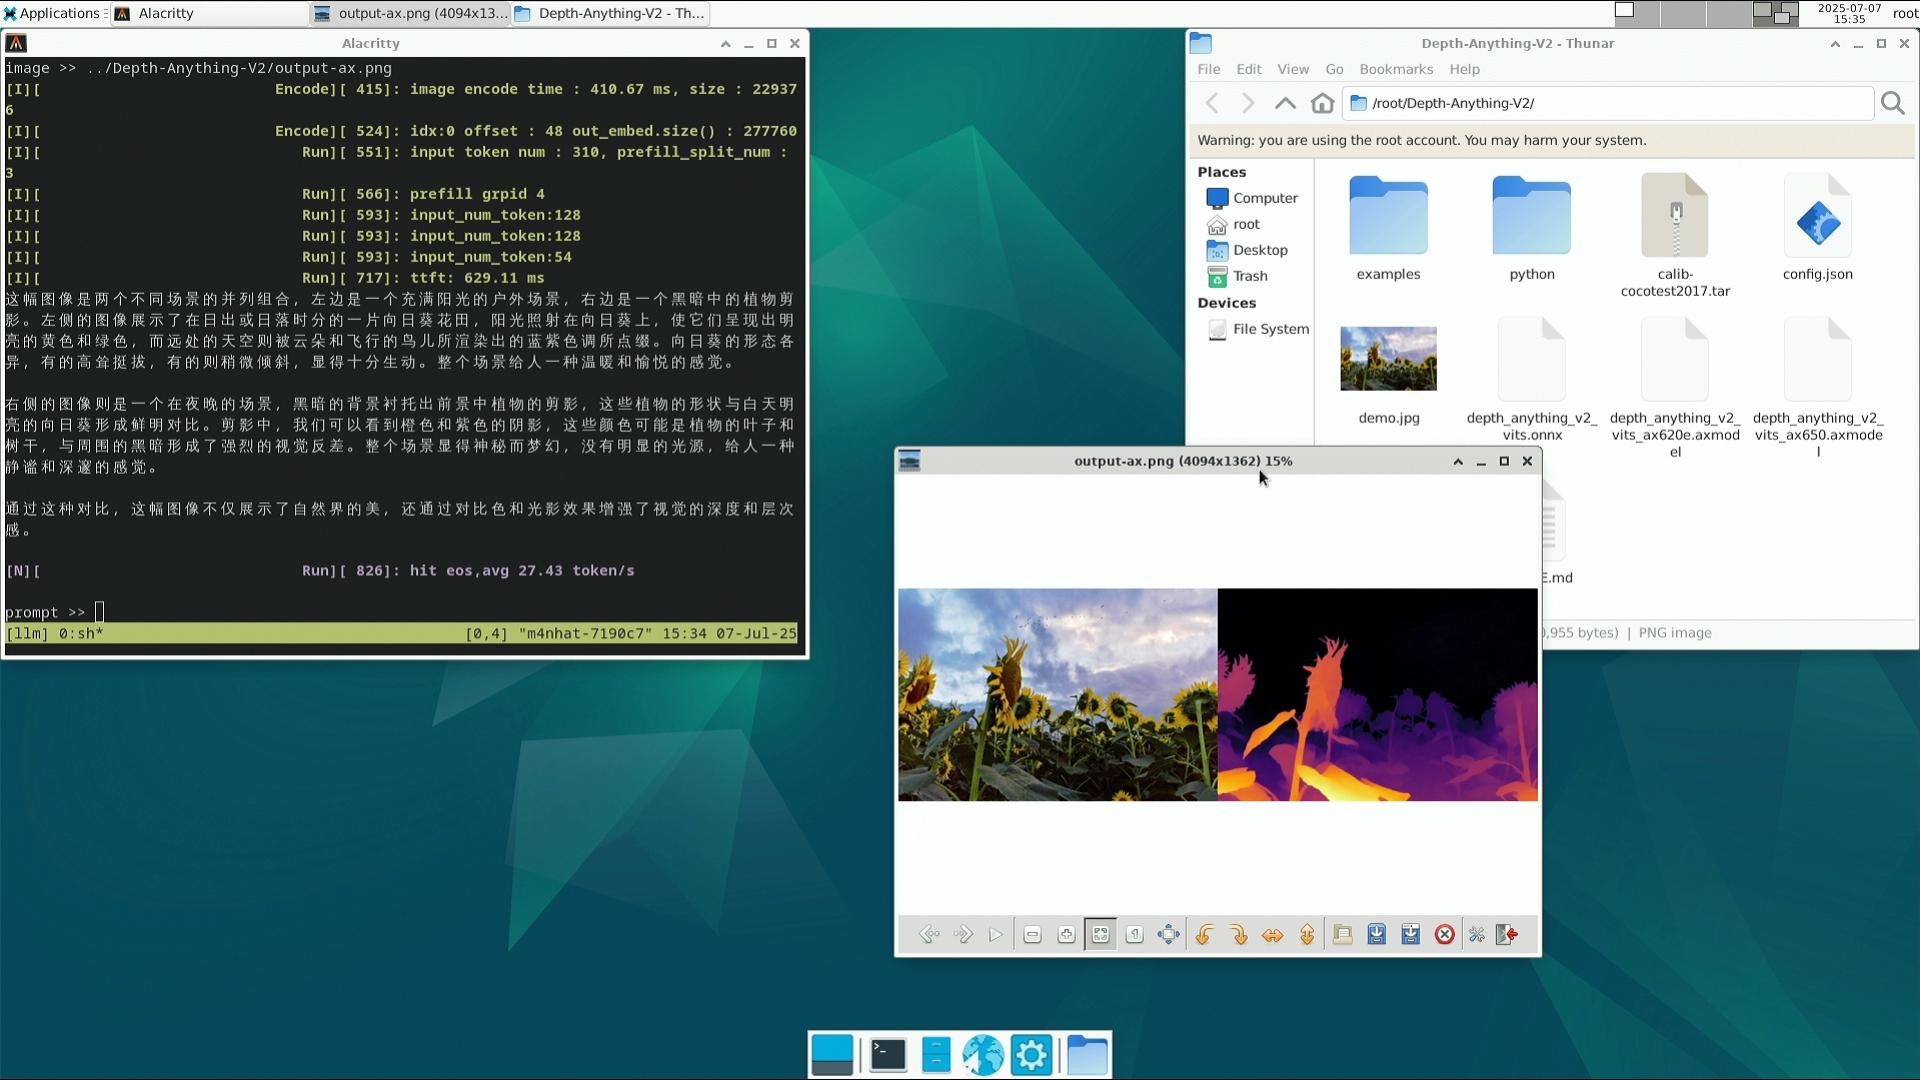
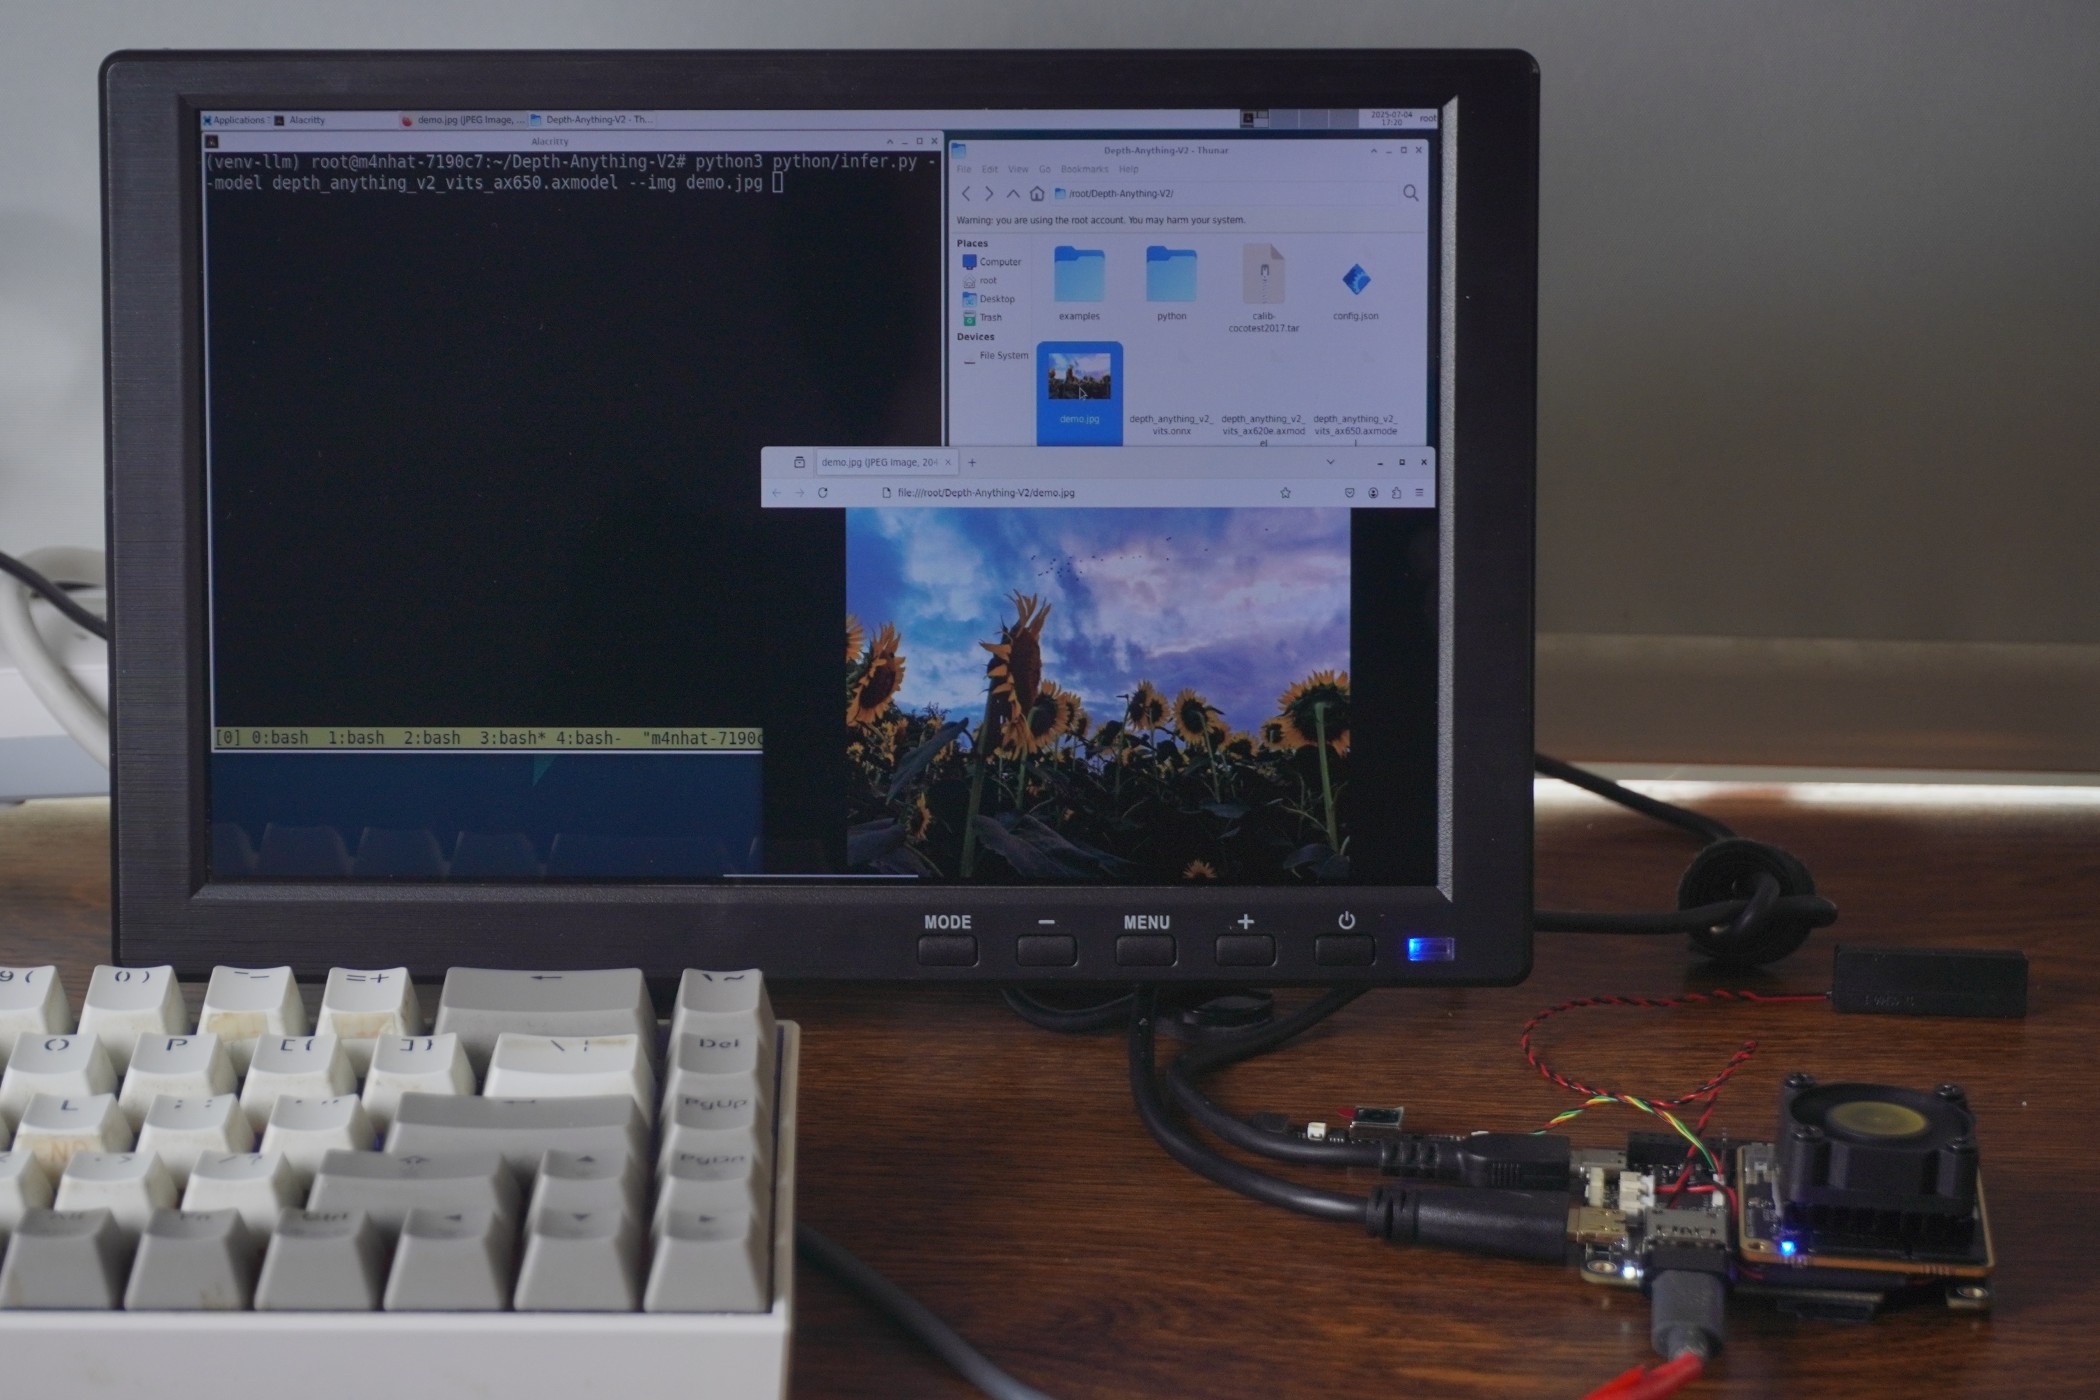
DepthAnything v2
Download the axcl npu python library
Install:
pip install axengine-x.y.z-py3-none-any.whl.Run:
source ../venv-llm/bin/activate
python python/infer.py --img examples/demo02.jpg --model depth_anything_v2_vits_ax650.axmodel


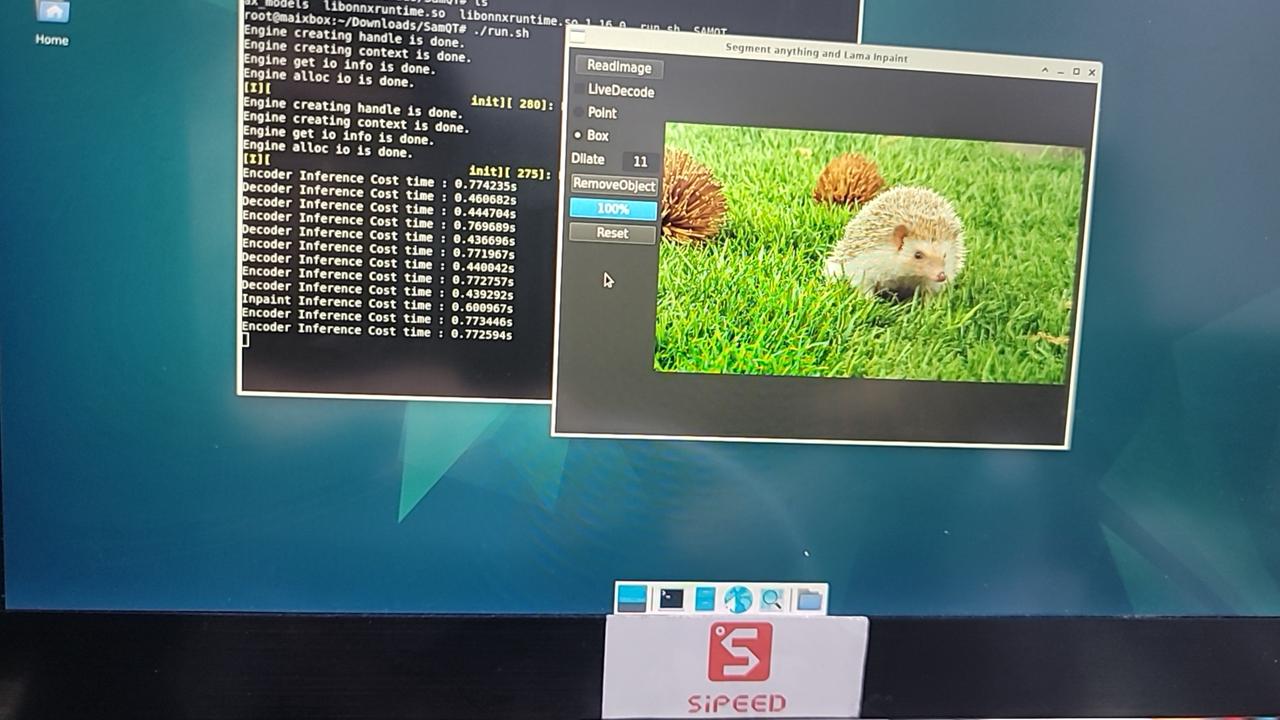
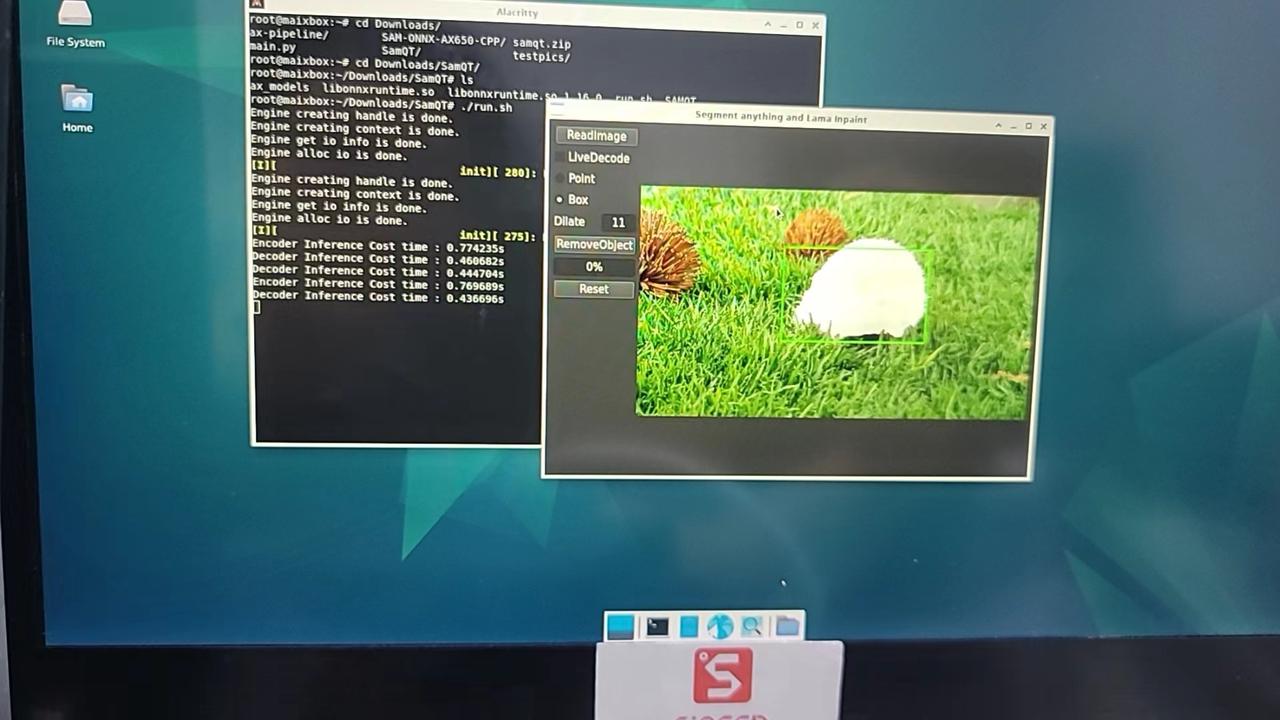
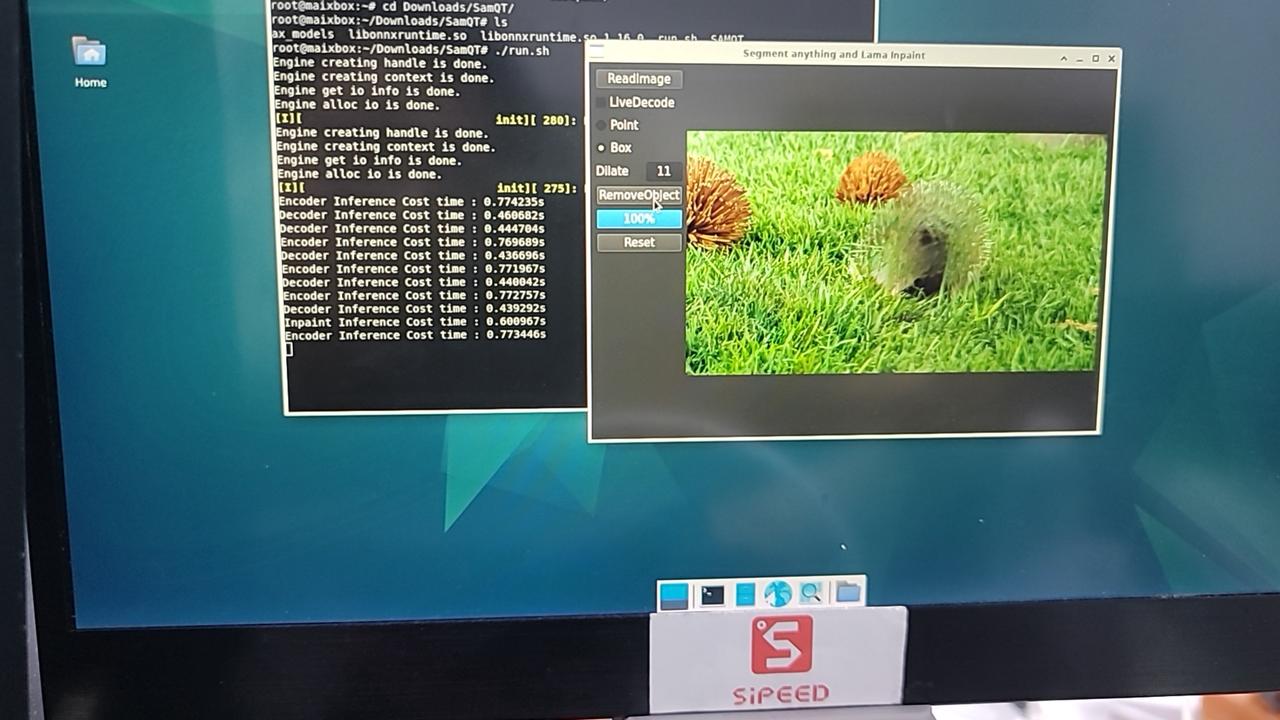
Interactive Image Segmentation & Inpainting
A QT-based GUI for real-time segmentation (point/box selection) and inpainting.
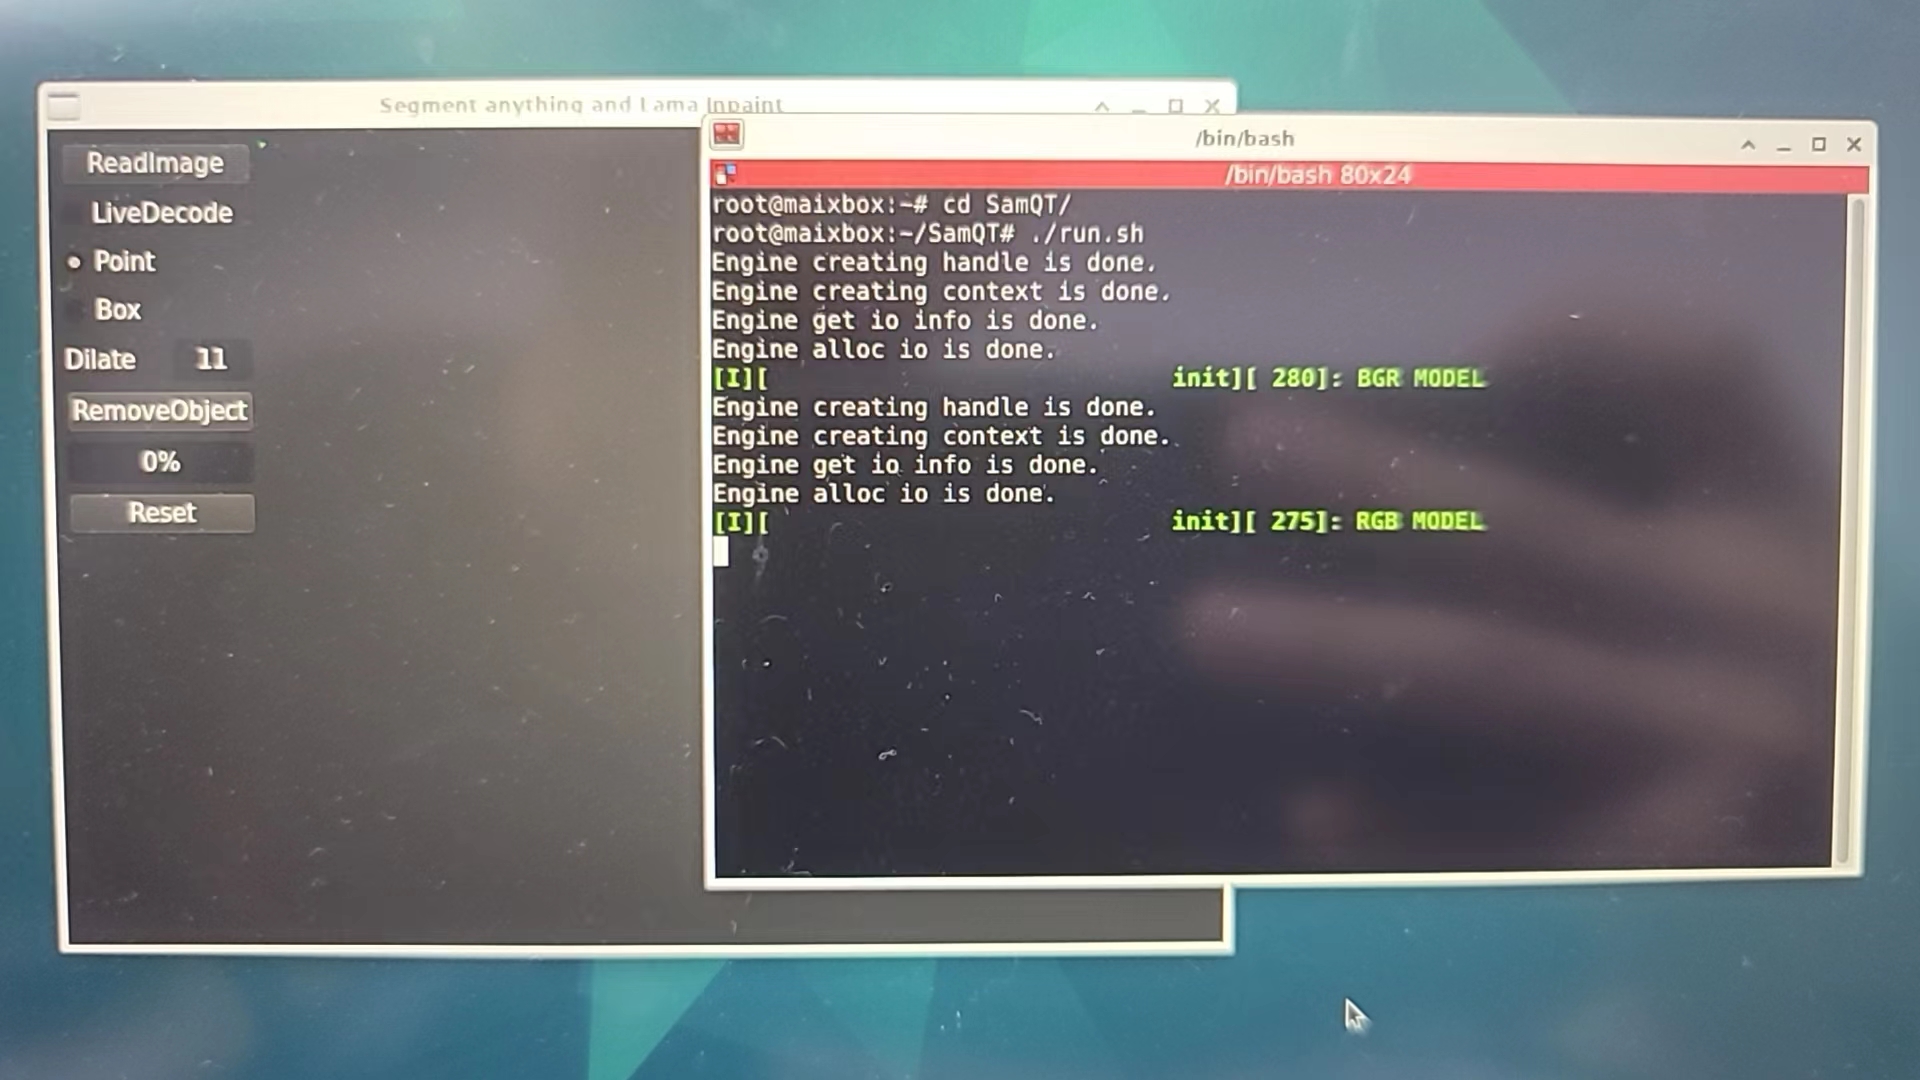
Open Source Official GitHub Repo: SAM-ONNX-AX650-CPP
Download prebuilt binaries or compile from source.
Example: Removing a player from a photo:
 |
 |
Live Demo (Screenshots):
 |
 |
 |
| RAW | SAM | Inpaint |
Interactive Text-to-Image Search (CLIP)
A QT-based GUI using OpenAI’s CLIP (Contrastive Language–Image Pre-training) for zero-shot image retrieval via text input (supports Chinese/English).
Open Source Official GitHub Repo: CLIP-ONNX-AX650-CPP
Install QT:
apt update
apt install cmake qt6-base-dev
Download prebuilt files (executable, models, test images/text):
Extract CLIP.zip to
/root/Desktop/:root@m4nhat-7190c7:~/Desktop/CLIP# tree -L 1 . ├── CLIPQT ├── cn_vocab.txt ├── coco_1000 ├── libonnxruntime.so ├── libonnxruntime.so.1.16.0 ├── onnx_models ├── run_en.sh ├── run_zh.sh └── vocab.txtRun in Desktop's terminal:
./run_zh.sh  # For Chinese
./run_en.sh  # For English
Screenshots:
