MaxiPy3 Image.lens_corr 畸变矫正的用法
2023-05-08
这篇是关于镜头畸变矫正 lens_corr 函数的现象和用法。
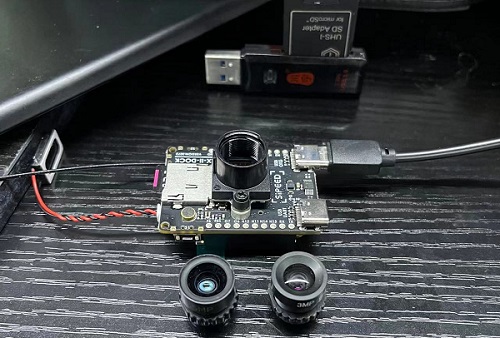
准备工作
这些交代一些相关的测试场景、以及准备工作等相关说明。
Jupyter 基础用法
这里默认大家已掌握 Jupyter 的相关使用方法,还有疑惑的小伙伴请自行学习。
用法演示及效果
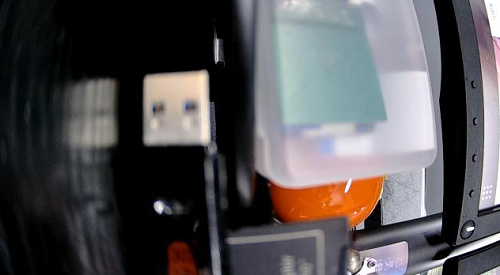
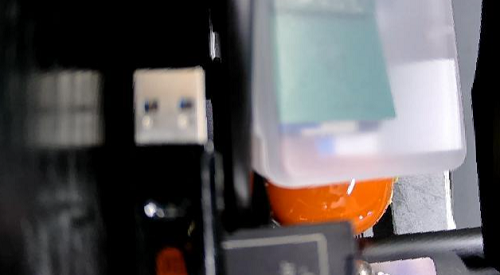
获取一张 640*360 图像
先来试试摄像头正常捕捉 640*360 的图像效果。
from maix import camera, display, image
camera.config(size=(640, 360))
while True:
    img = camera.capture()
    display.show(img)
添加 lens_corr 畸变矫正函数
相关代码行:img = img.lens_corr(strength=1.8, zoom=1.0)
- strength:是一个浮点数而该值确定了对图像进行去鱼眼效果的程度.
- zoom:是在对图像进行缩放的数值(默认值为 1.0).
使用以上函数对镜头进行畸变校正,去除因镜头畸变造成的图像鱼眼效果。
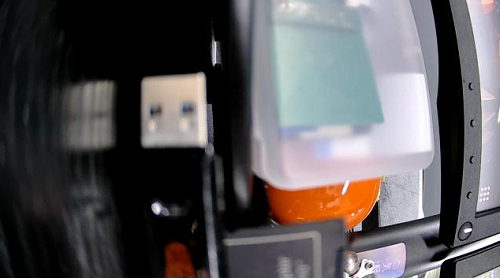
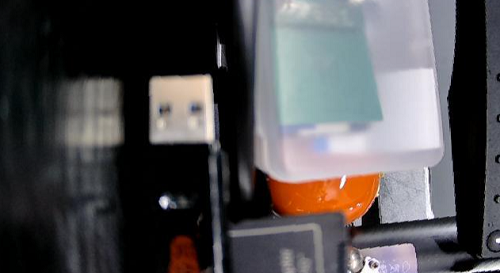
试试 strength 为 1.8 的效果
from maix import camera, display, image
camera.config(size=(640, 360))
while True:
    img = camera.capture()
    img = img.lens_corr(strength=1.8, zoom=1.0)
    display.show(img)
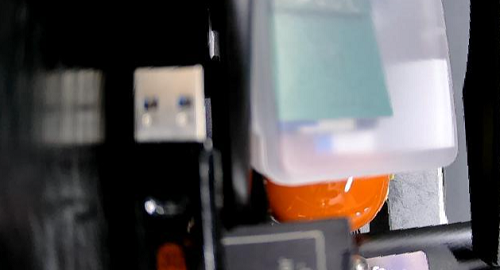
试试 strength 为 2.0 的效果
from maix import camera, display, image
camera.config(size=(640, 360))
while True:
    img = camera.capture()
    img = img.lens_corr(strength=2.0, zoom=1.0)
    display.show(img)
试试 strength 为 2.1 的效果
from maix import camera, display, image
camera.config(size=(640, 360))
while True:
    img = camera.capture()
    img = img.lens_corr(strength=2.1, zoom=0.9)
    display.show(img)
畸变矫正前与后的对比
这里再获取一张未进行畸变矫正前的图像与上文进行对比,让效果更直观明显点。
from maix import camera, display, image
camera.config(size=(640, 360))
while True:
    img = camera.capture()
    display.show(img)